Search

RenoverUpholstery

'Revamping Old Furniture'

Month

May 2014

Rocking Chair

Restored Rocking Chair
Old Rocking Chair
Old Rocking Chair


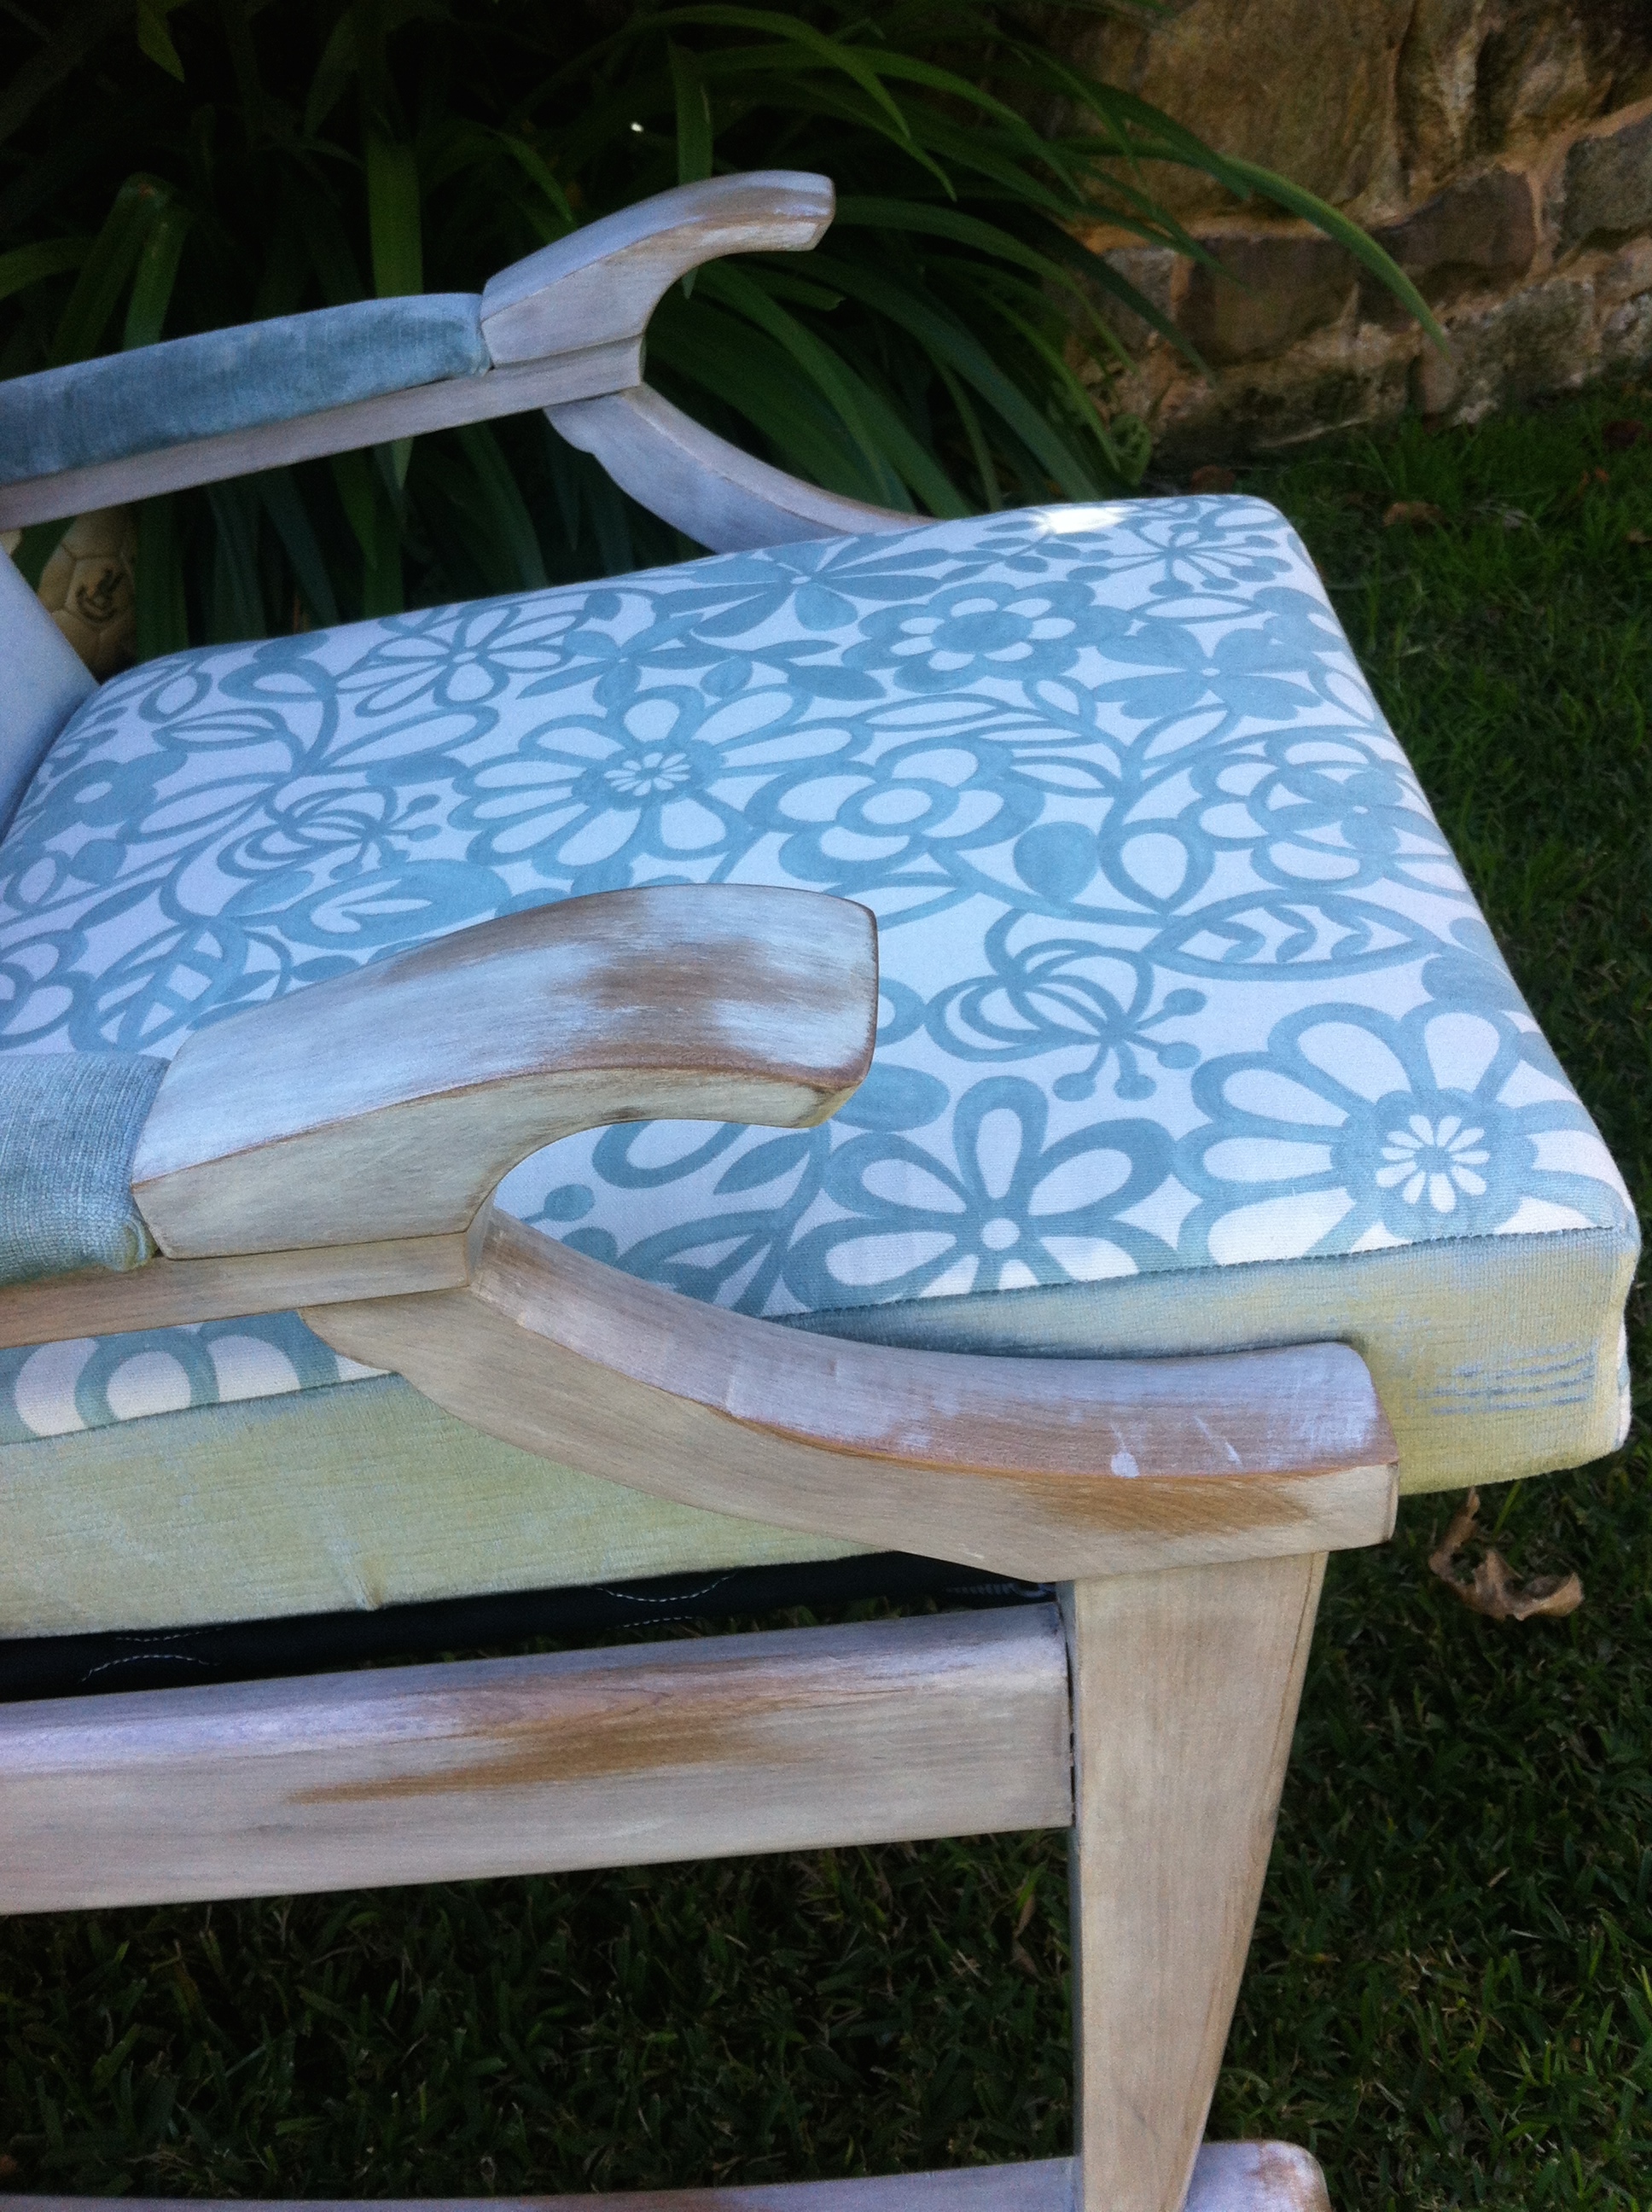
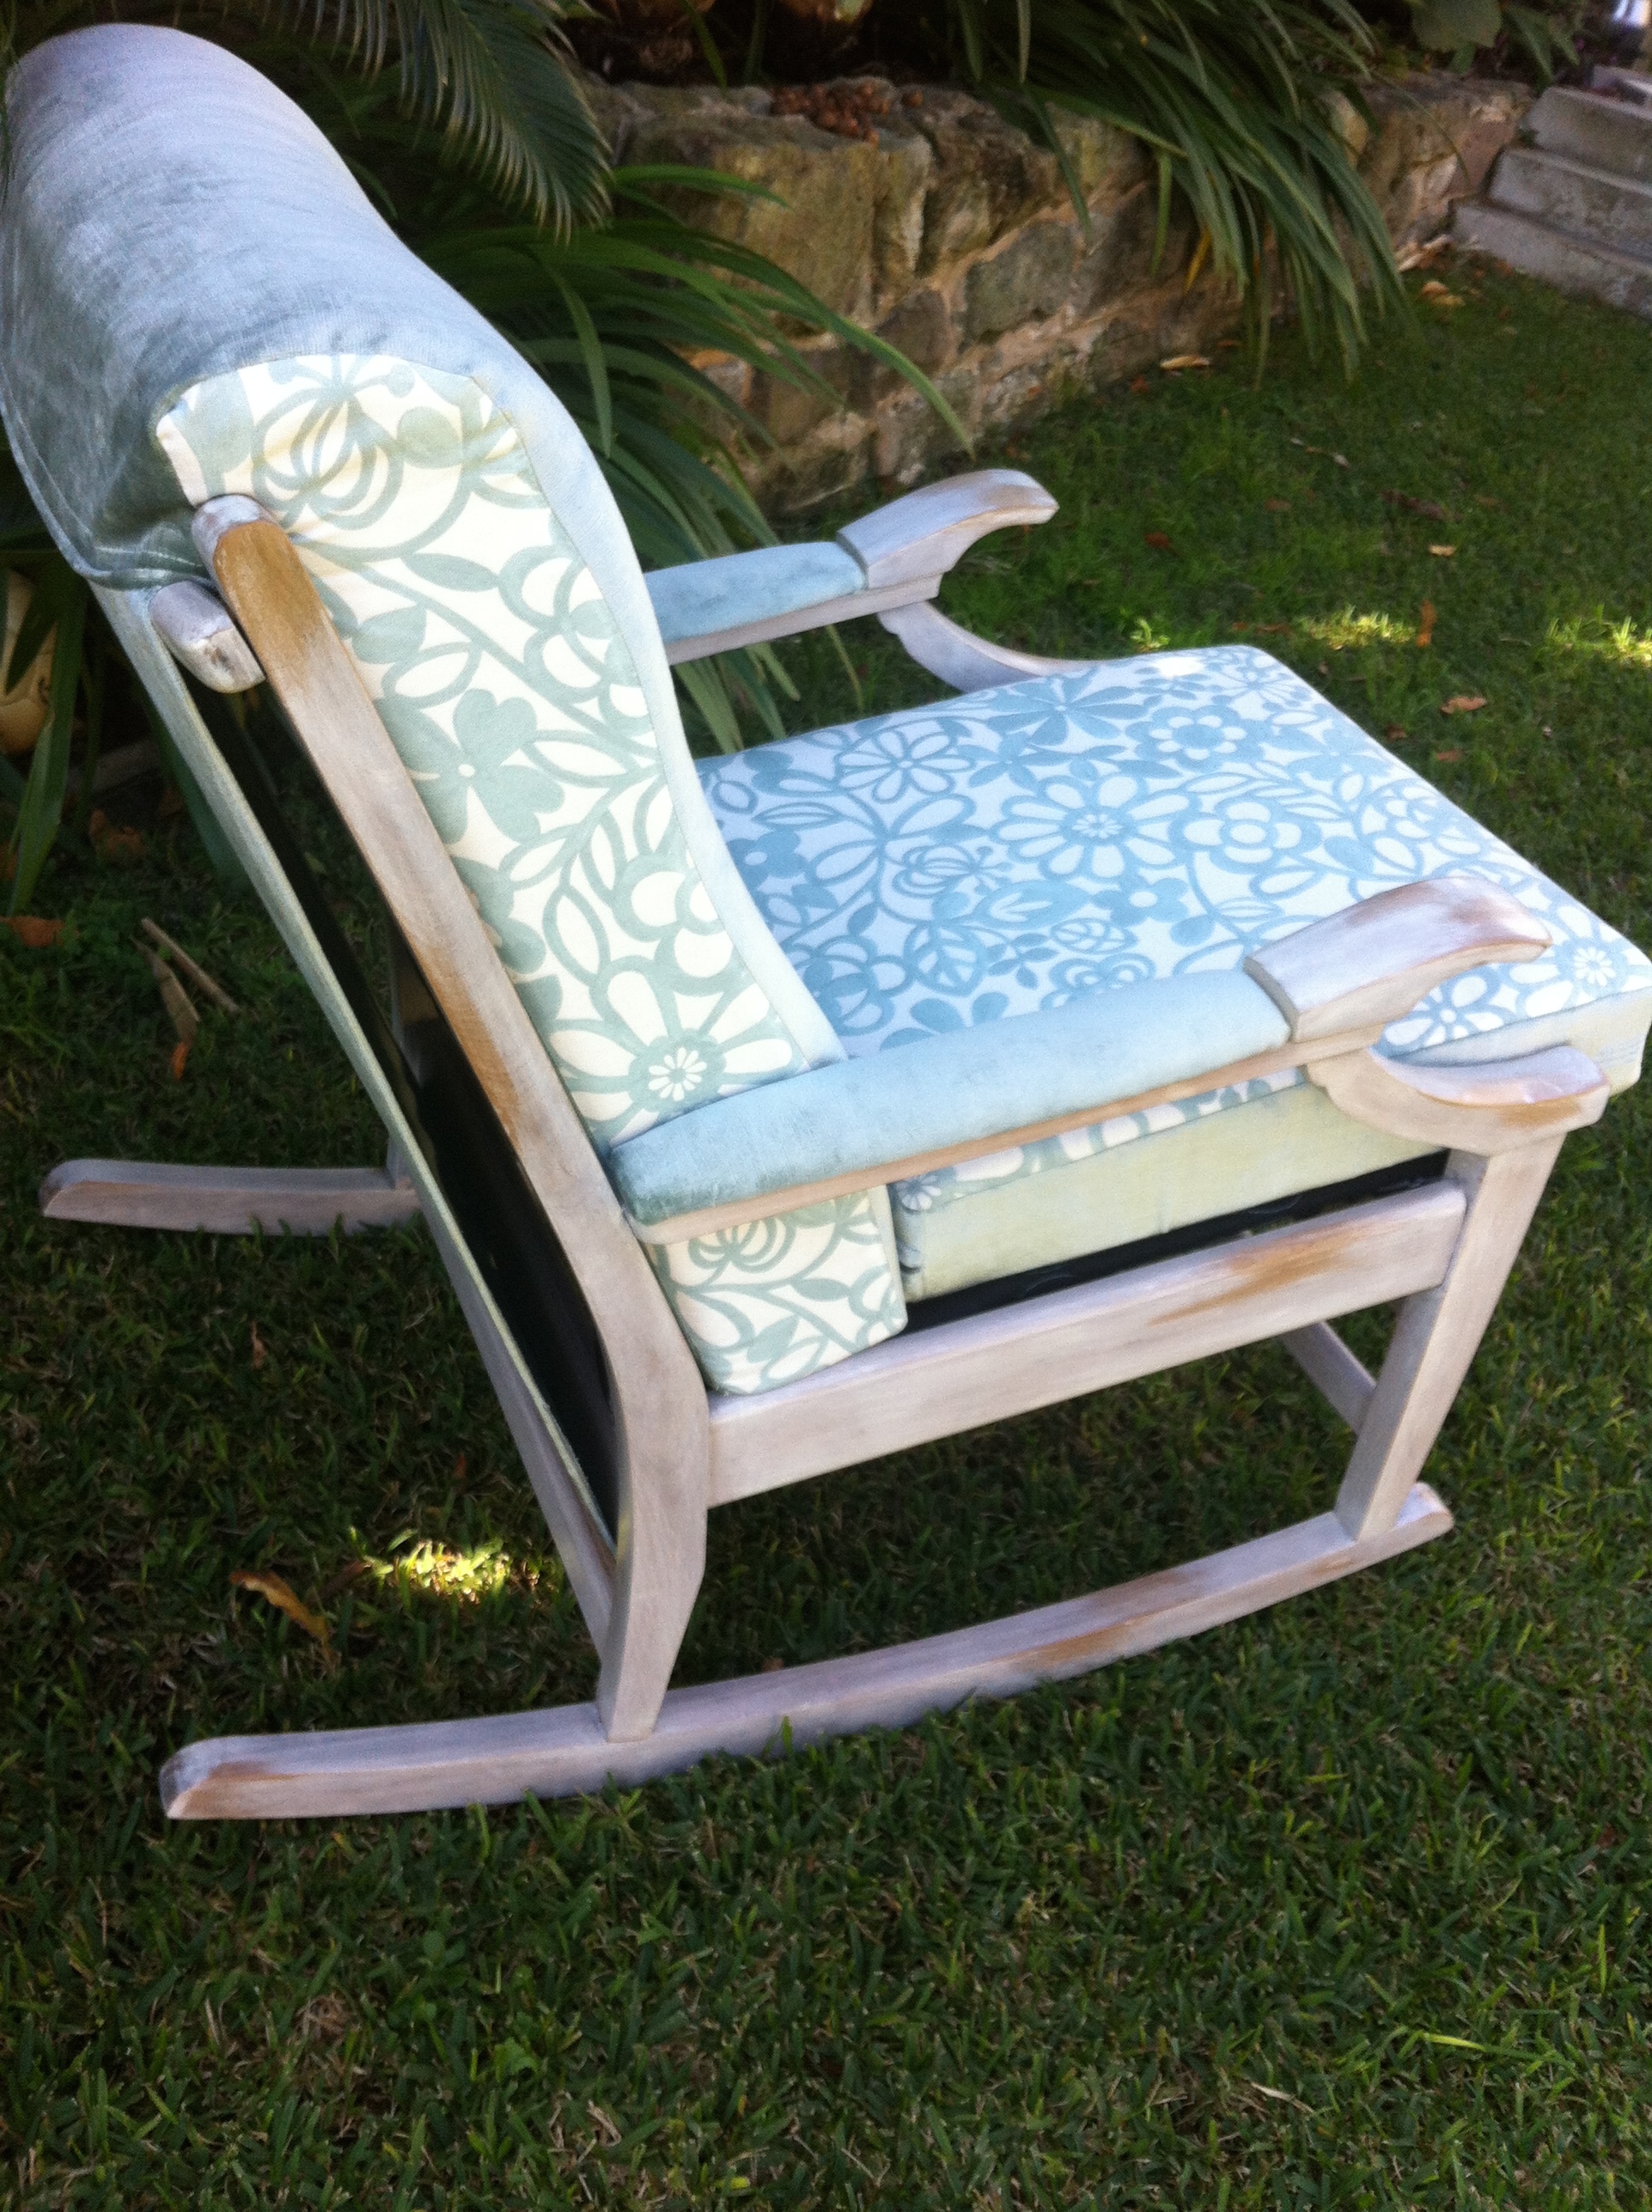
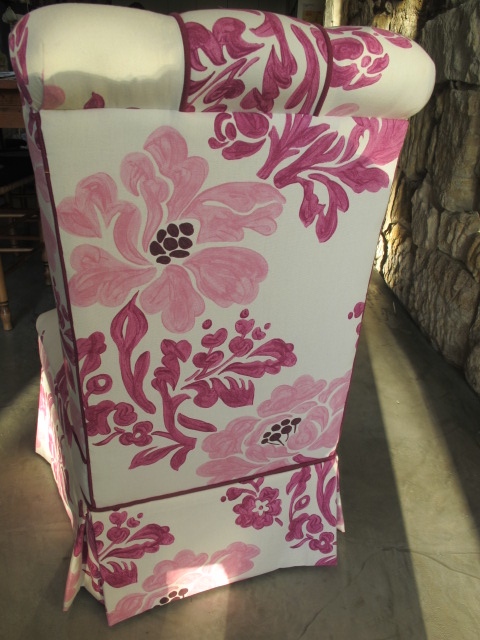
I love going to auction houses to see what treasures there are. I came across this ugly looking rocking chair but I was sure I could transform it.  Old rocking chairs are hard to find and this one definitely was in the need of a makeover. First things first – out with the old coverings and the old finishing on the wood. A good sand then a white wash and lacquer on top to create a shabby chic style.


Rocking Chair


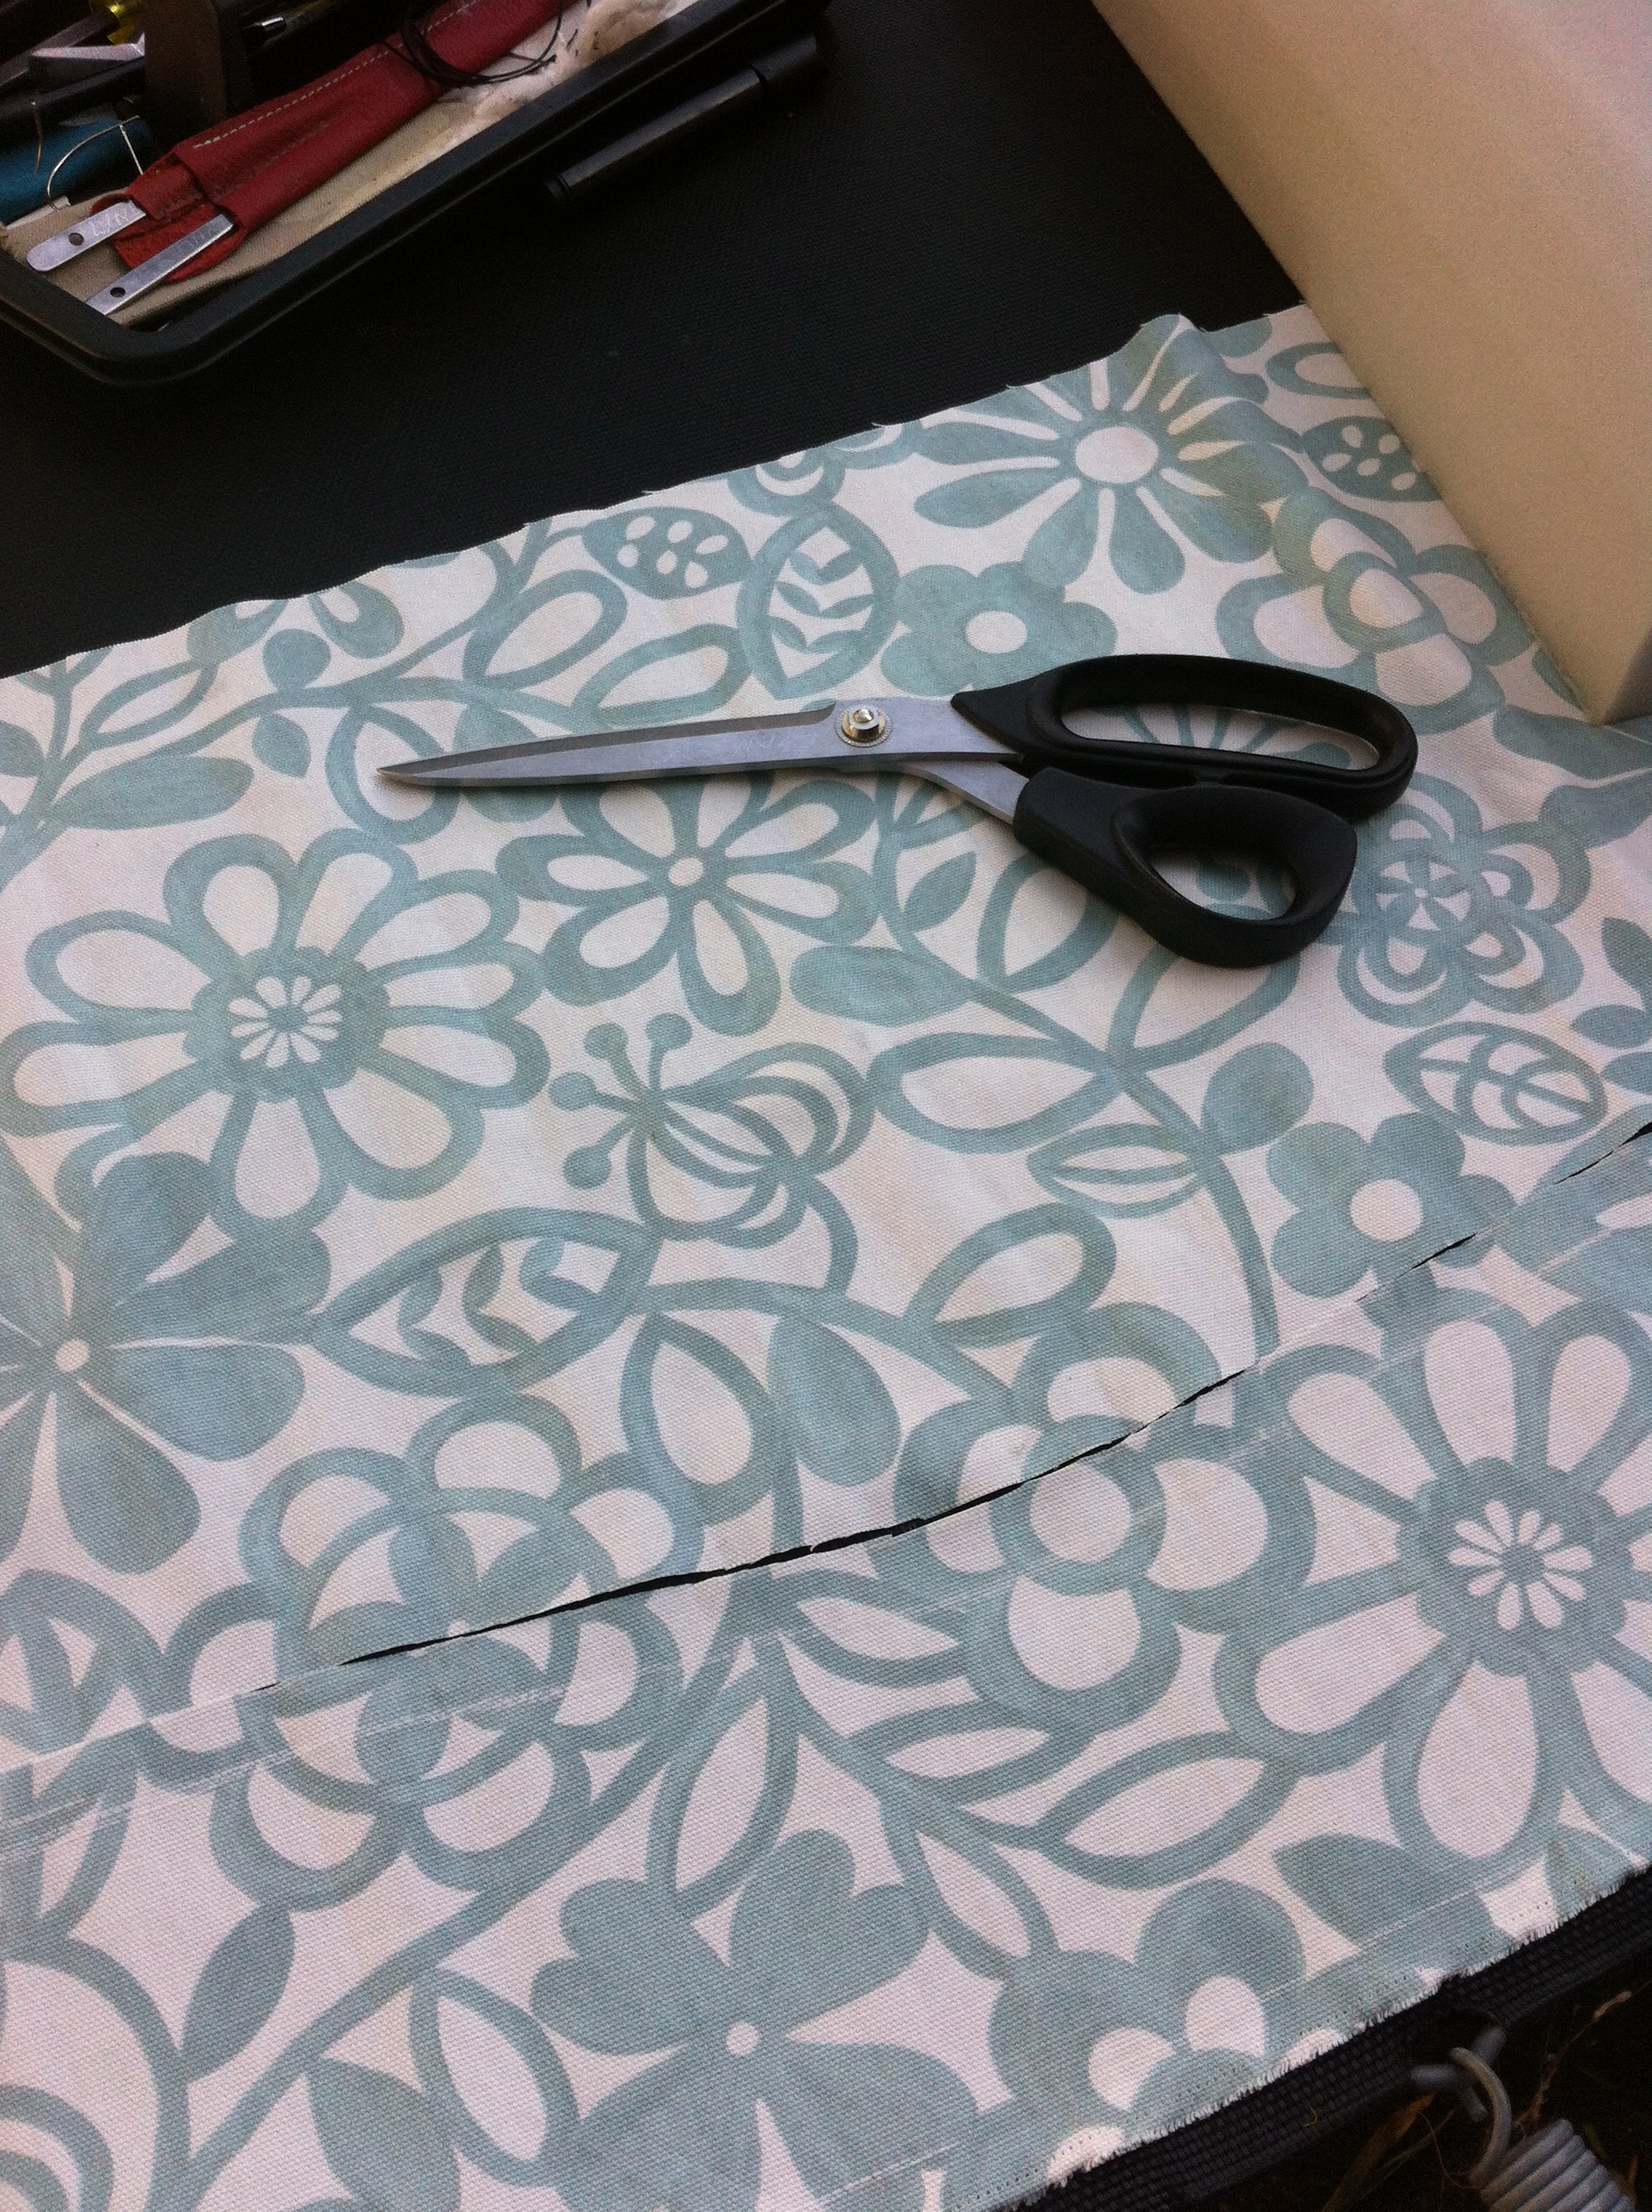
I have used material that I sourced from Bev’s Remnants. What a fantastic store – you never come out empty handed.

Material


I love the soft blue/ green and the old fashioned velvet on the back and sides.

Rocking Chair


Old Rocking ChairOld Rocking Chair


Rocking Chair  Rocking Chair Rocking Chair

Bedroom Chair – with a hidden secret

IMG_3250

Every girls dream …… a chair that has a  hiding place from nosey brothers & sisters.


Bedroom Chair Bedroom Chair - box


You could put favourite books, toys, shoes, jewellery – who knows what!!!!!

Bedroom Chair - back Bedroom Chair - box Bedroom Chair

BROKEN Dining room chair – Can it be Saved??????

What is it about teenage boys who can’t sit still and need to rock back & forth on the dining room chair. 

No matter who I talk to this is a common theme. Of course the inevitable happens , after countless raves at them to stop it – Yep the whole chair breaks.   But can it be fixed or do you chuck it out.


Broken Dining room Chair IMG_2777 IMG_2780After a friend told me about the chair I said I would try to fix it for her. Time to put those lessons from Furnishing Finishing course into use.


First off all the old glue needed to be sanded or scraped off so the new glue would adhere. In a number of areas the snap wood needed to be taken off so it would fit together again. All joints were glued and clamped together.

Clamped dining room chair Clamped dining room chair Once that job was done a fair amount of filling was required with epoxy. Once the epoxy was dried I sanded the areas back to smooth then it was the job of touching up all those areas to get the colour looking the same.

IMG_1427 IMG_1469

Done.

Whoops one more thing I added corner chocks underneath to give the back legs more strength – hopefully to save from another teenager rocking on the chair and snapping it.

After
After

IMG_1472


Blog at WordPress.com.

Up ↑