


Two wingback chairs that belonged to a client’s family but were in a desperate need of an overhaul. New foam, webbing, fabric and legs gave a new lease of life to these grand old chairs.
Two wingback chairs that belonged to a client’s family but were in a desperate need of an overhaul. New foam, webbing, fabric and legs gave a new lease of life to these grand old chairs.
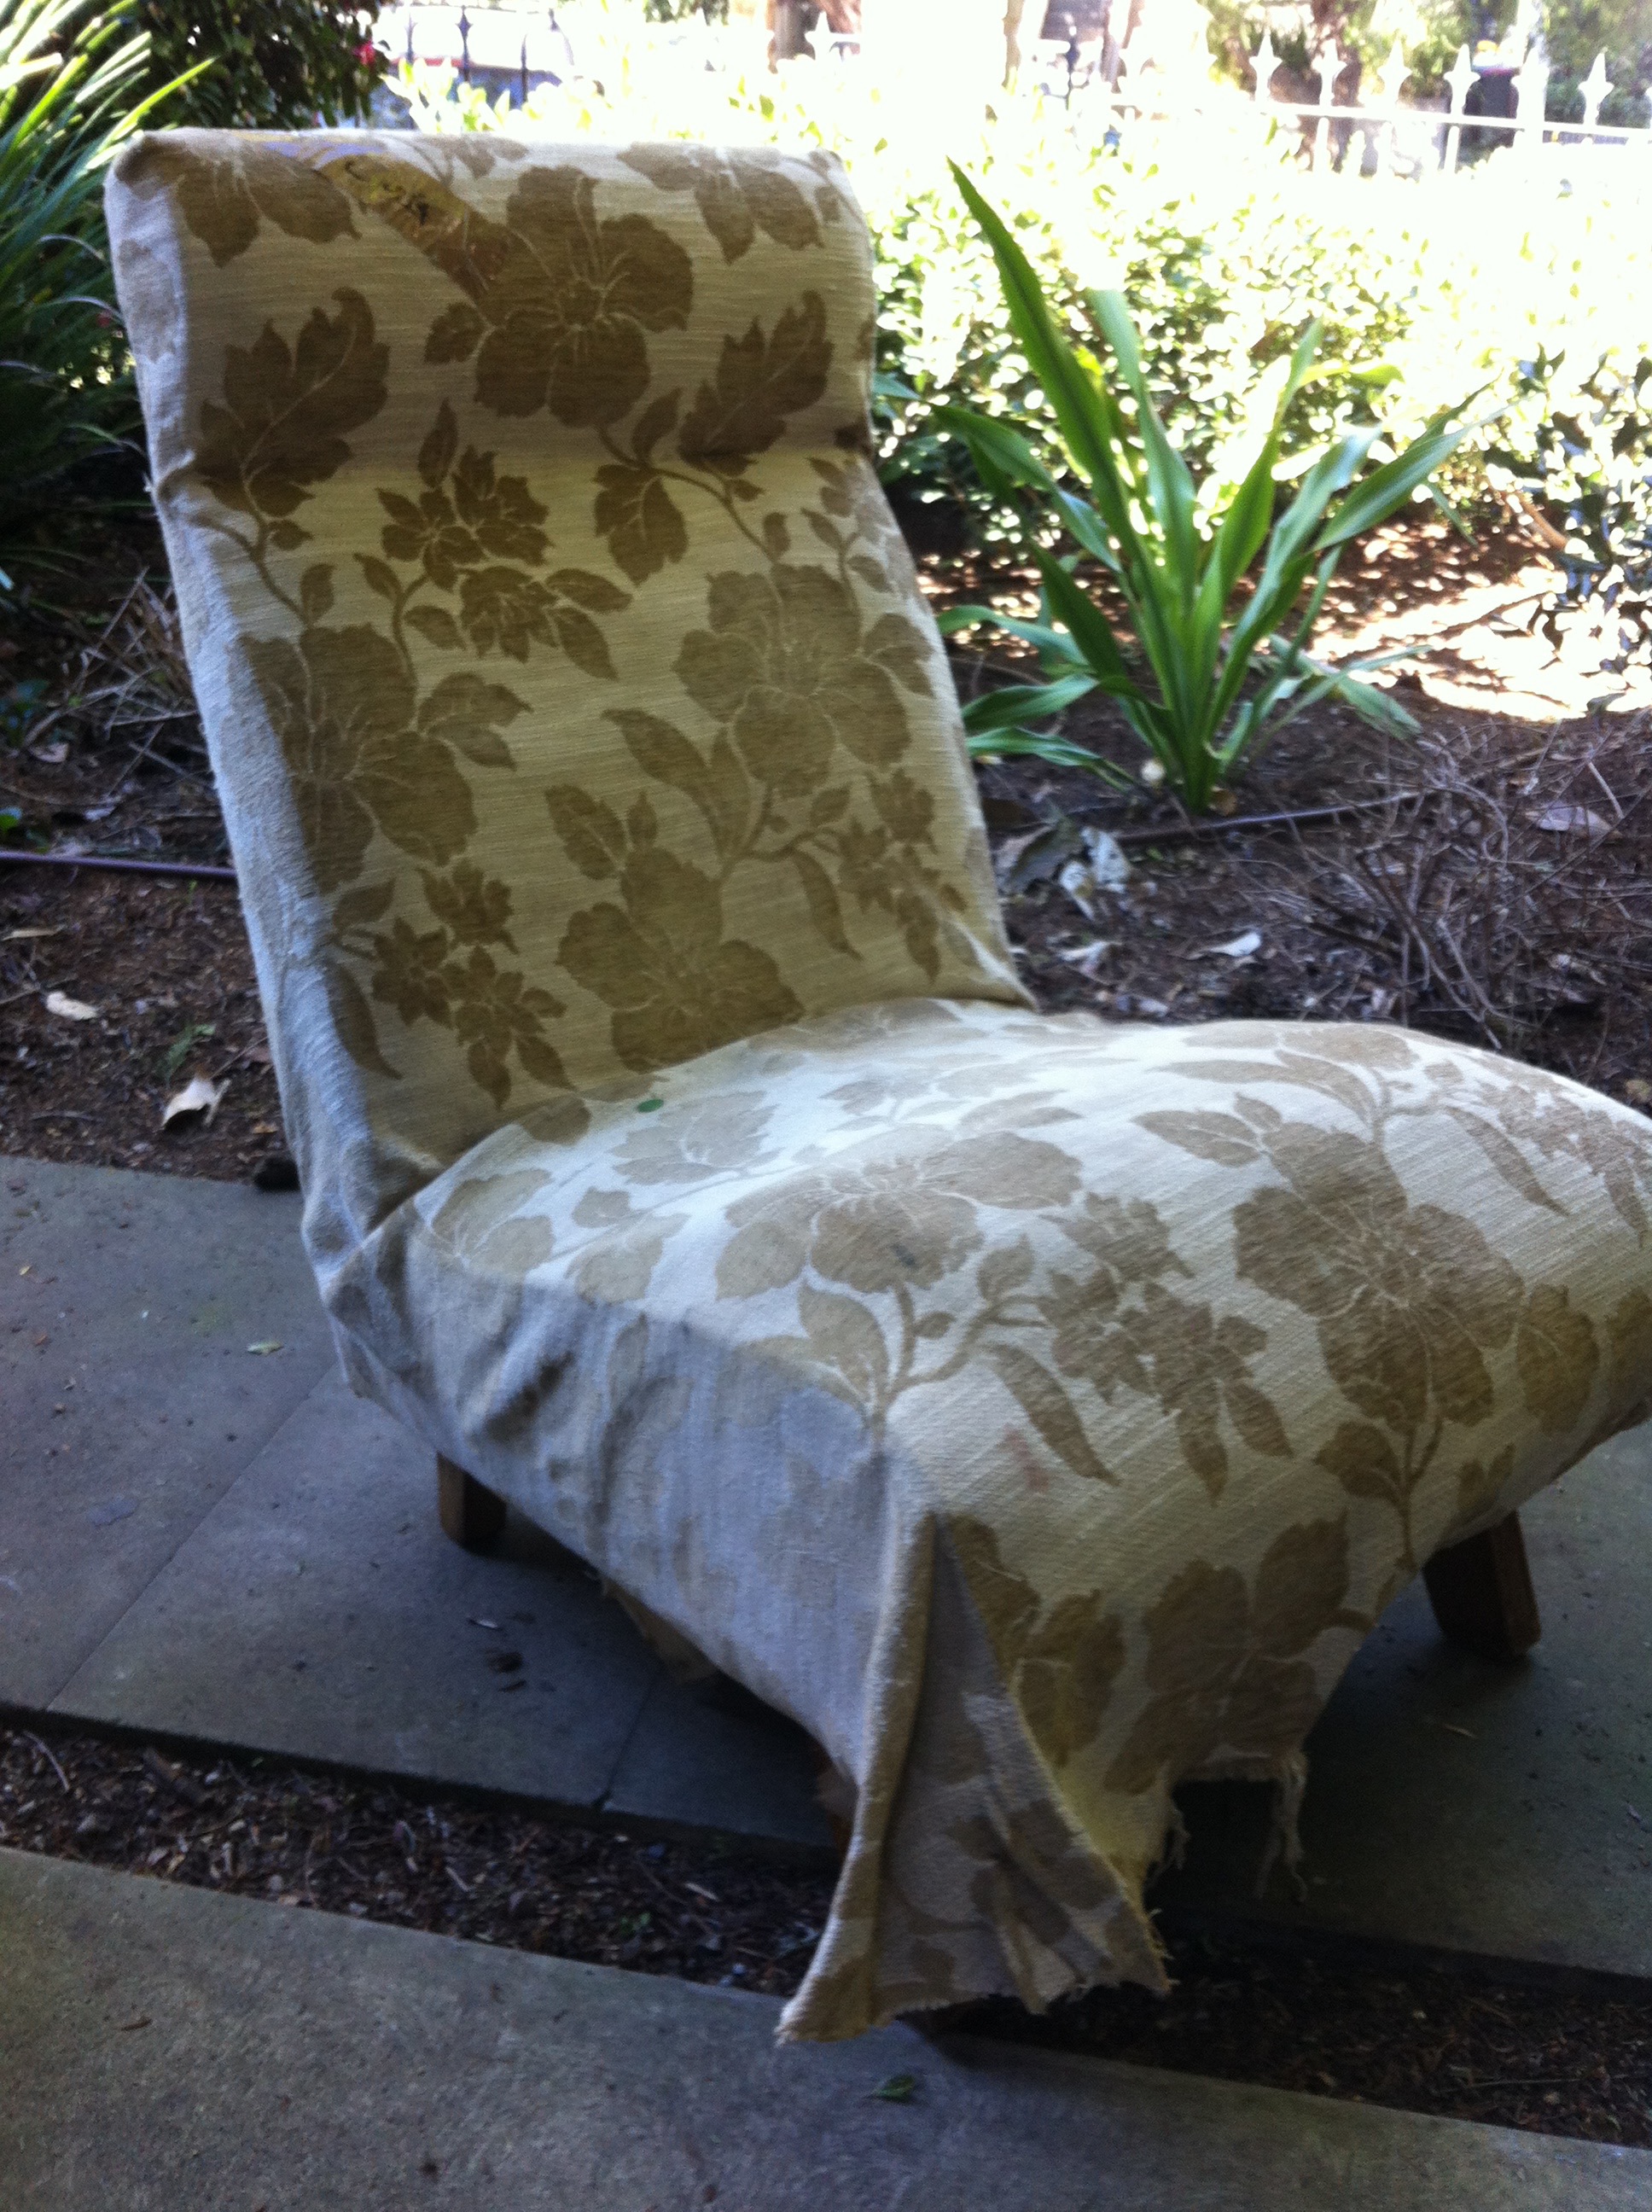
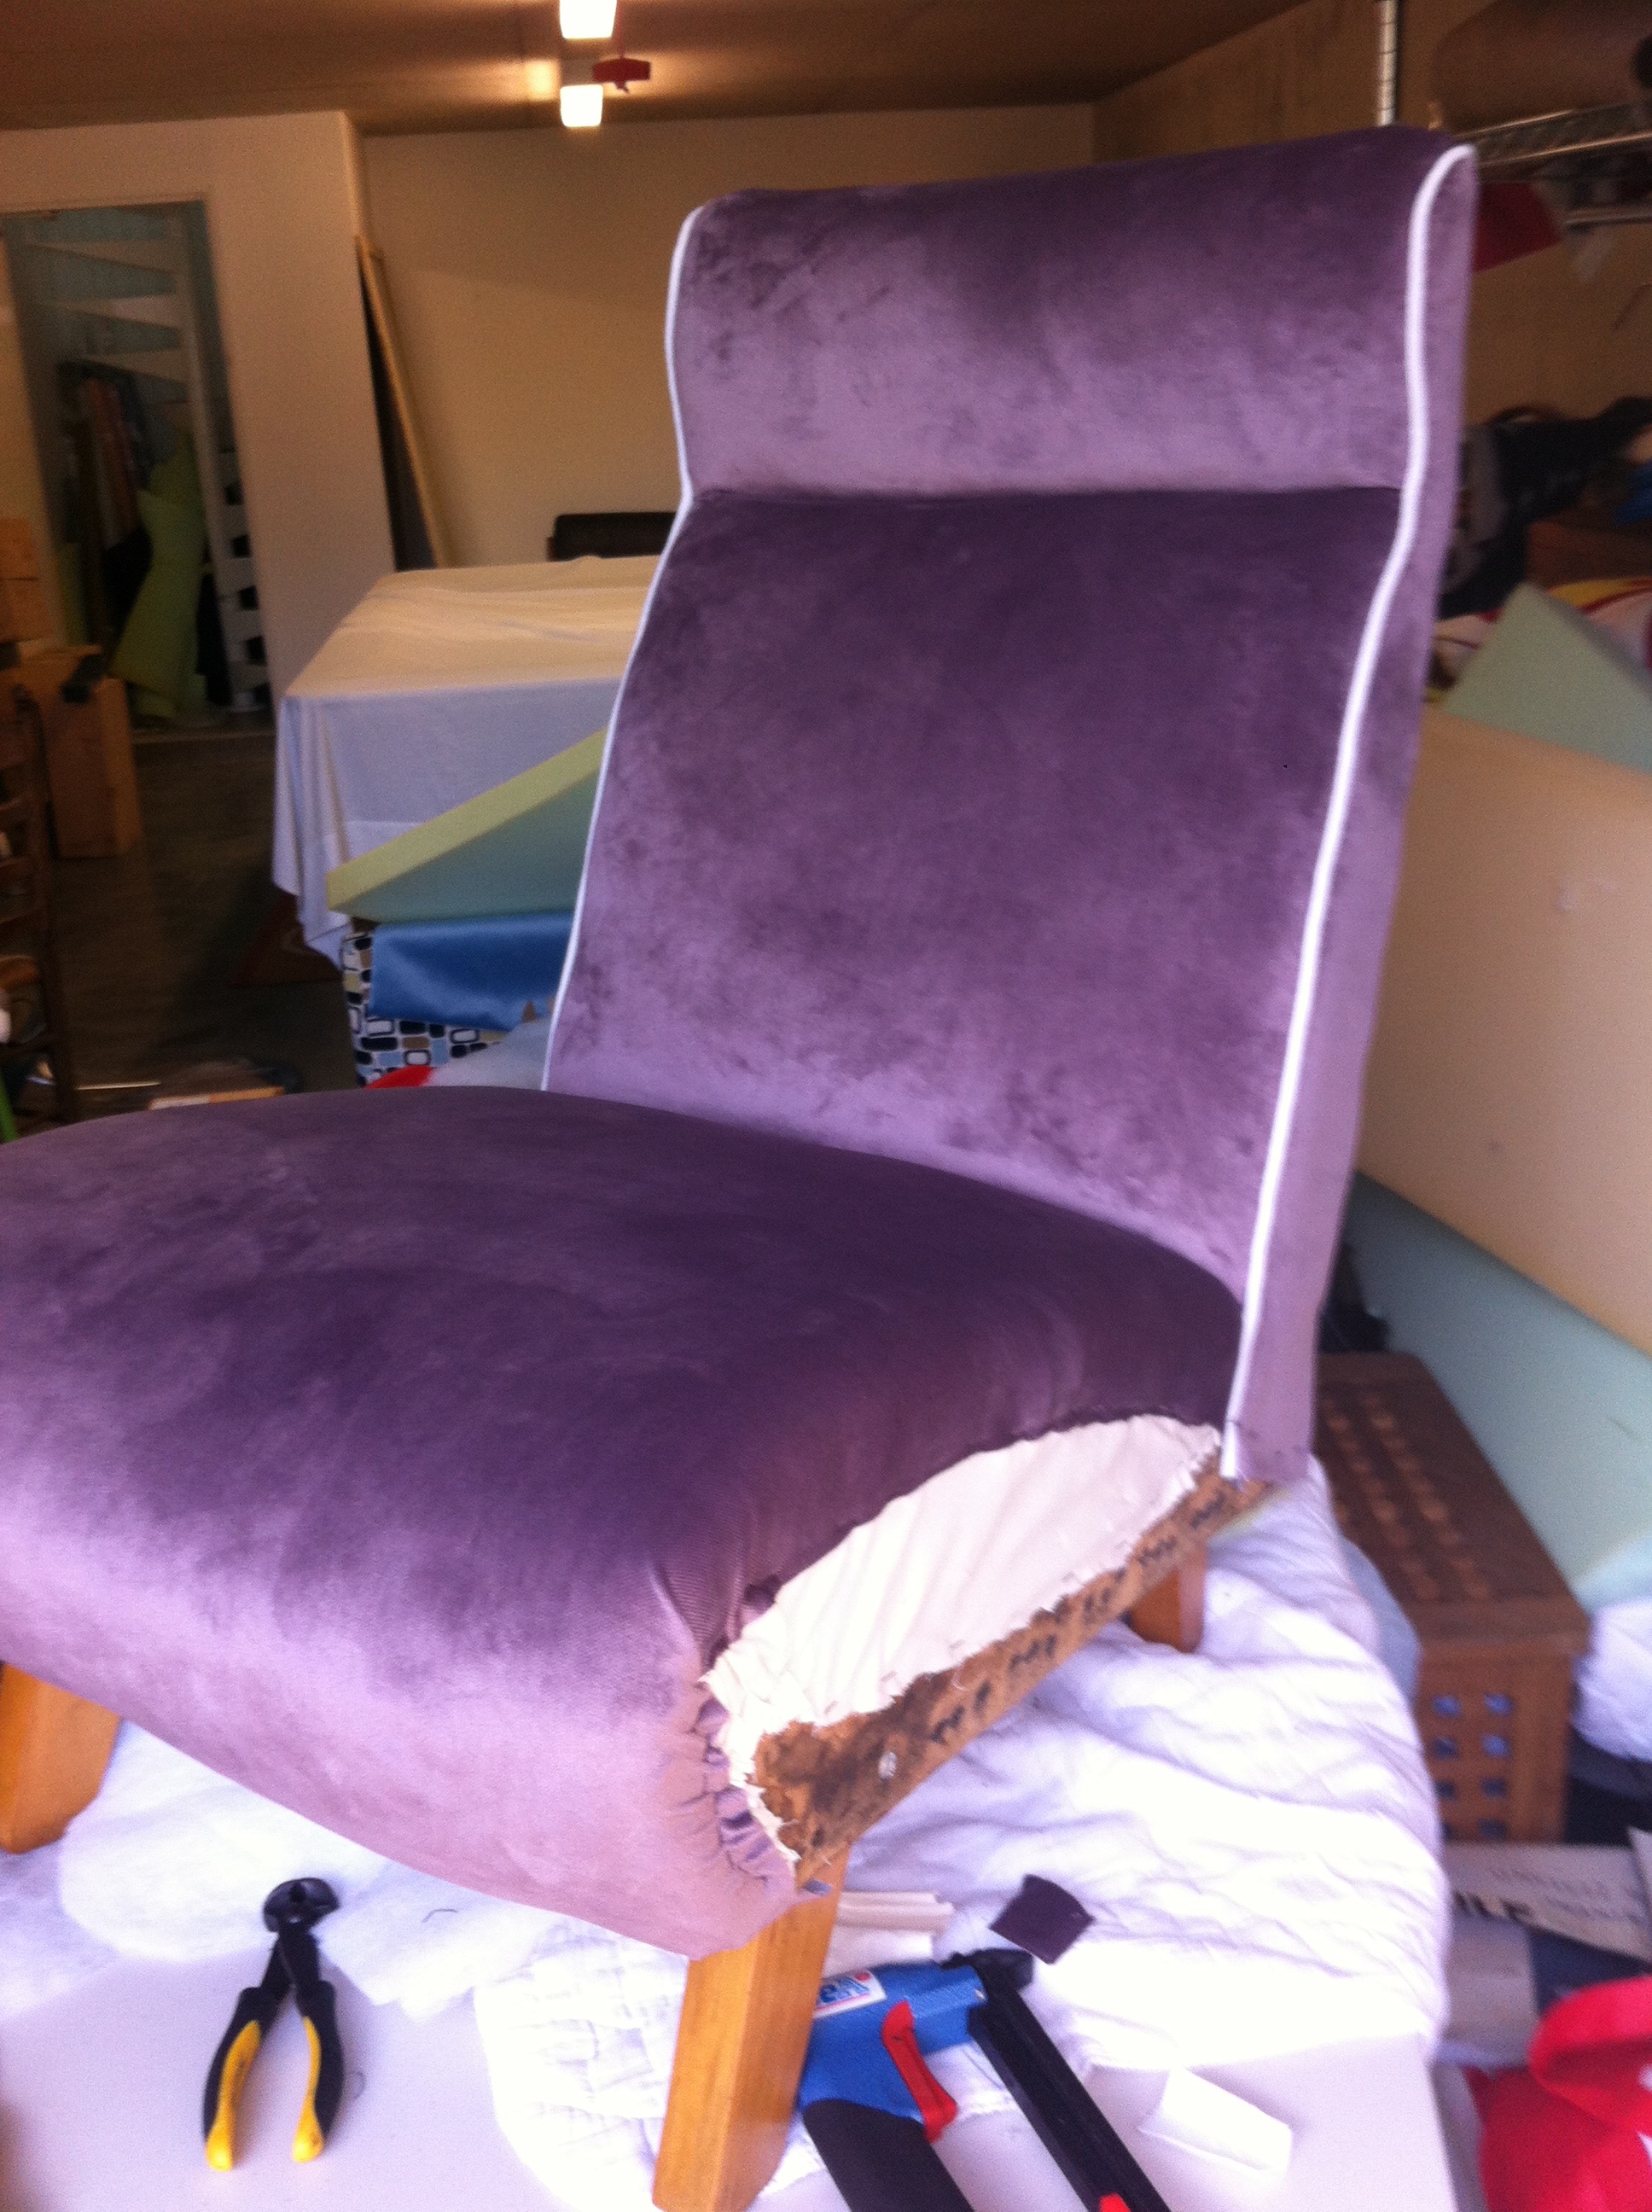
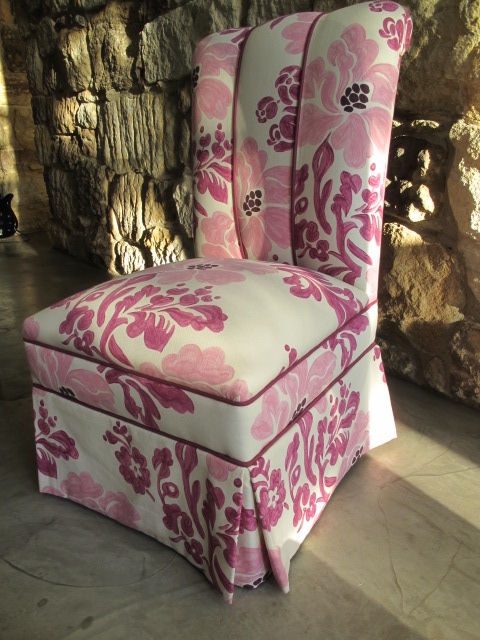
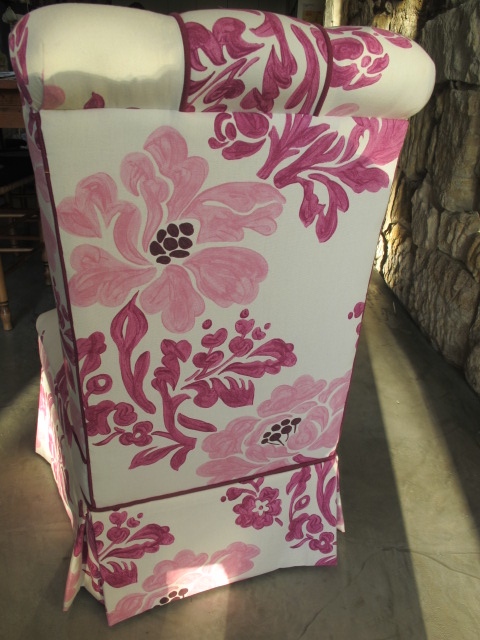
The treasures you can pick up on the side of the road!!!!!! all you need is a little vision of what could be. This client found this chair during a council clean up and loved the shape. Once the fabric was picked – gorgeous velvet by Warwick, it was time to get to work.

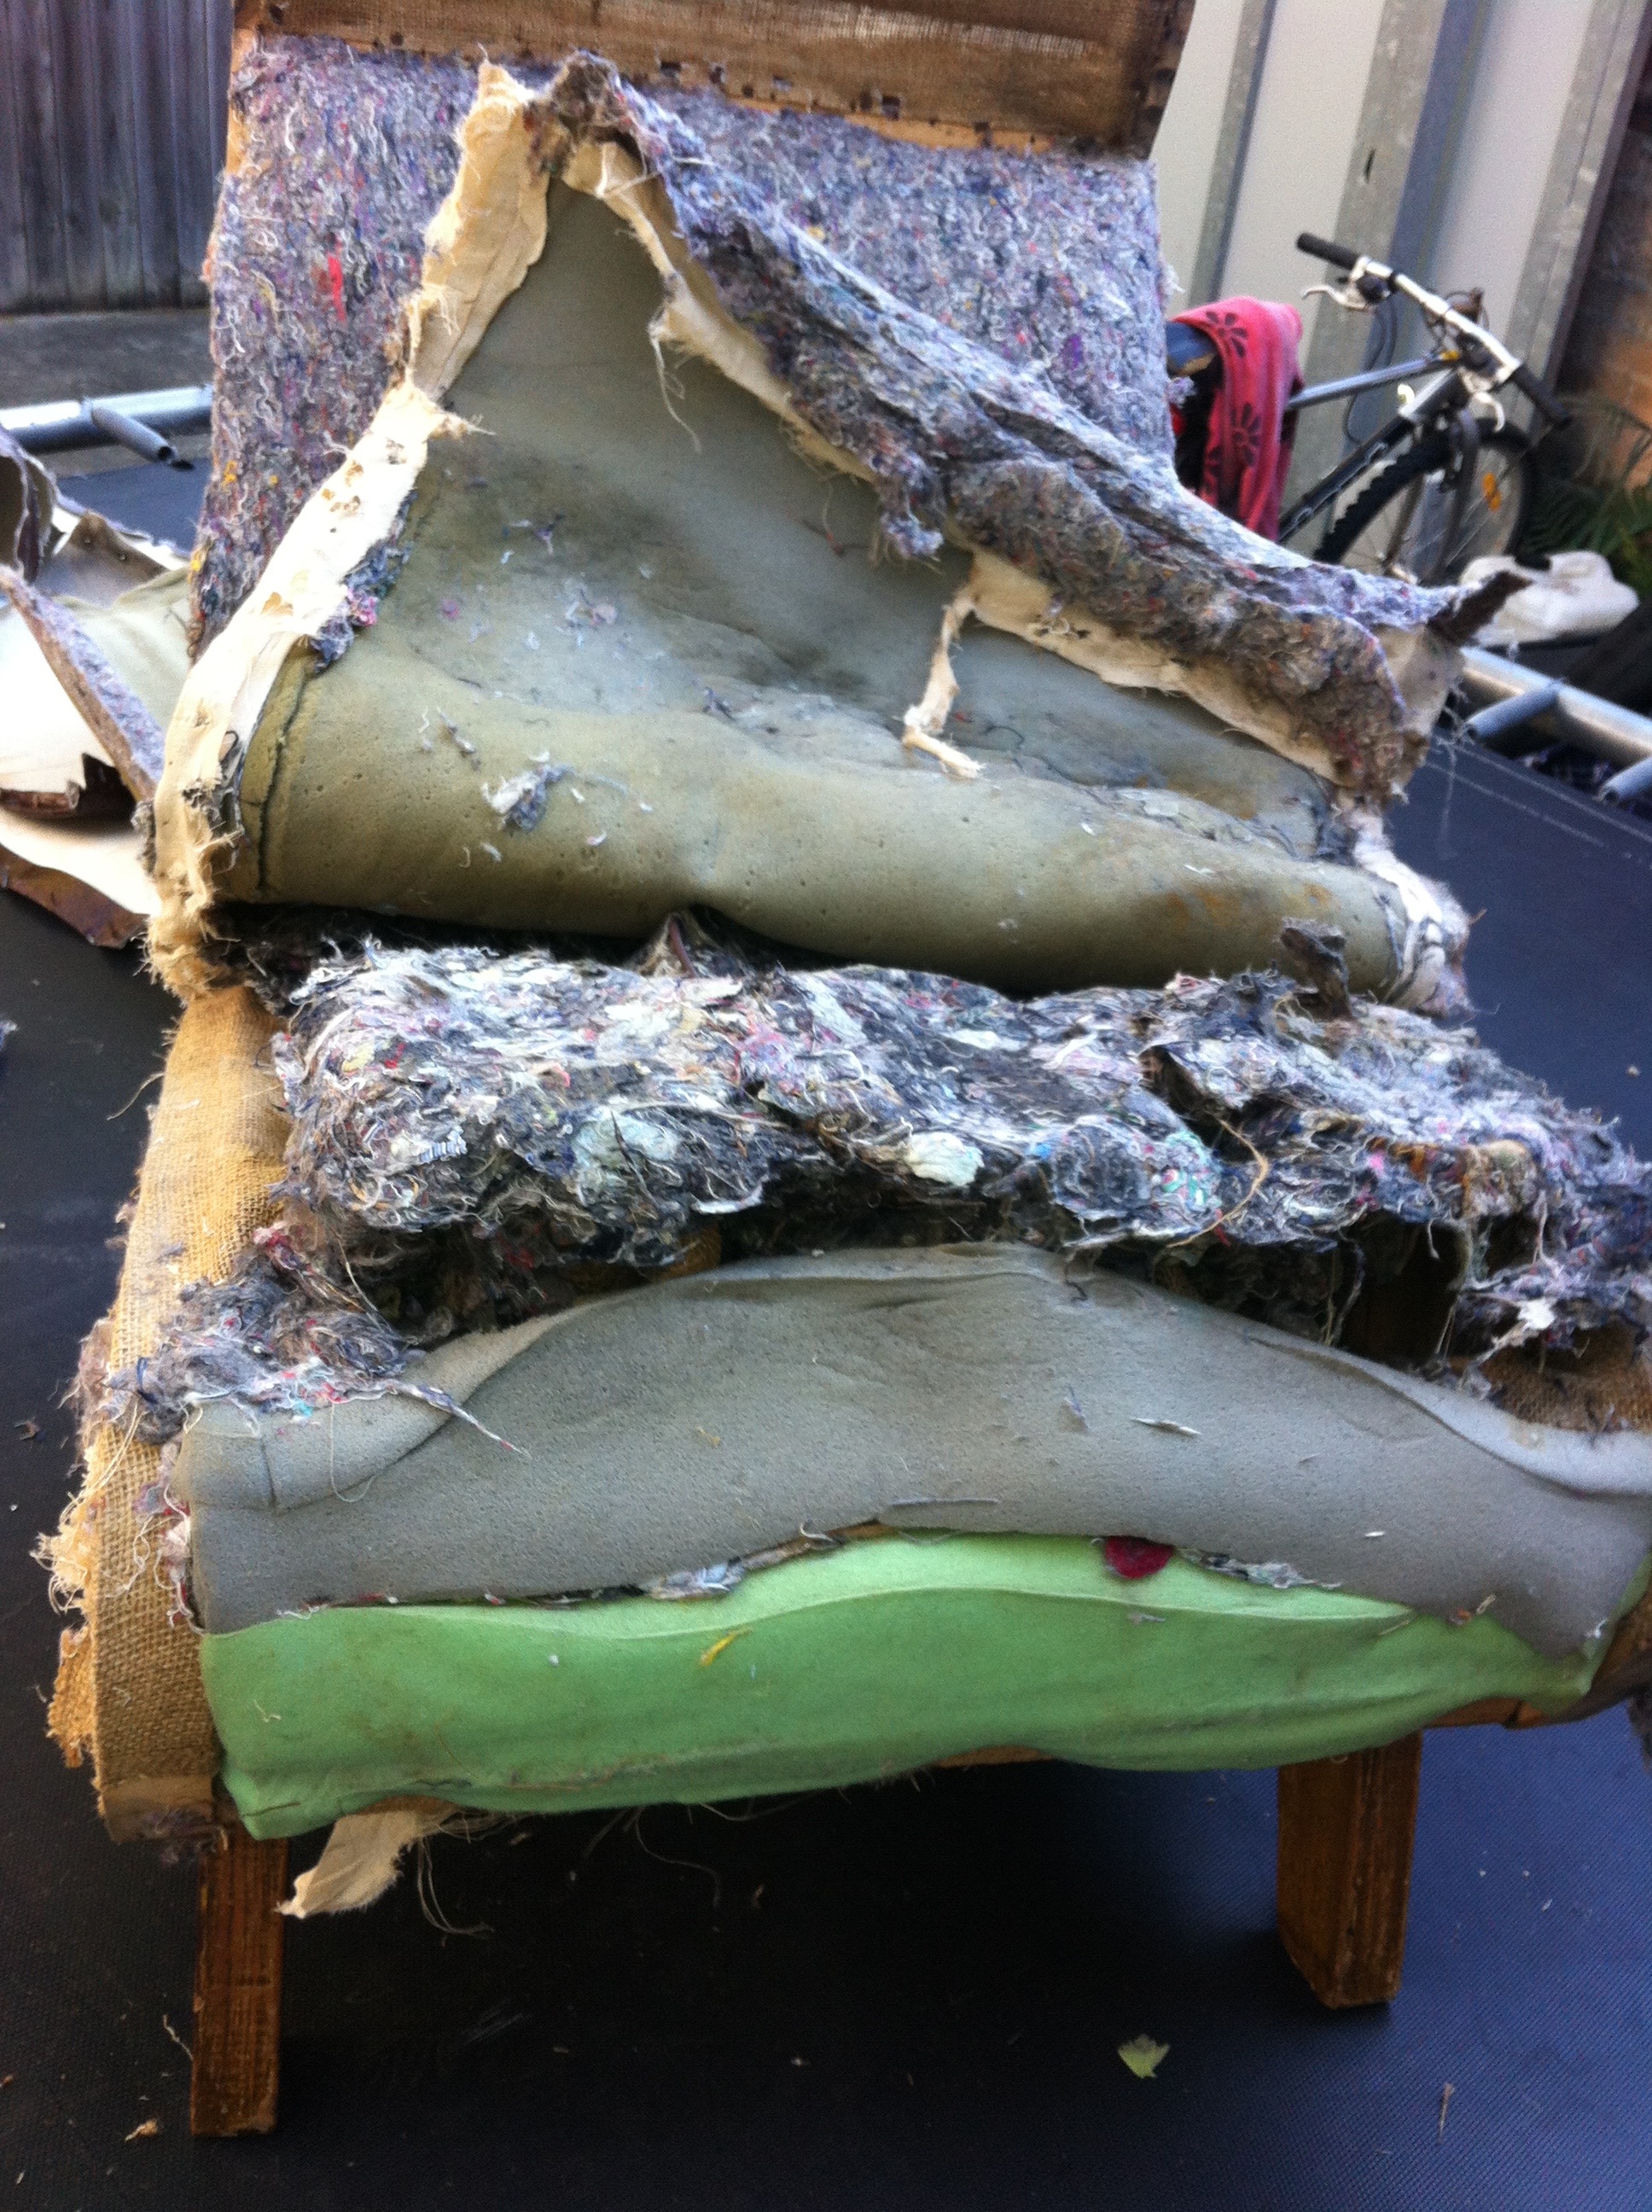

All the old layers were taken off, as well as the springs, as they were rusty and out of alignment.
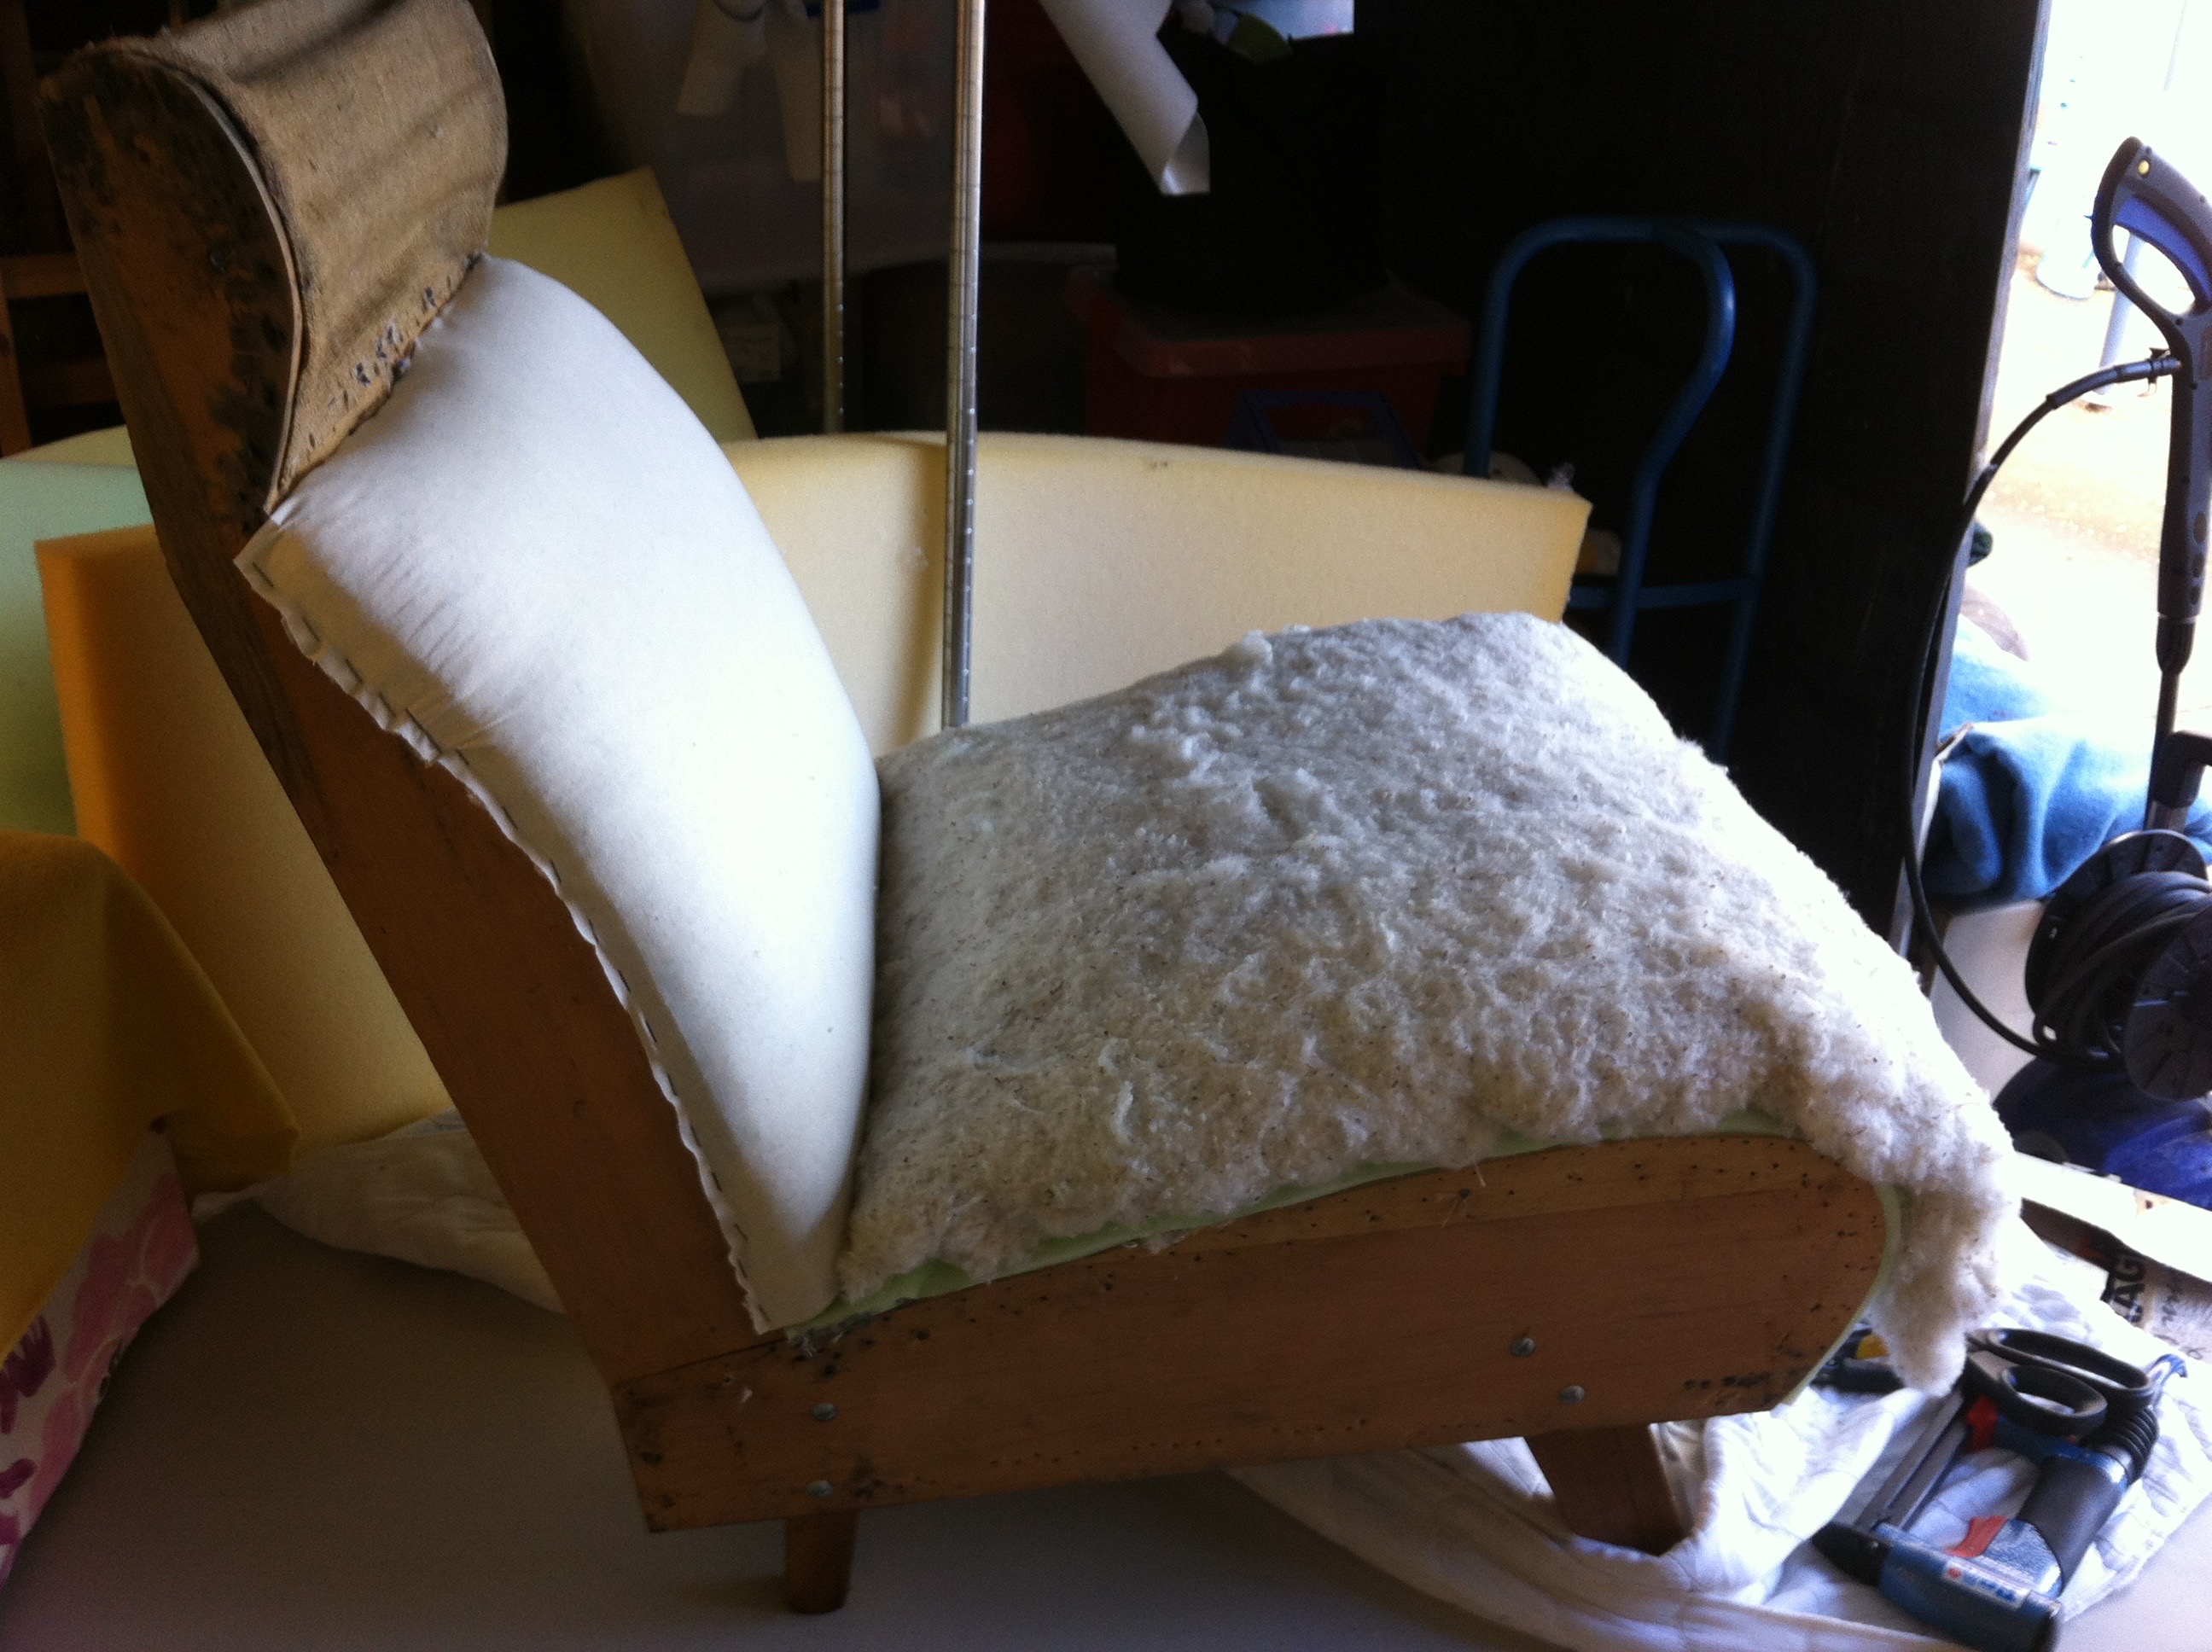
The legs were stripped of old paint and polish then it was time to put in new webbing, springs, hessian and padding and finally the fabric.


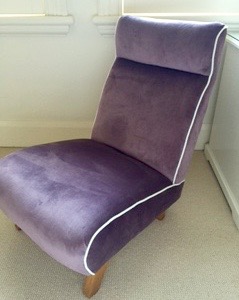
Who doesn’t love FUSCHIA – a vibrant purplish red colour which looks absolutely amazing in velvet.
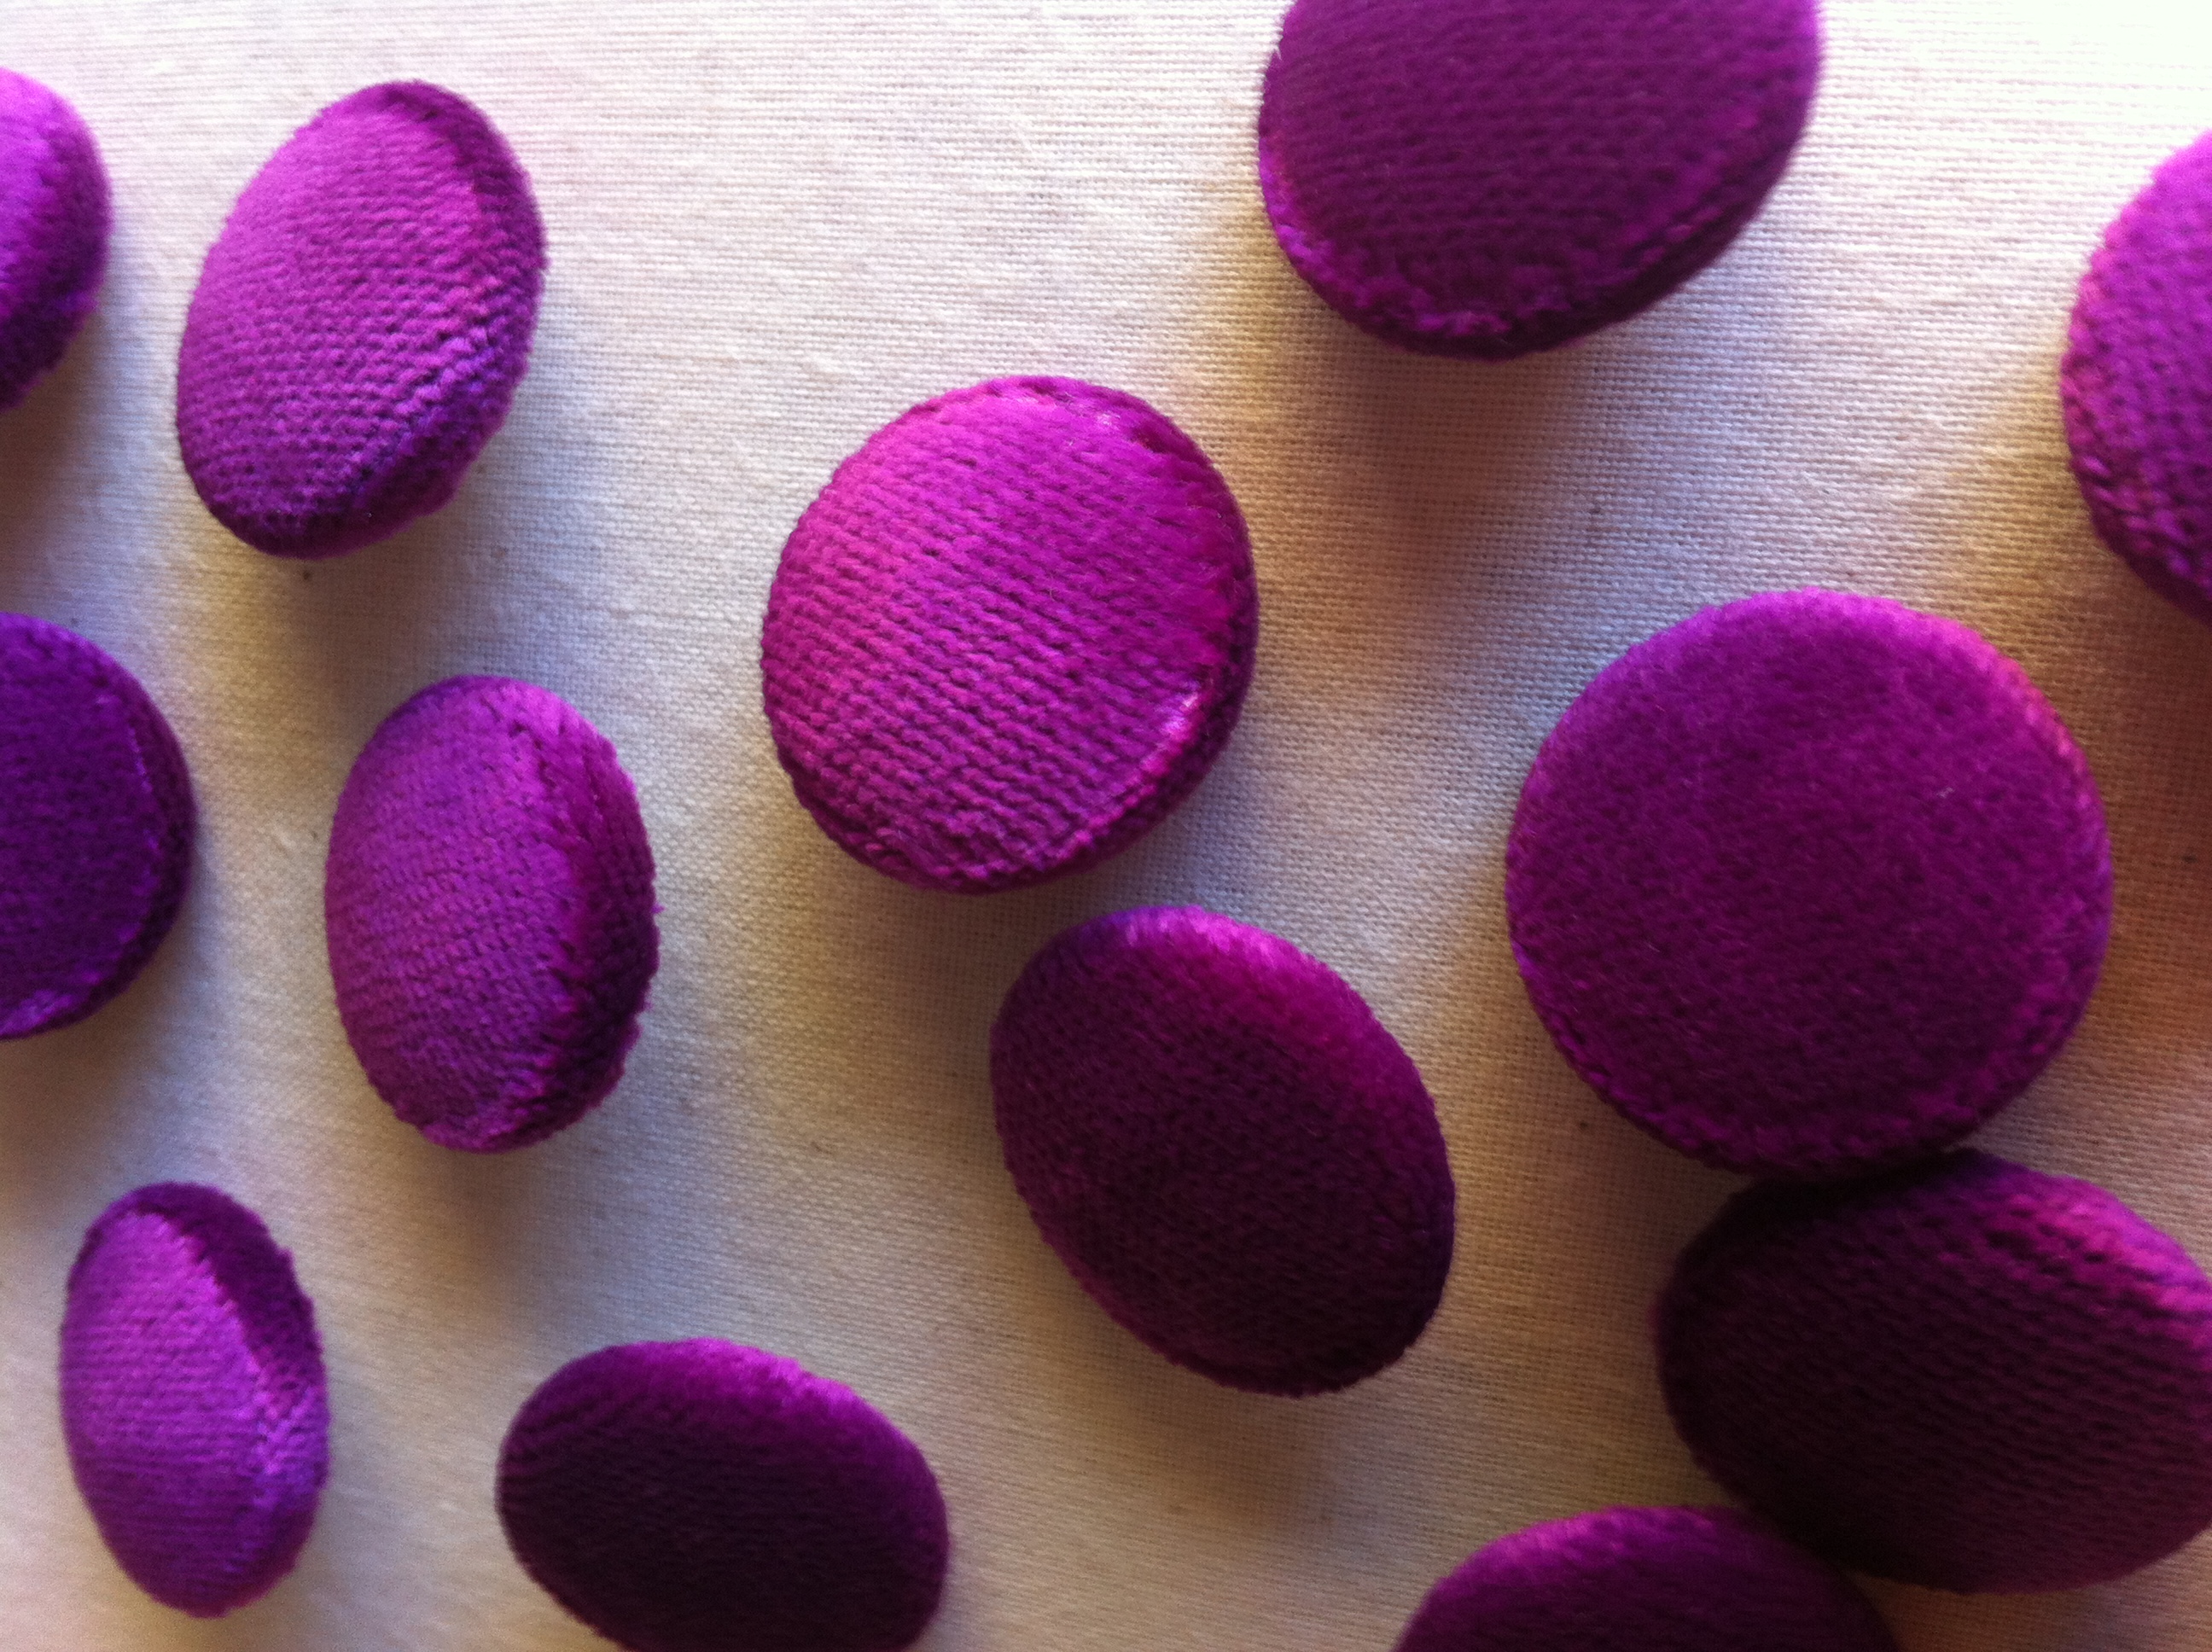
This client was not scared of colour !!!!! She wanted a bright, bun buttoned bed head made, to go against a dark, purple wallpaper.

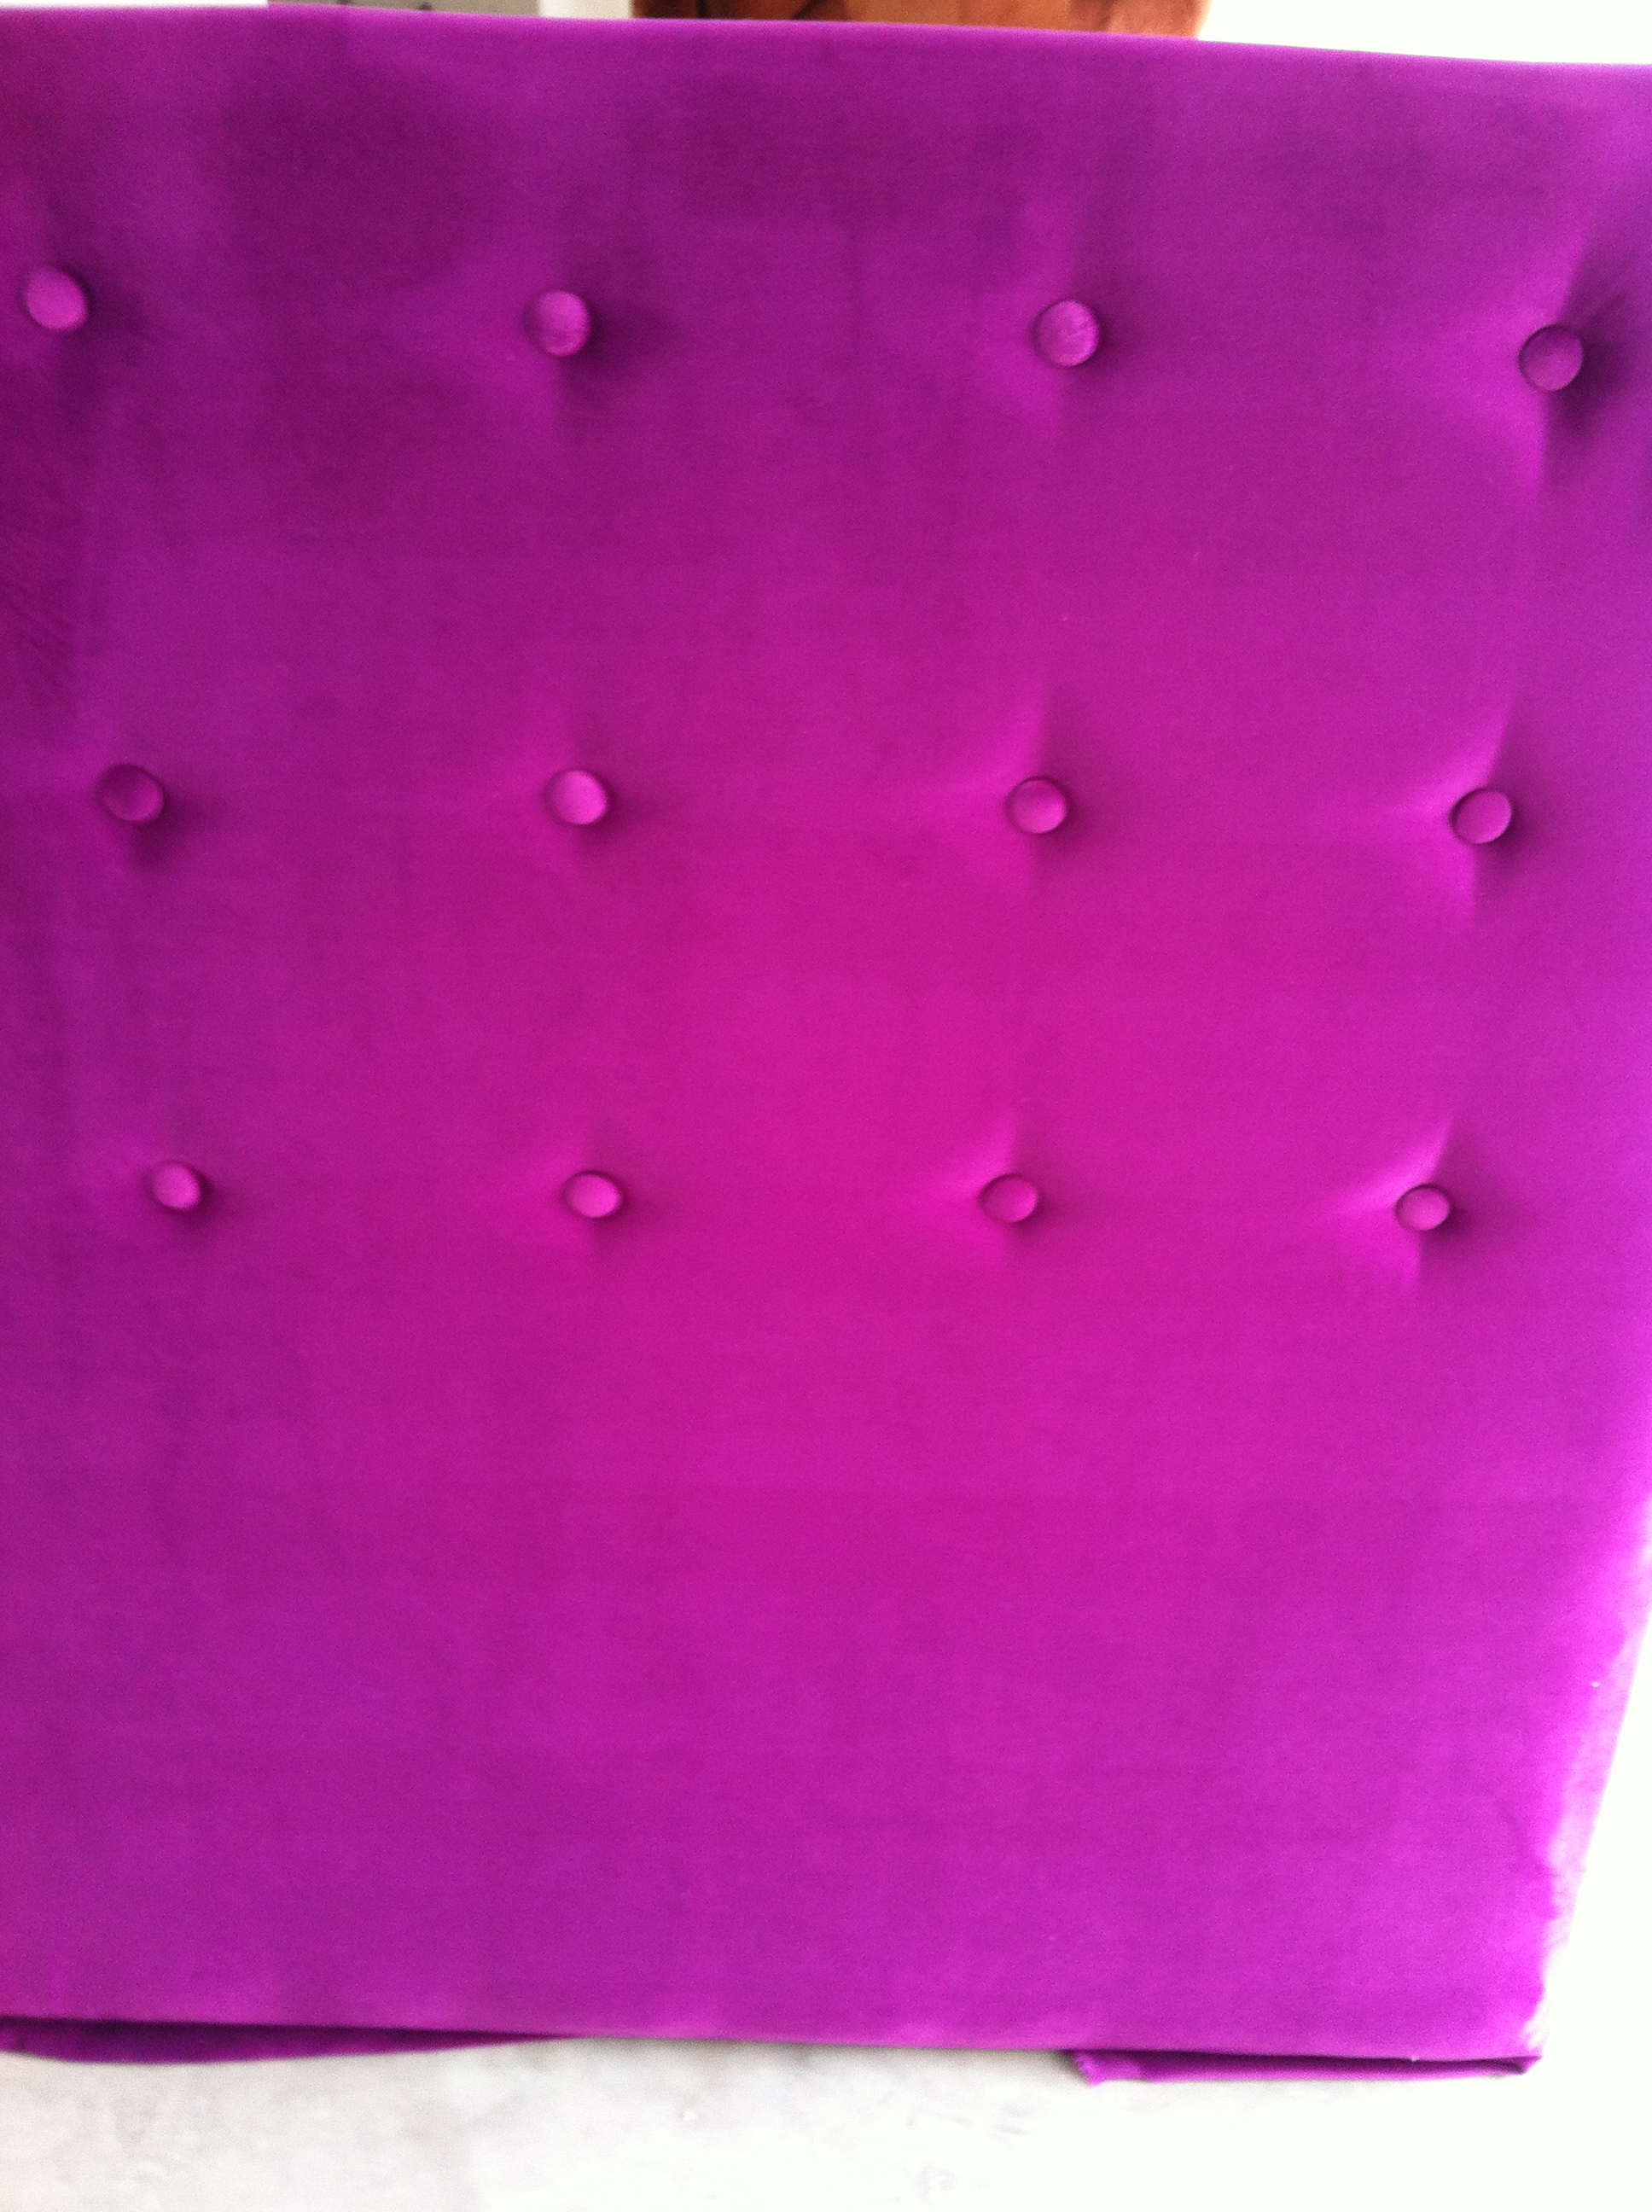
Bed head before the buttons were pulled through.
The finish product looked great – a very happy client.


I love going to auction houses to see what treasures there are. I came across this ugly looking rocking chair but I was sure I could transform it. Old rocking chairs are hard to find and this one definitely was in the need of a makeover. First things first – out with the old coverings and the old finishing on the wood. A good sand then a white wash and lacquer on top to create a shabby chic style.
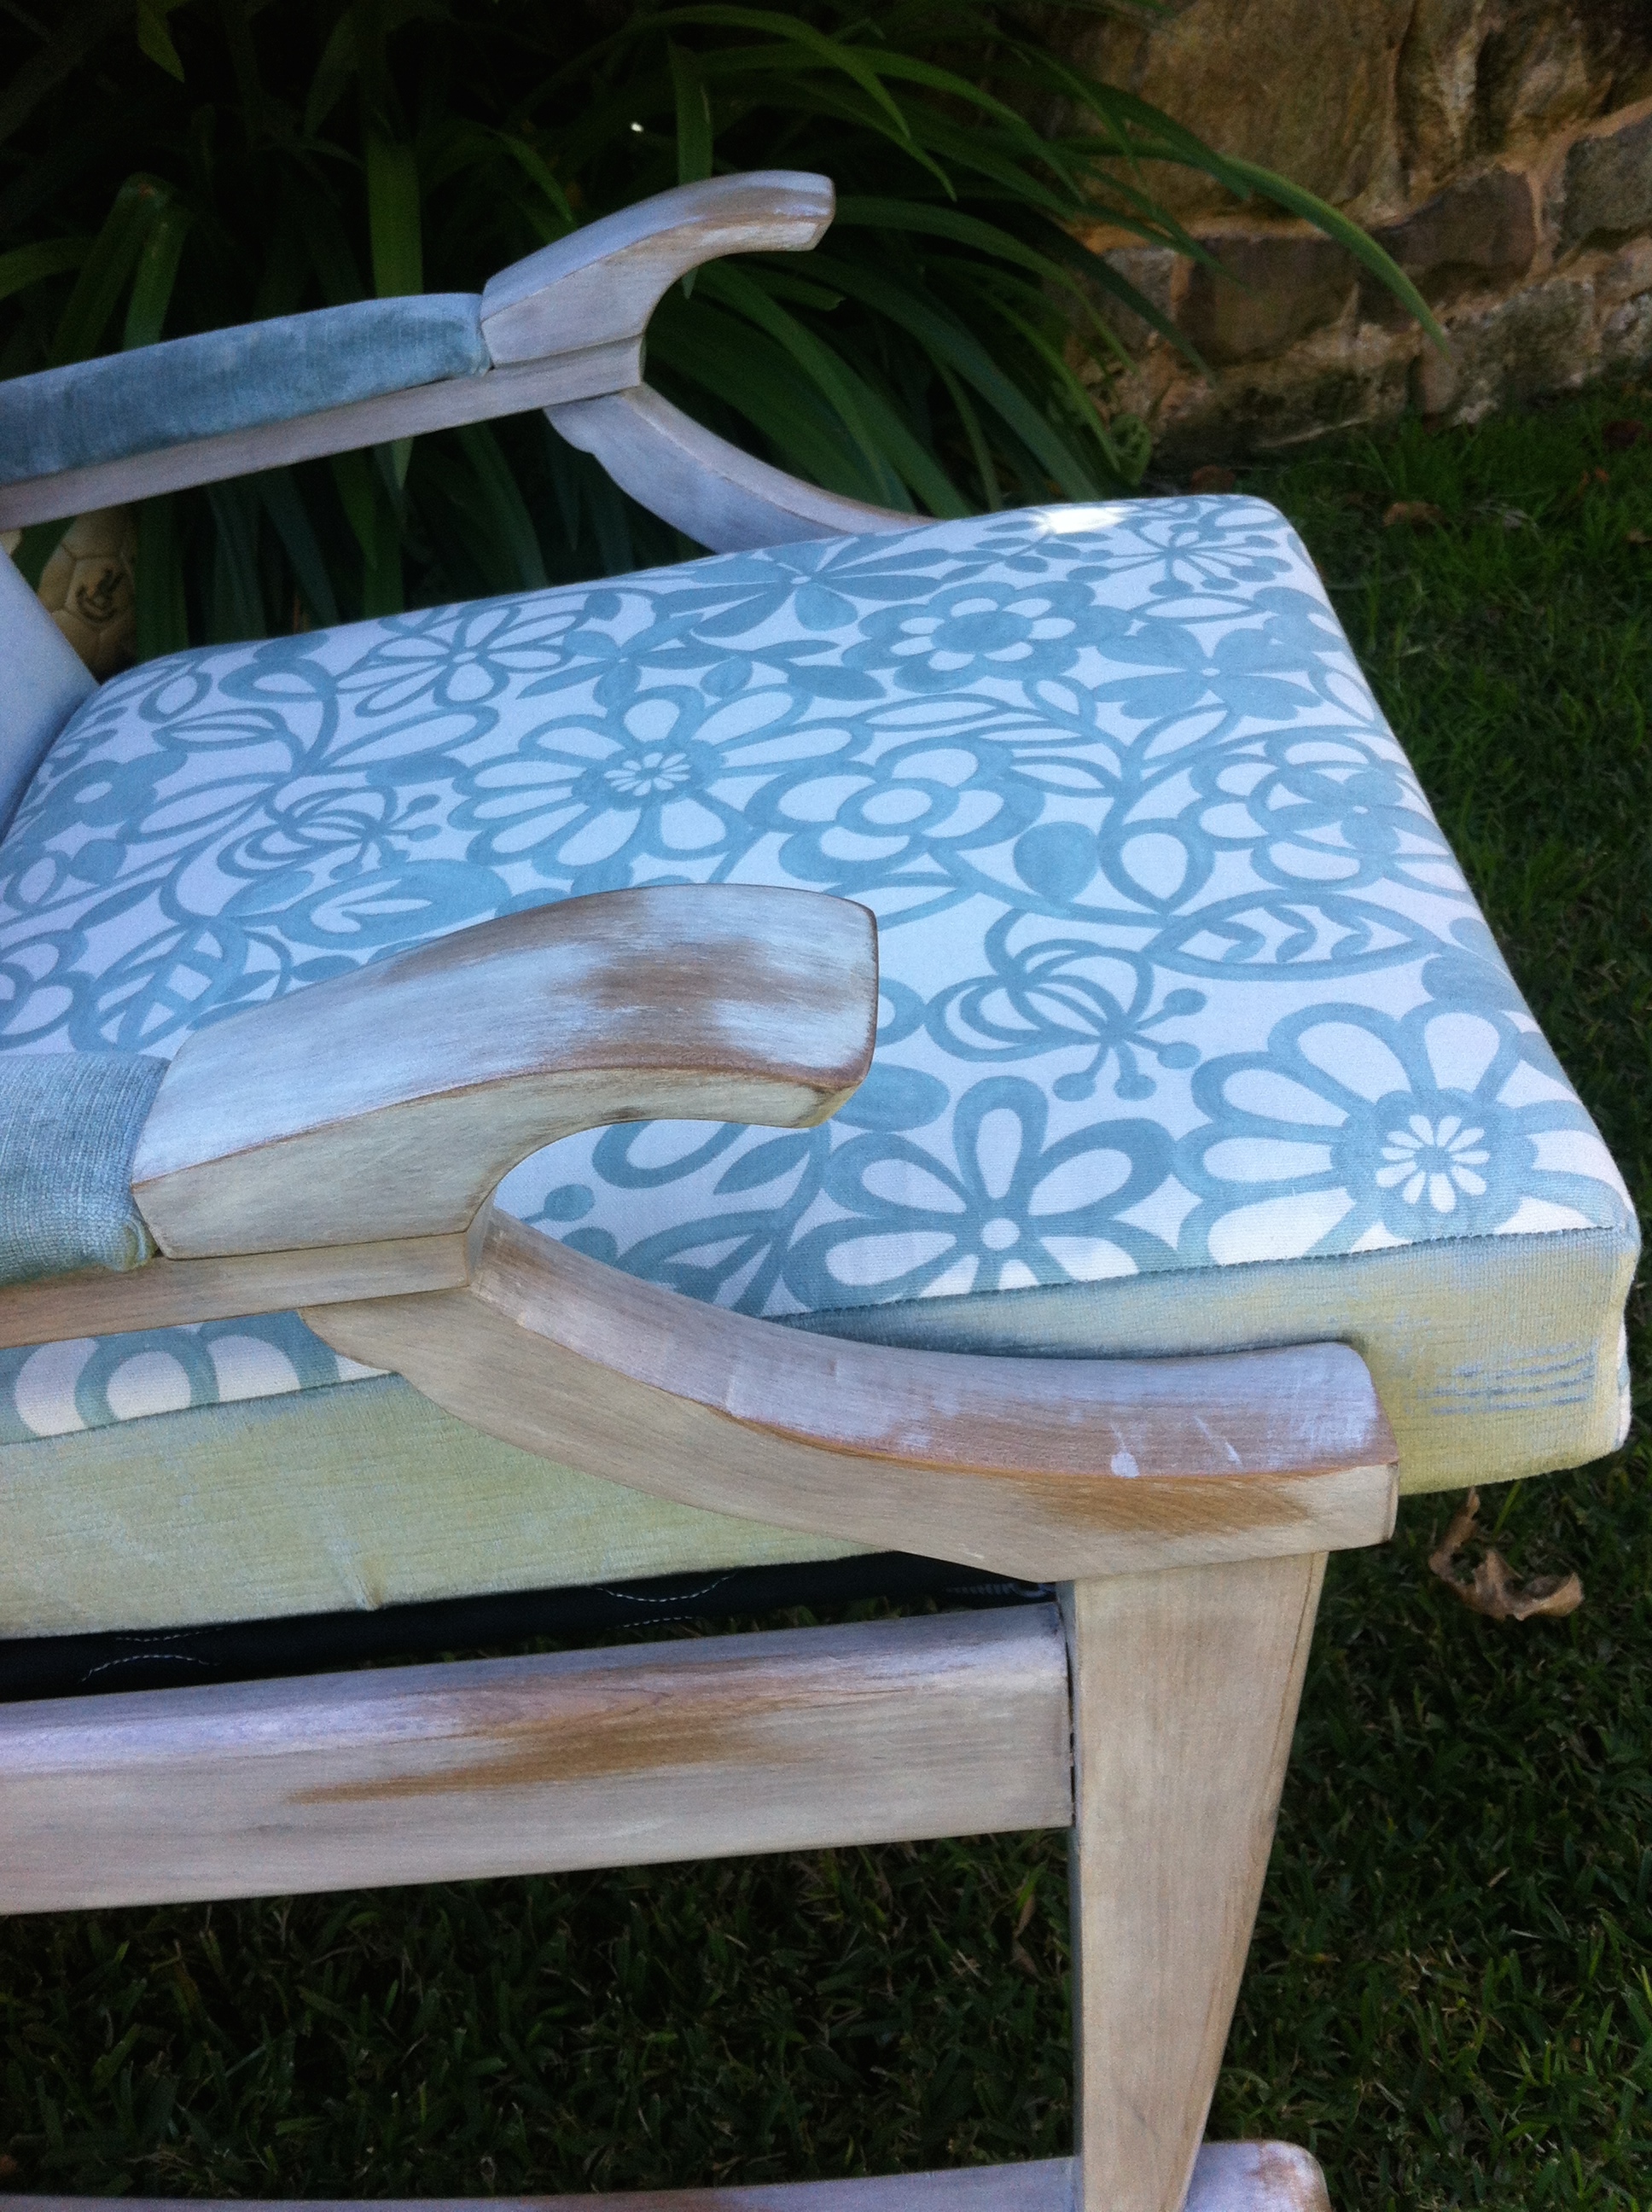
I have used material that I sourced from Bev’s Remnants. What a fantastic store – you never come out empty handed.
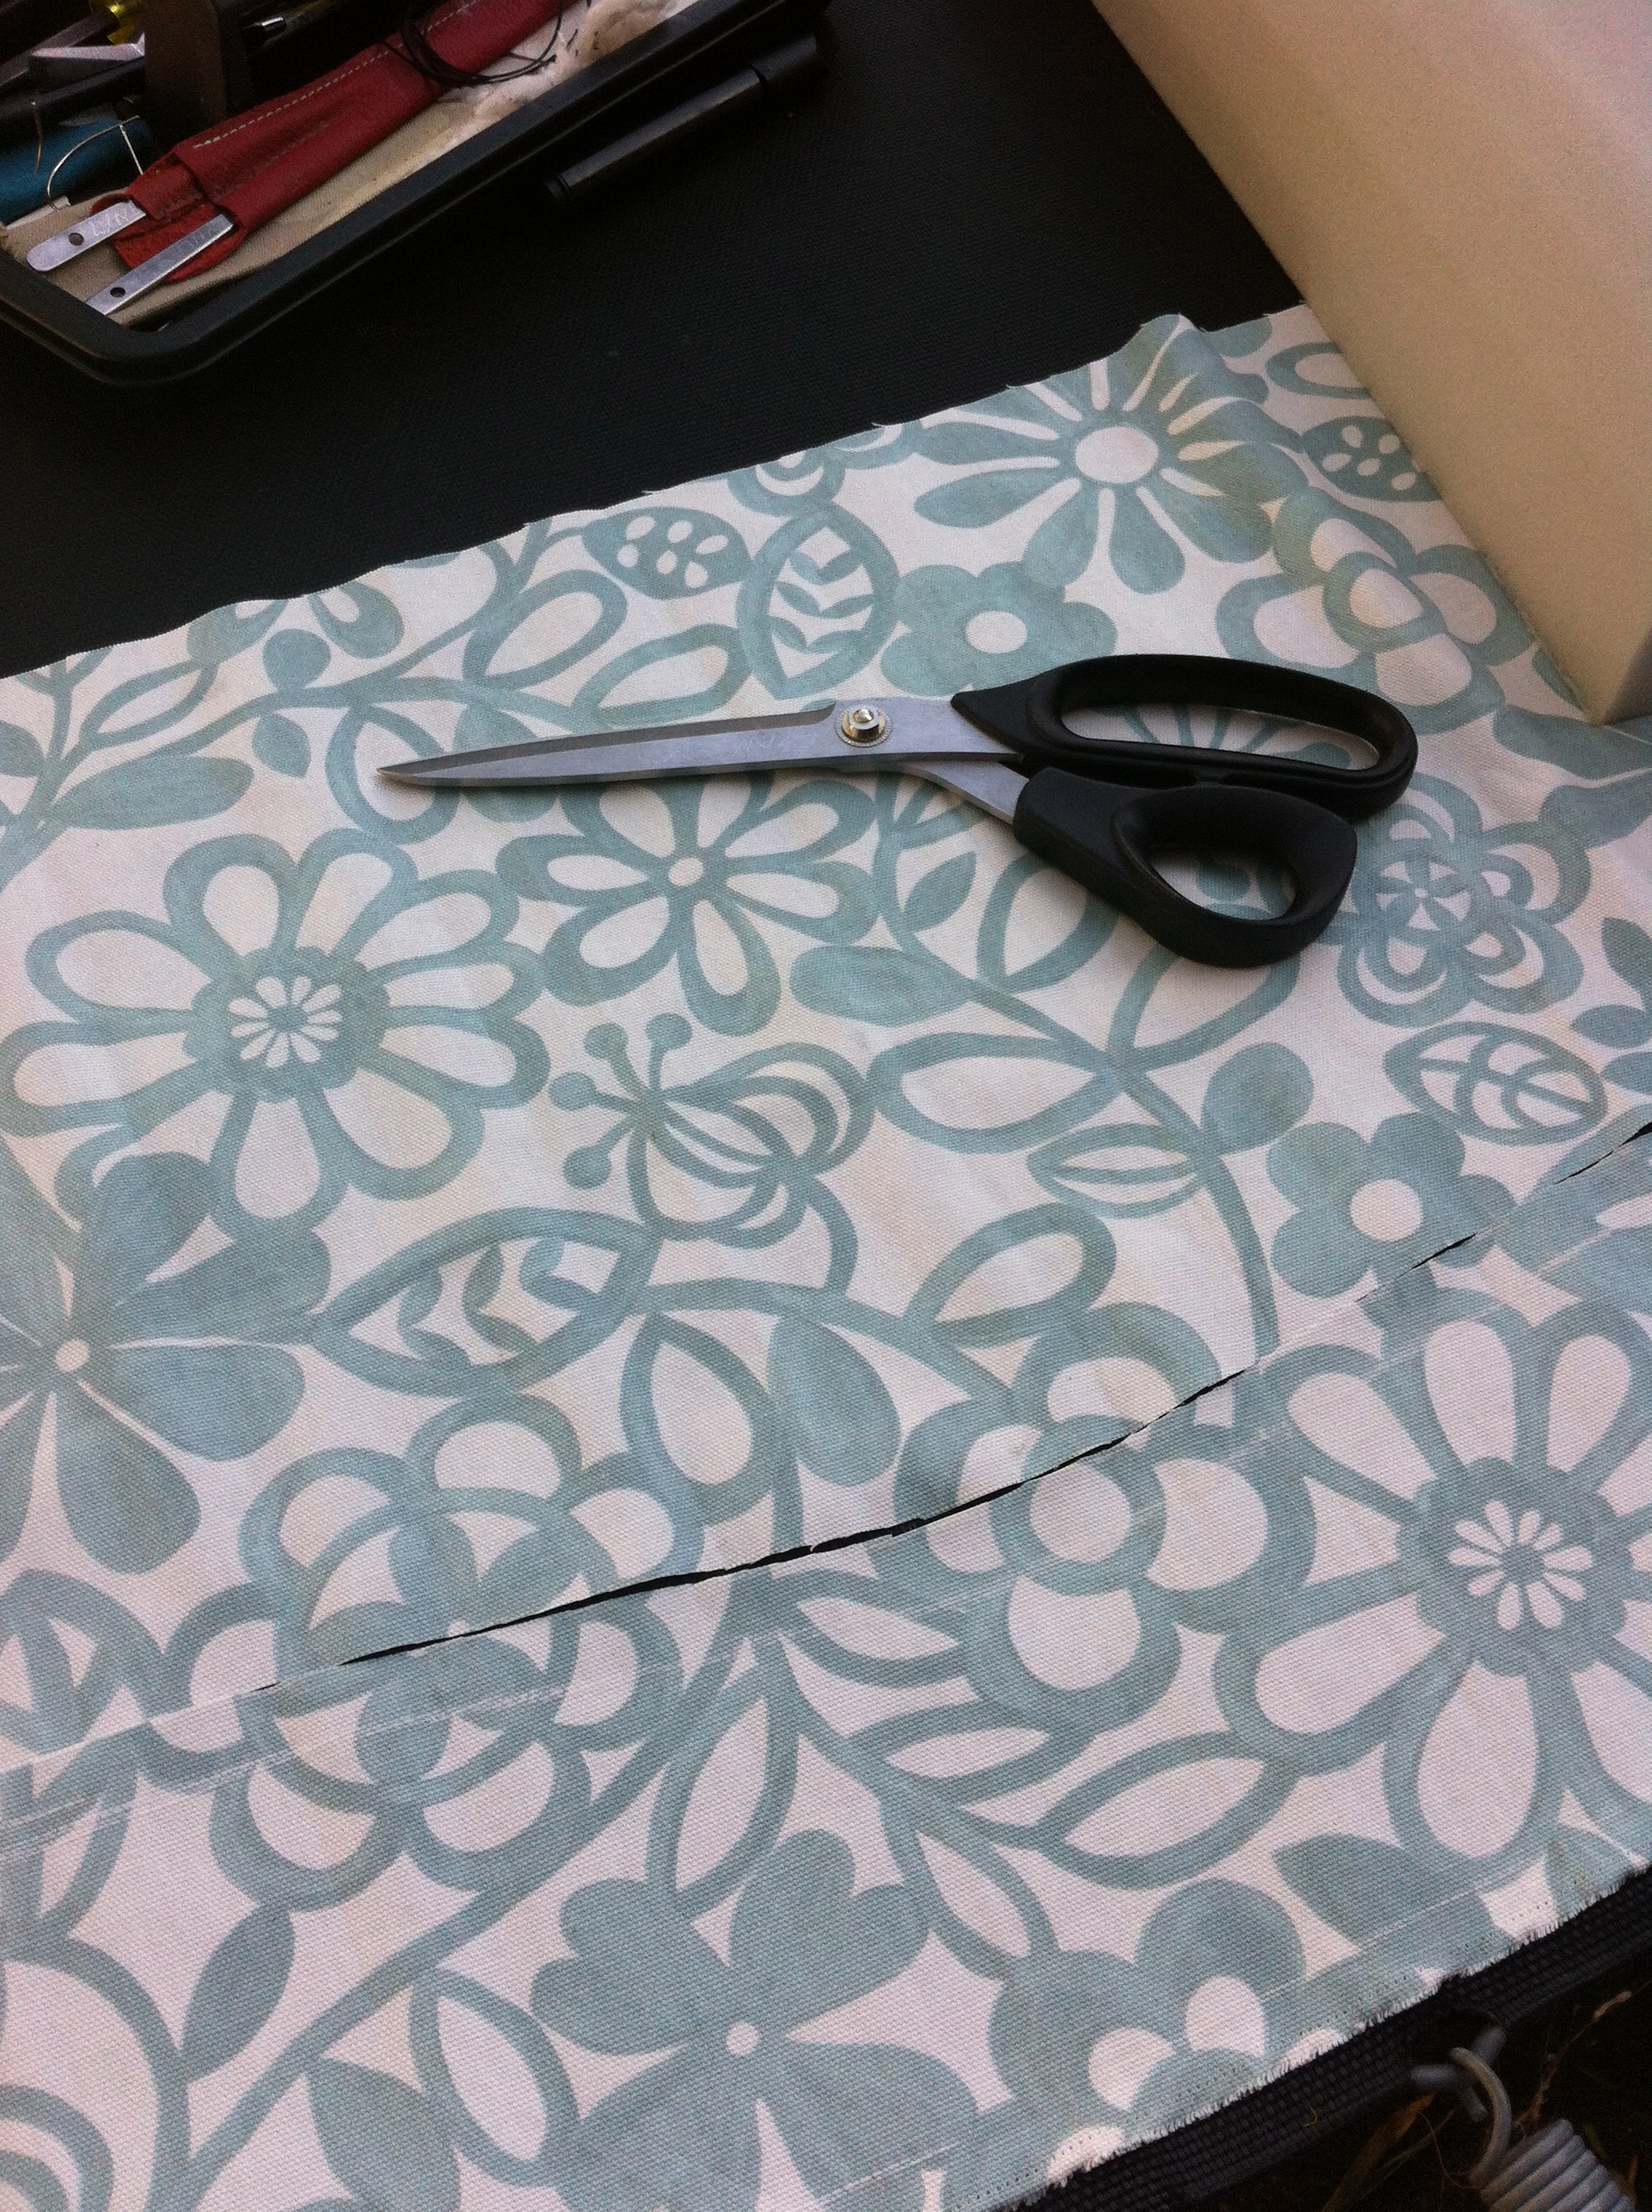
I love the soft blue/ green and the old fashioned velvet on the back and sides.


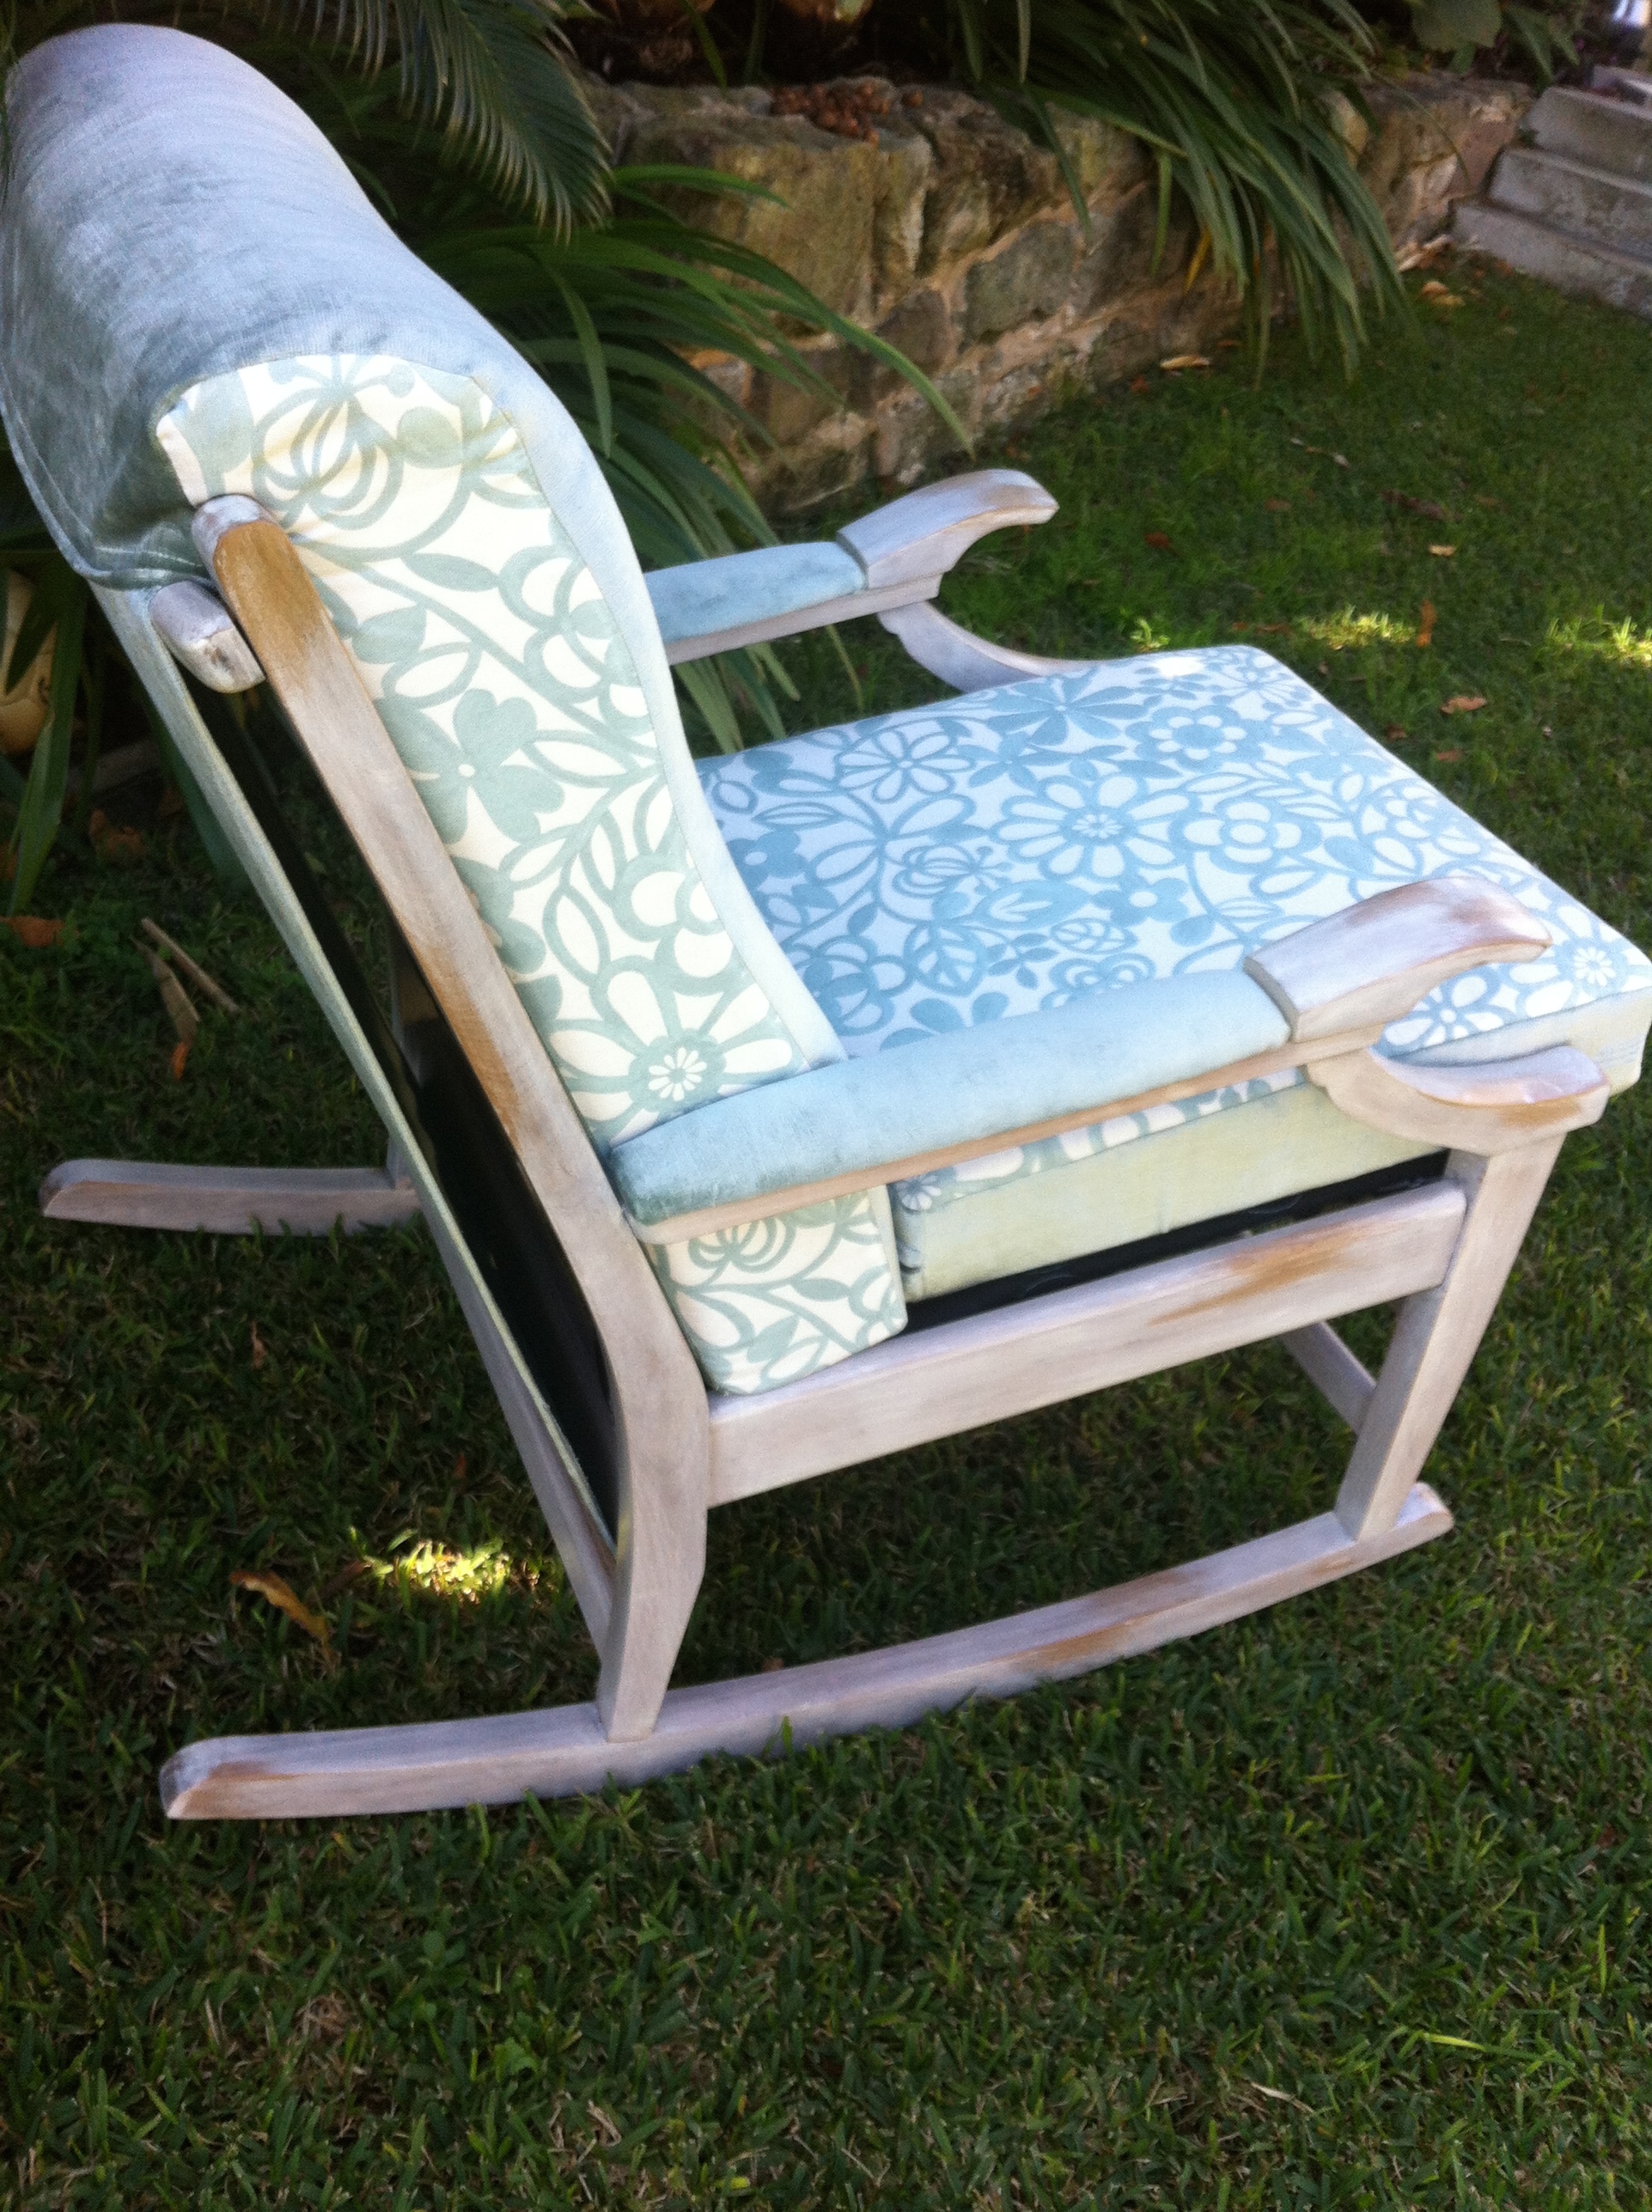
Every girls dream …… a chair that has a hiding place from nosey brothers & sisters.


You could put favourite books, toys, shoes, jewellery – who knows what!!!!!

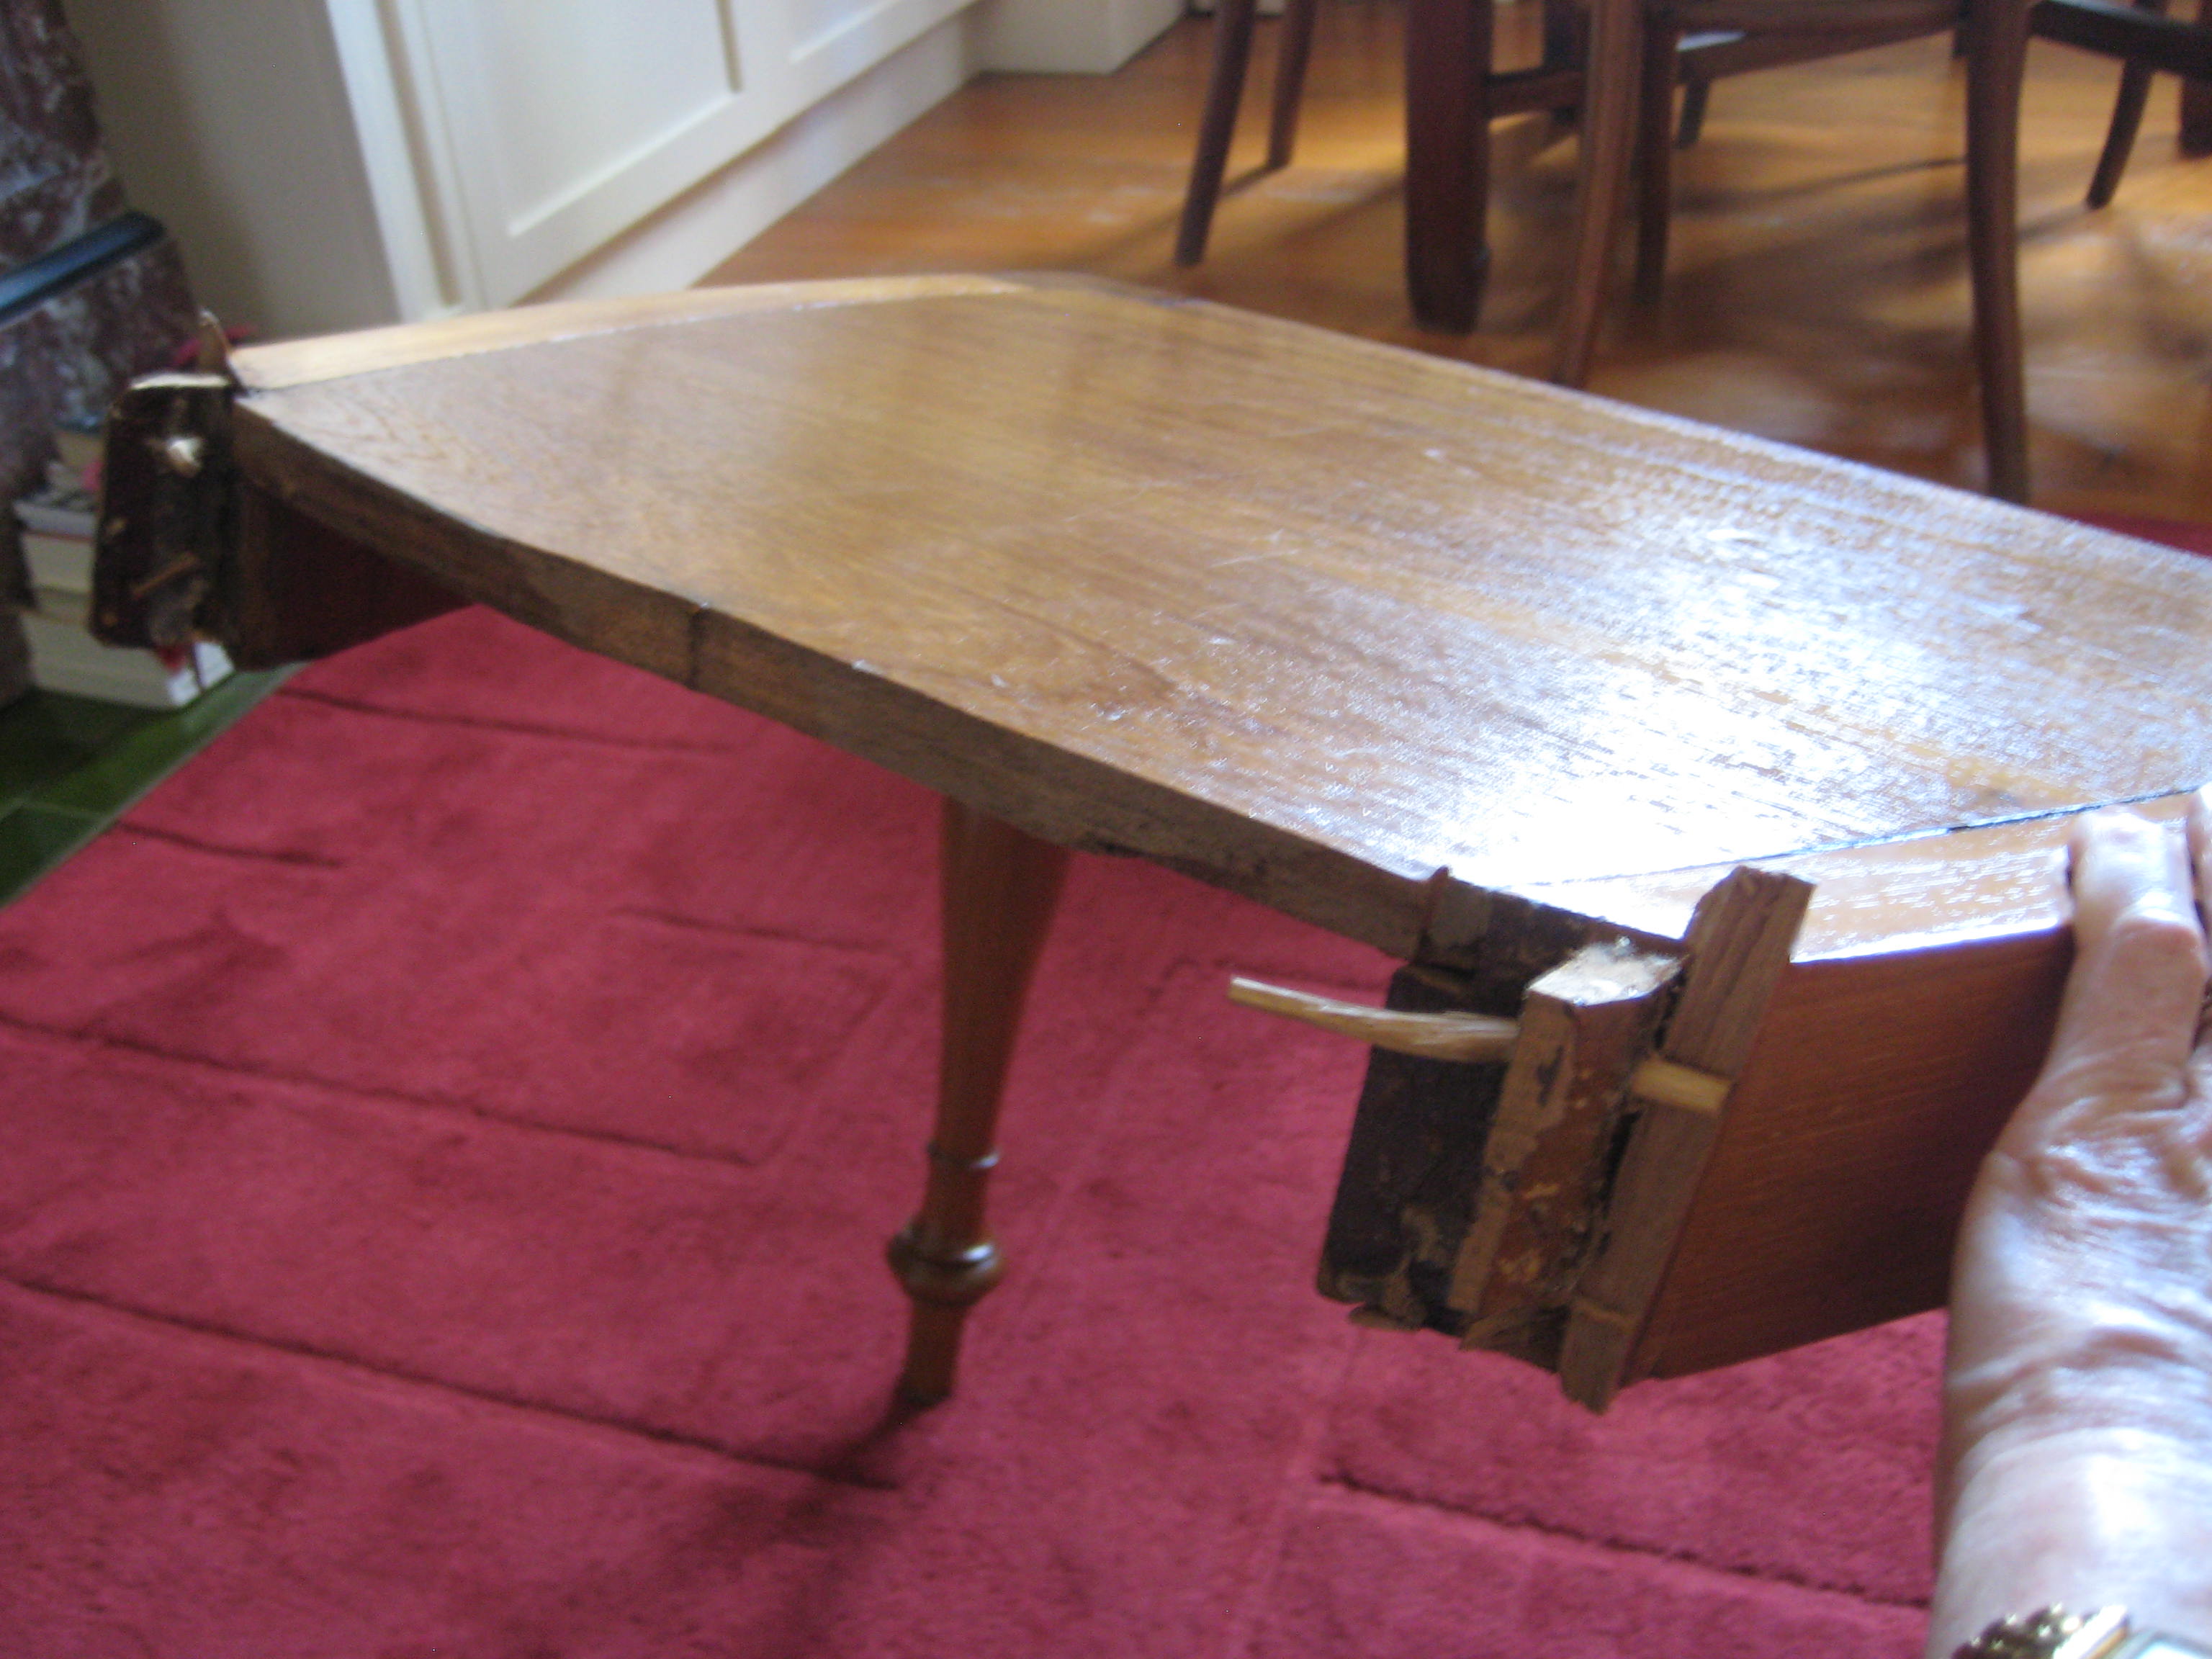
What is it about teenage boys who can’t sit still and need to rock back & forth on the dining room chair.
No matter who I talk to this is a common theme. Of course the inevitable happens , after countless raves at them to stop it – Yep the whole chair breaks. But can it be fixed or do you chuck it out.

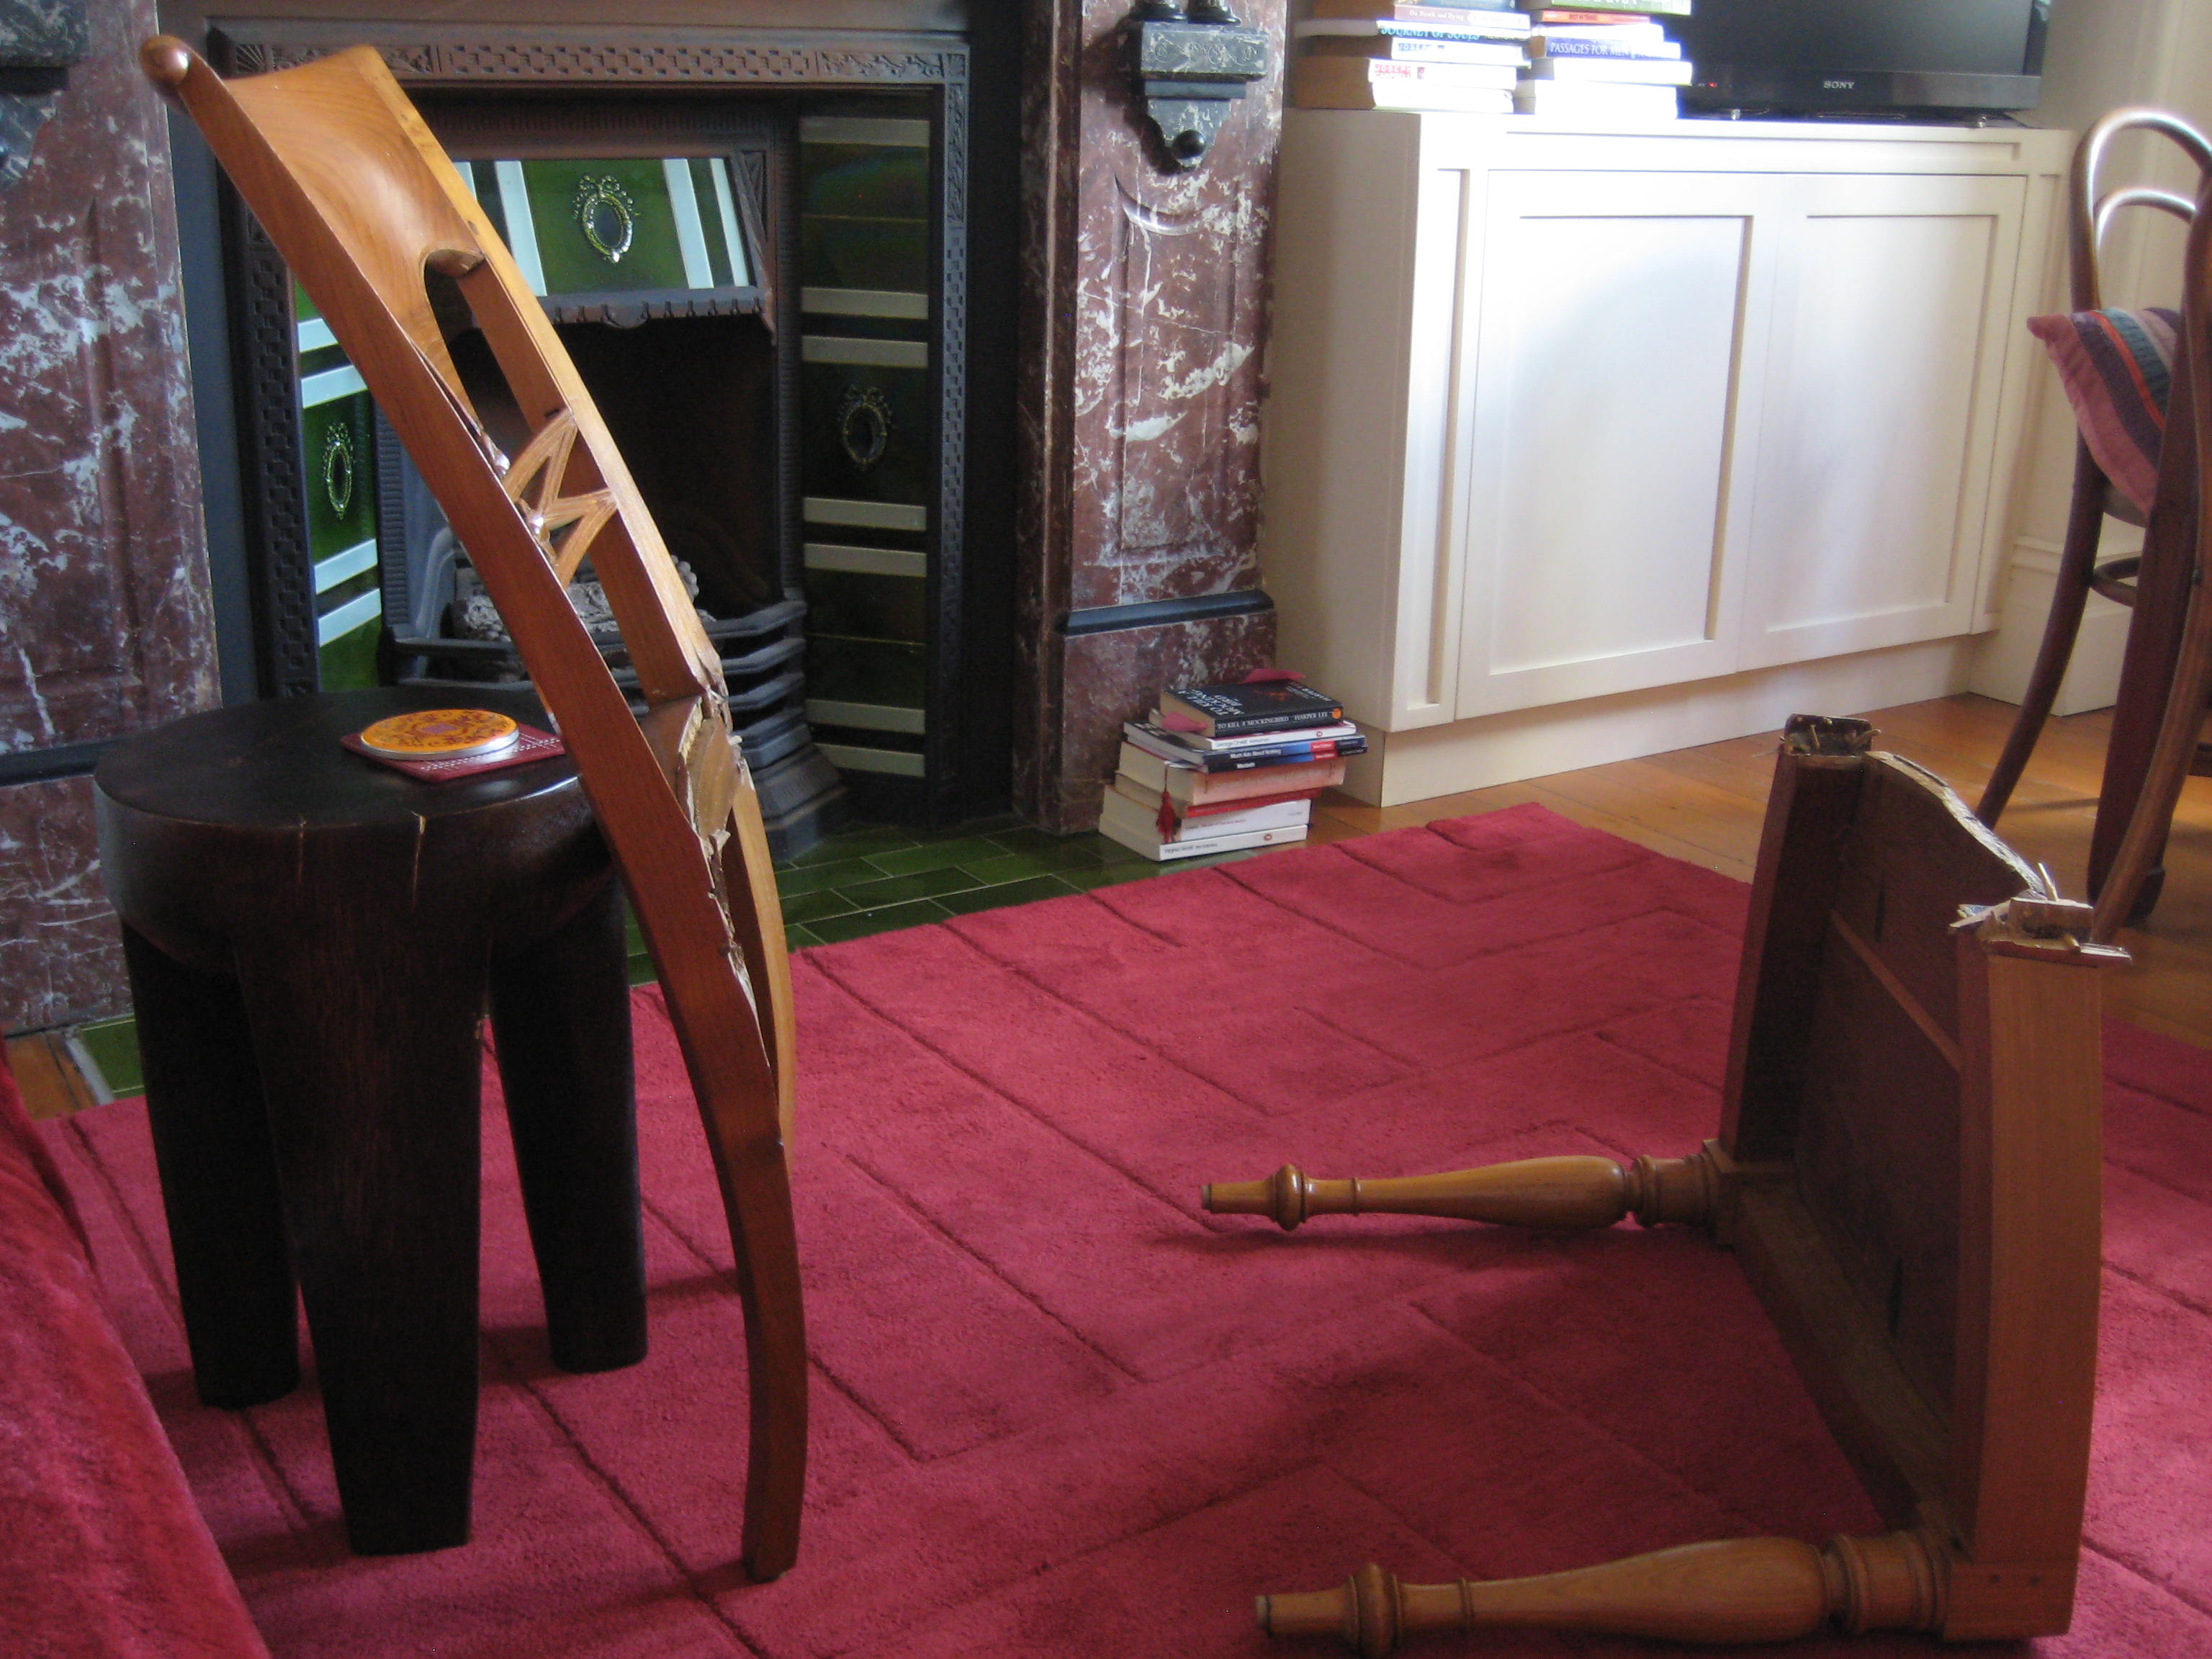 After a friend told me about the chair I said I would try to fix it for her. Time to put those lessons from Furnishing Finishing course into use.
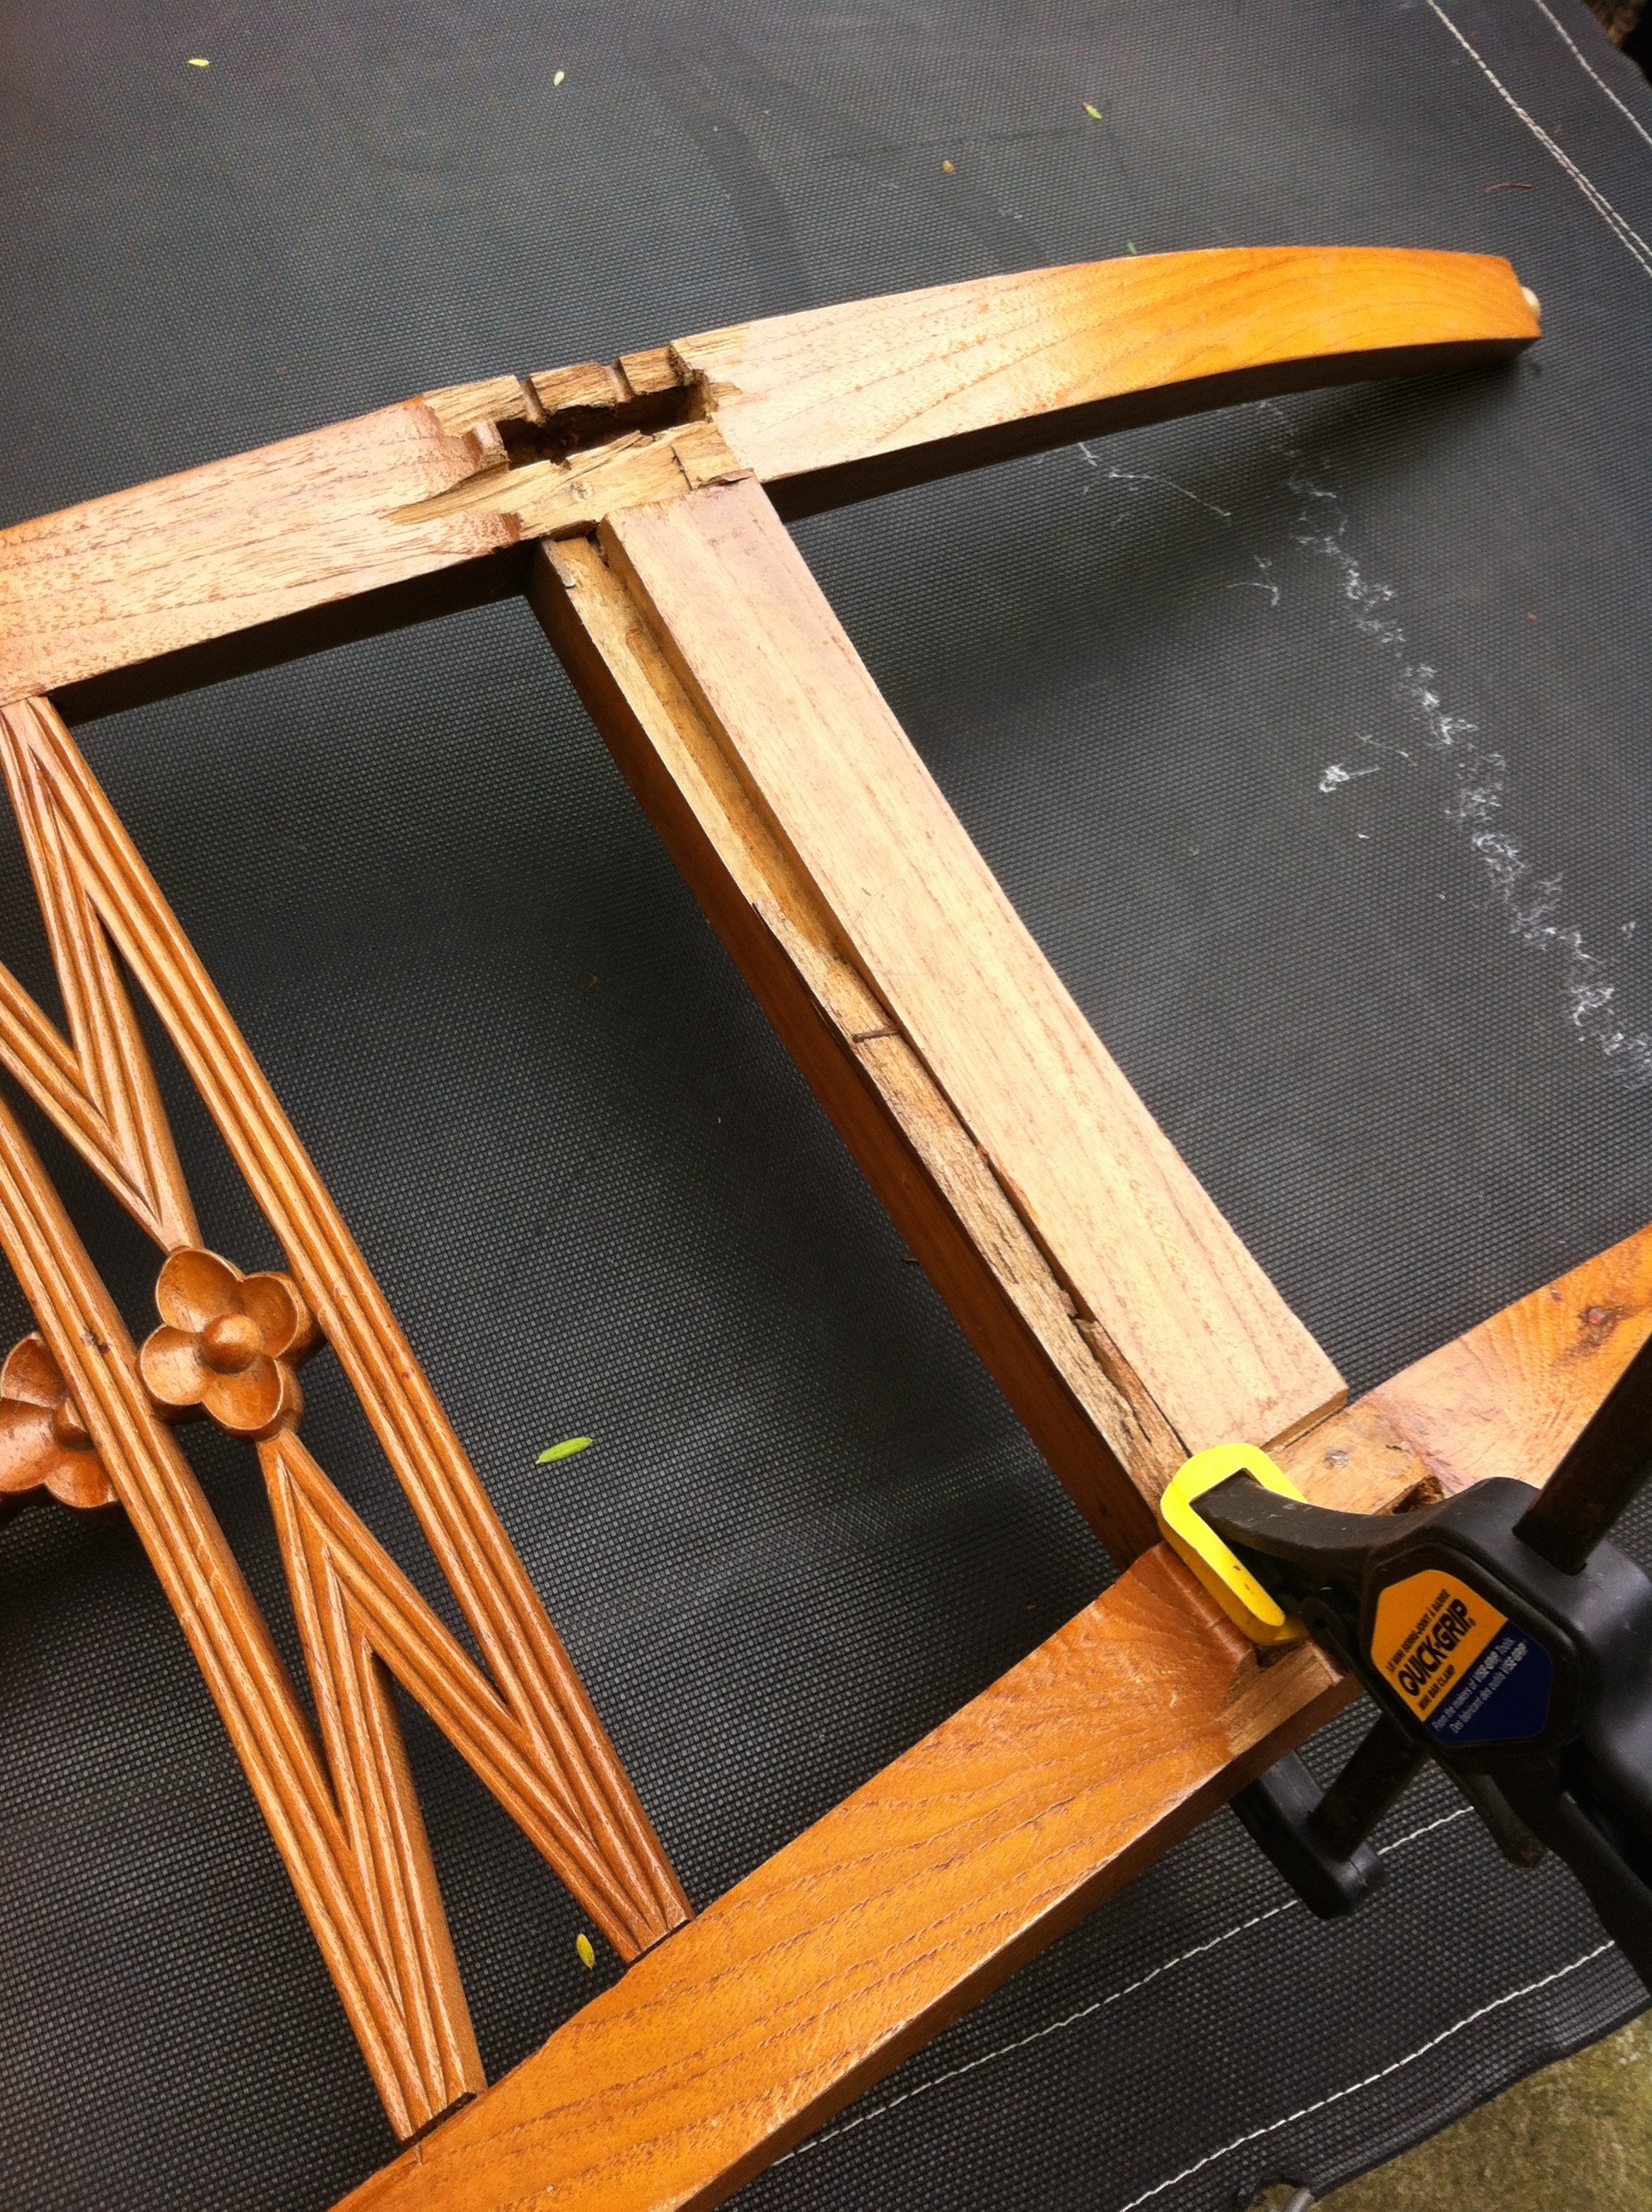
First off all the old glue needed to be sanded or scraped off so the new glue would adhere. In a number of areas the snap wood needed to be taken off so it would fit together again. All joints were glued and clamped together.
 Once that job was done a fair amount of filling was required with epoxy. Once the epoxy was dried I sanded the areas back to smooth then it was the job of touching up all those areas to get the colour looking the same.
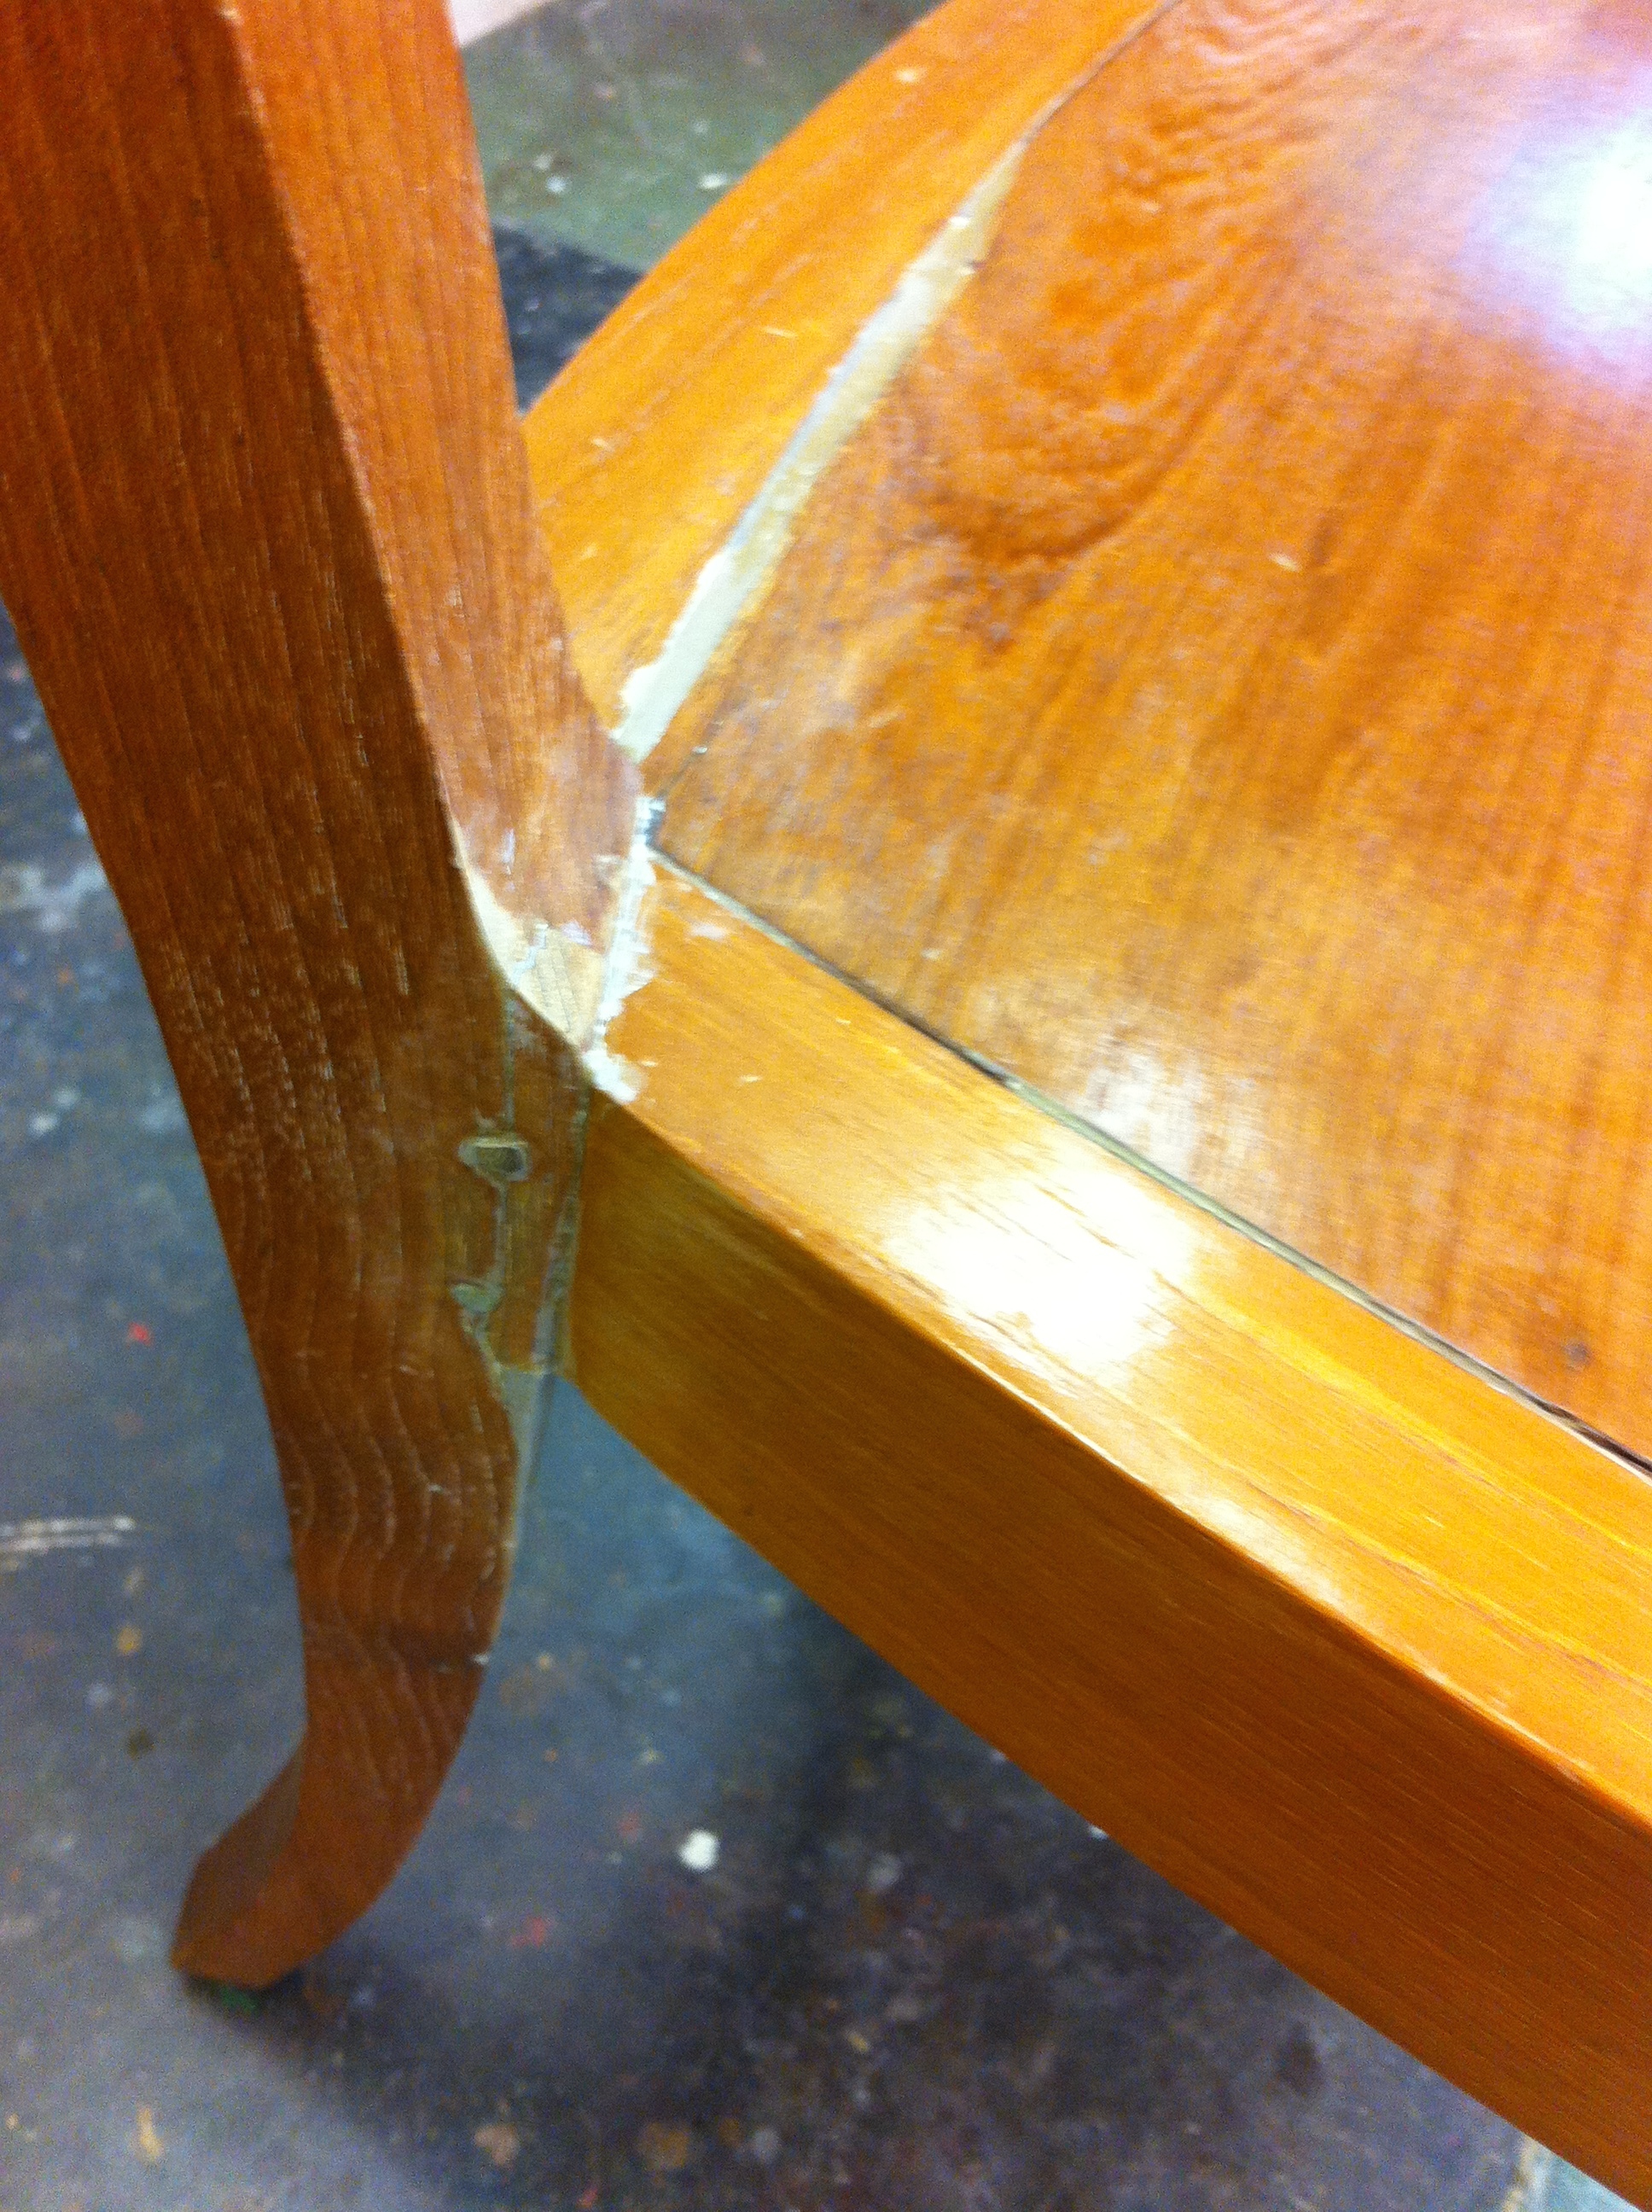

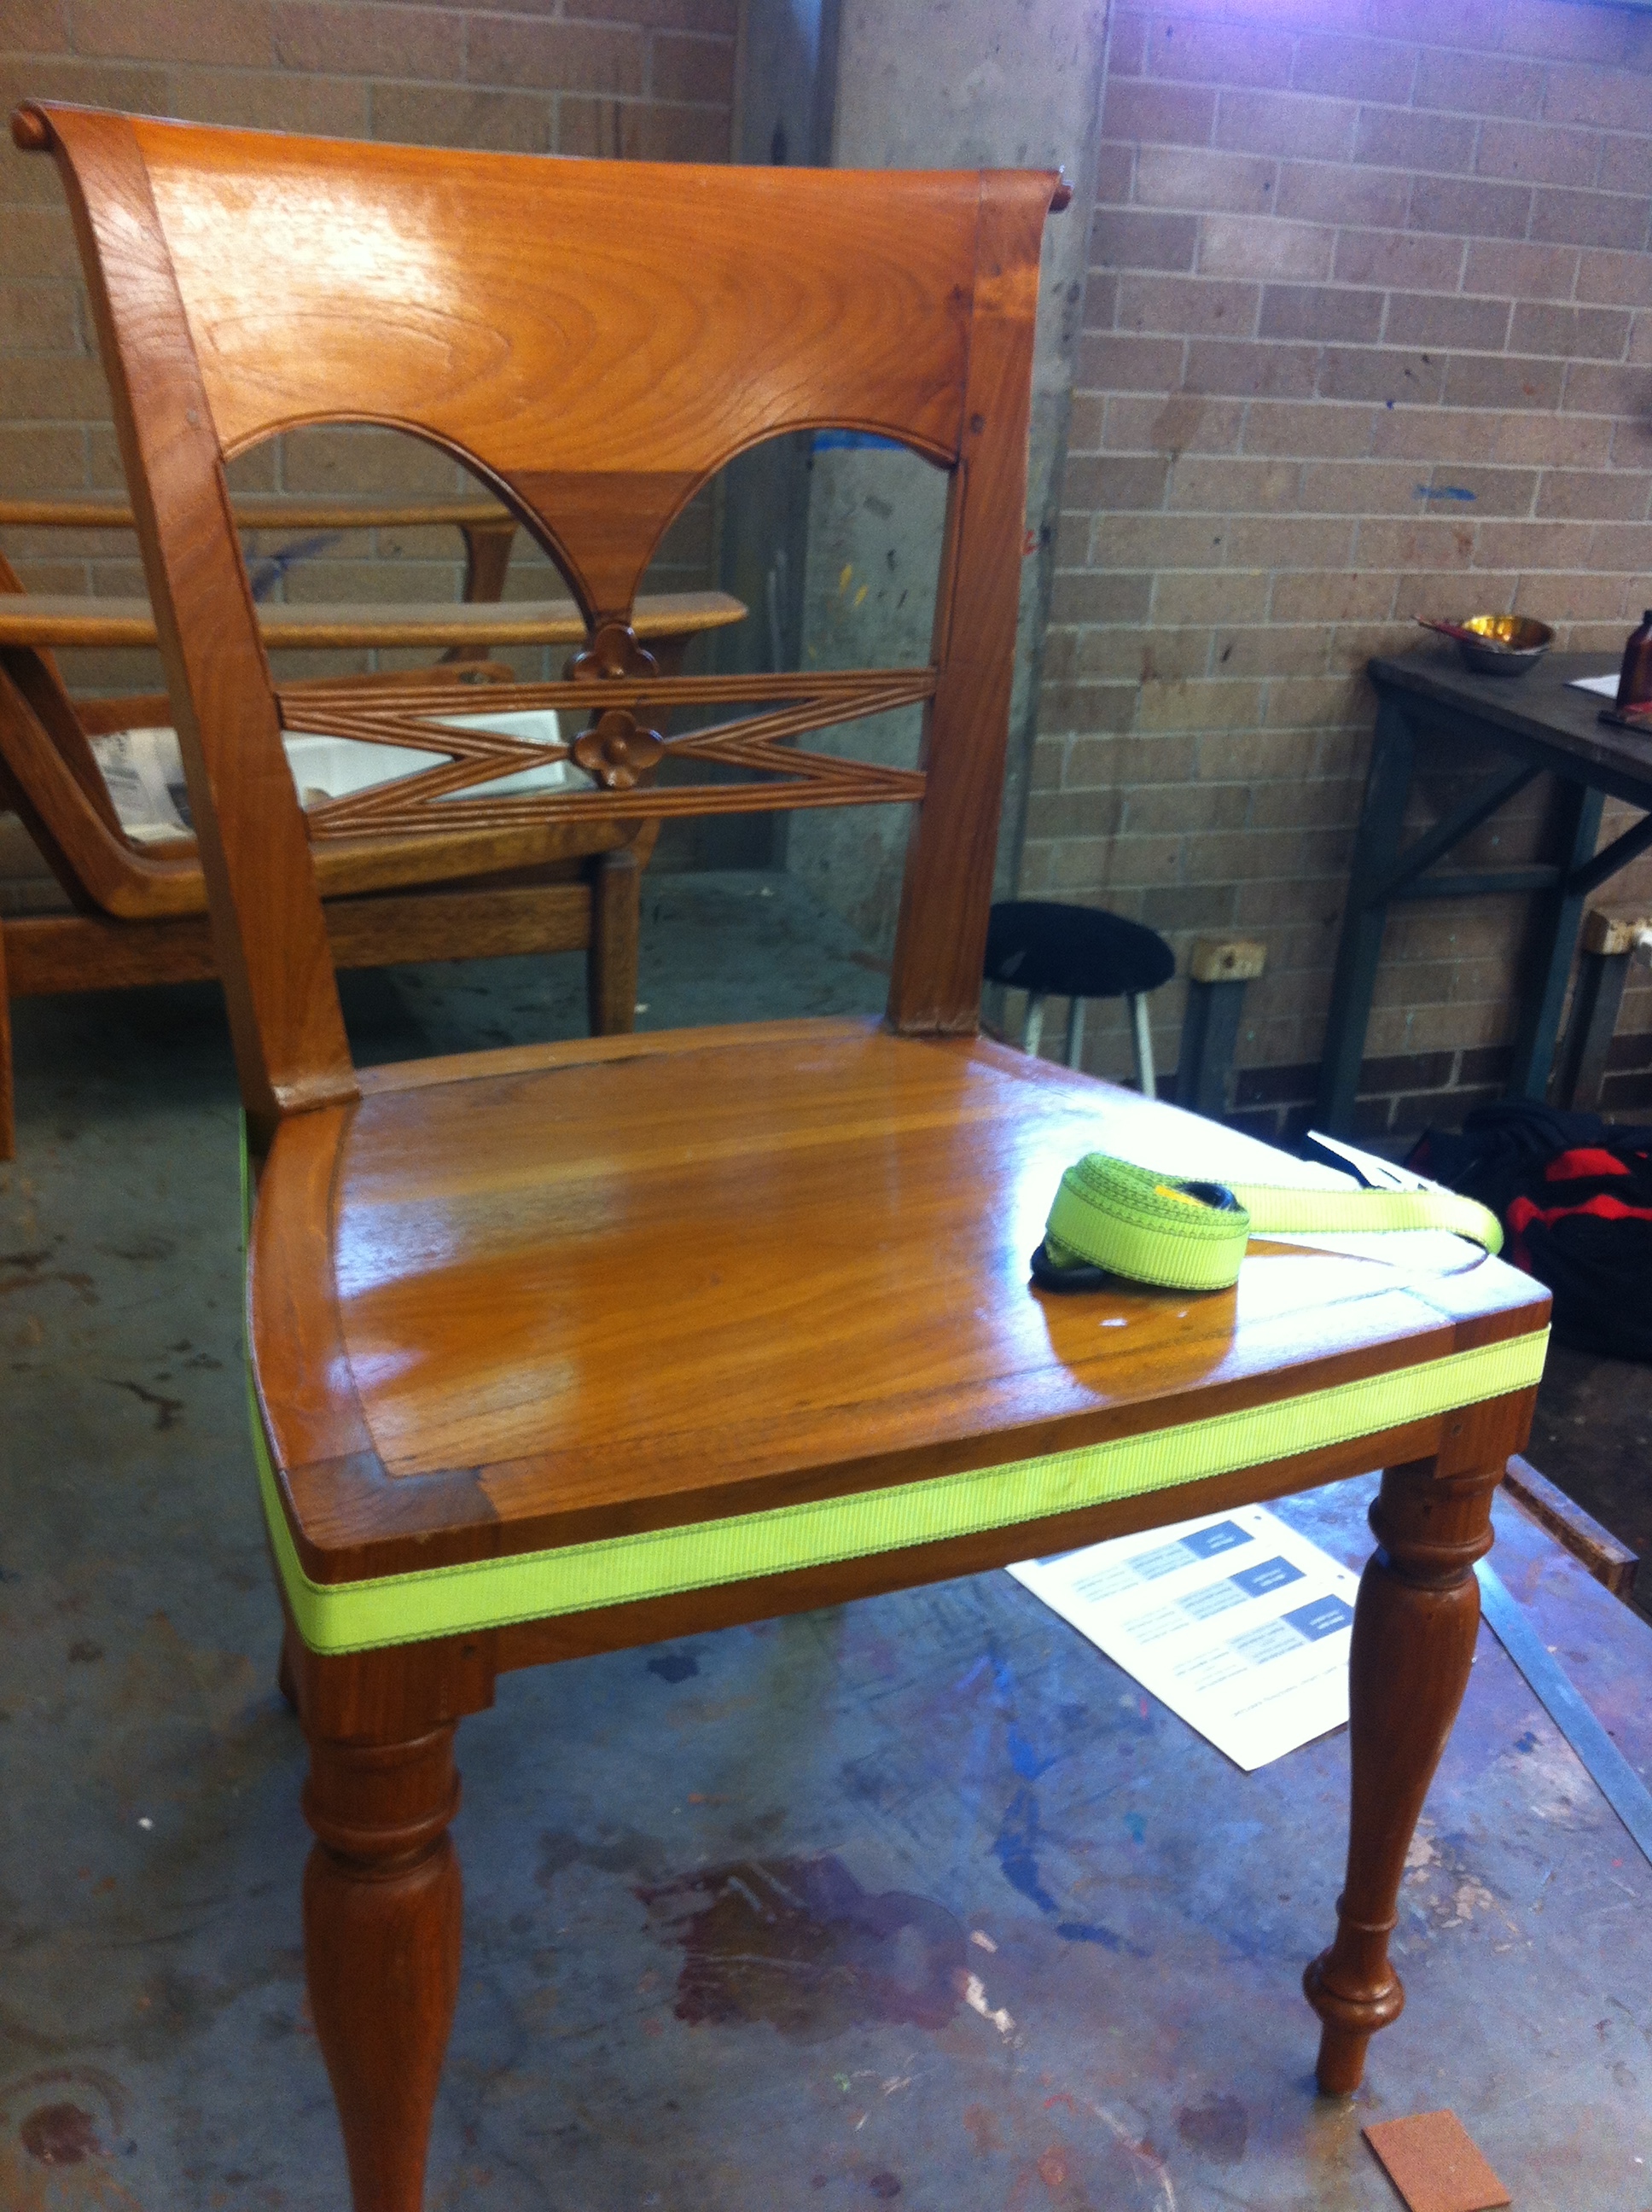
Done.
Whoops one more thing I added corner chocks underneath to give the back legs more strength – hopefully to save from another teenager rocking on the chair and snapping it.


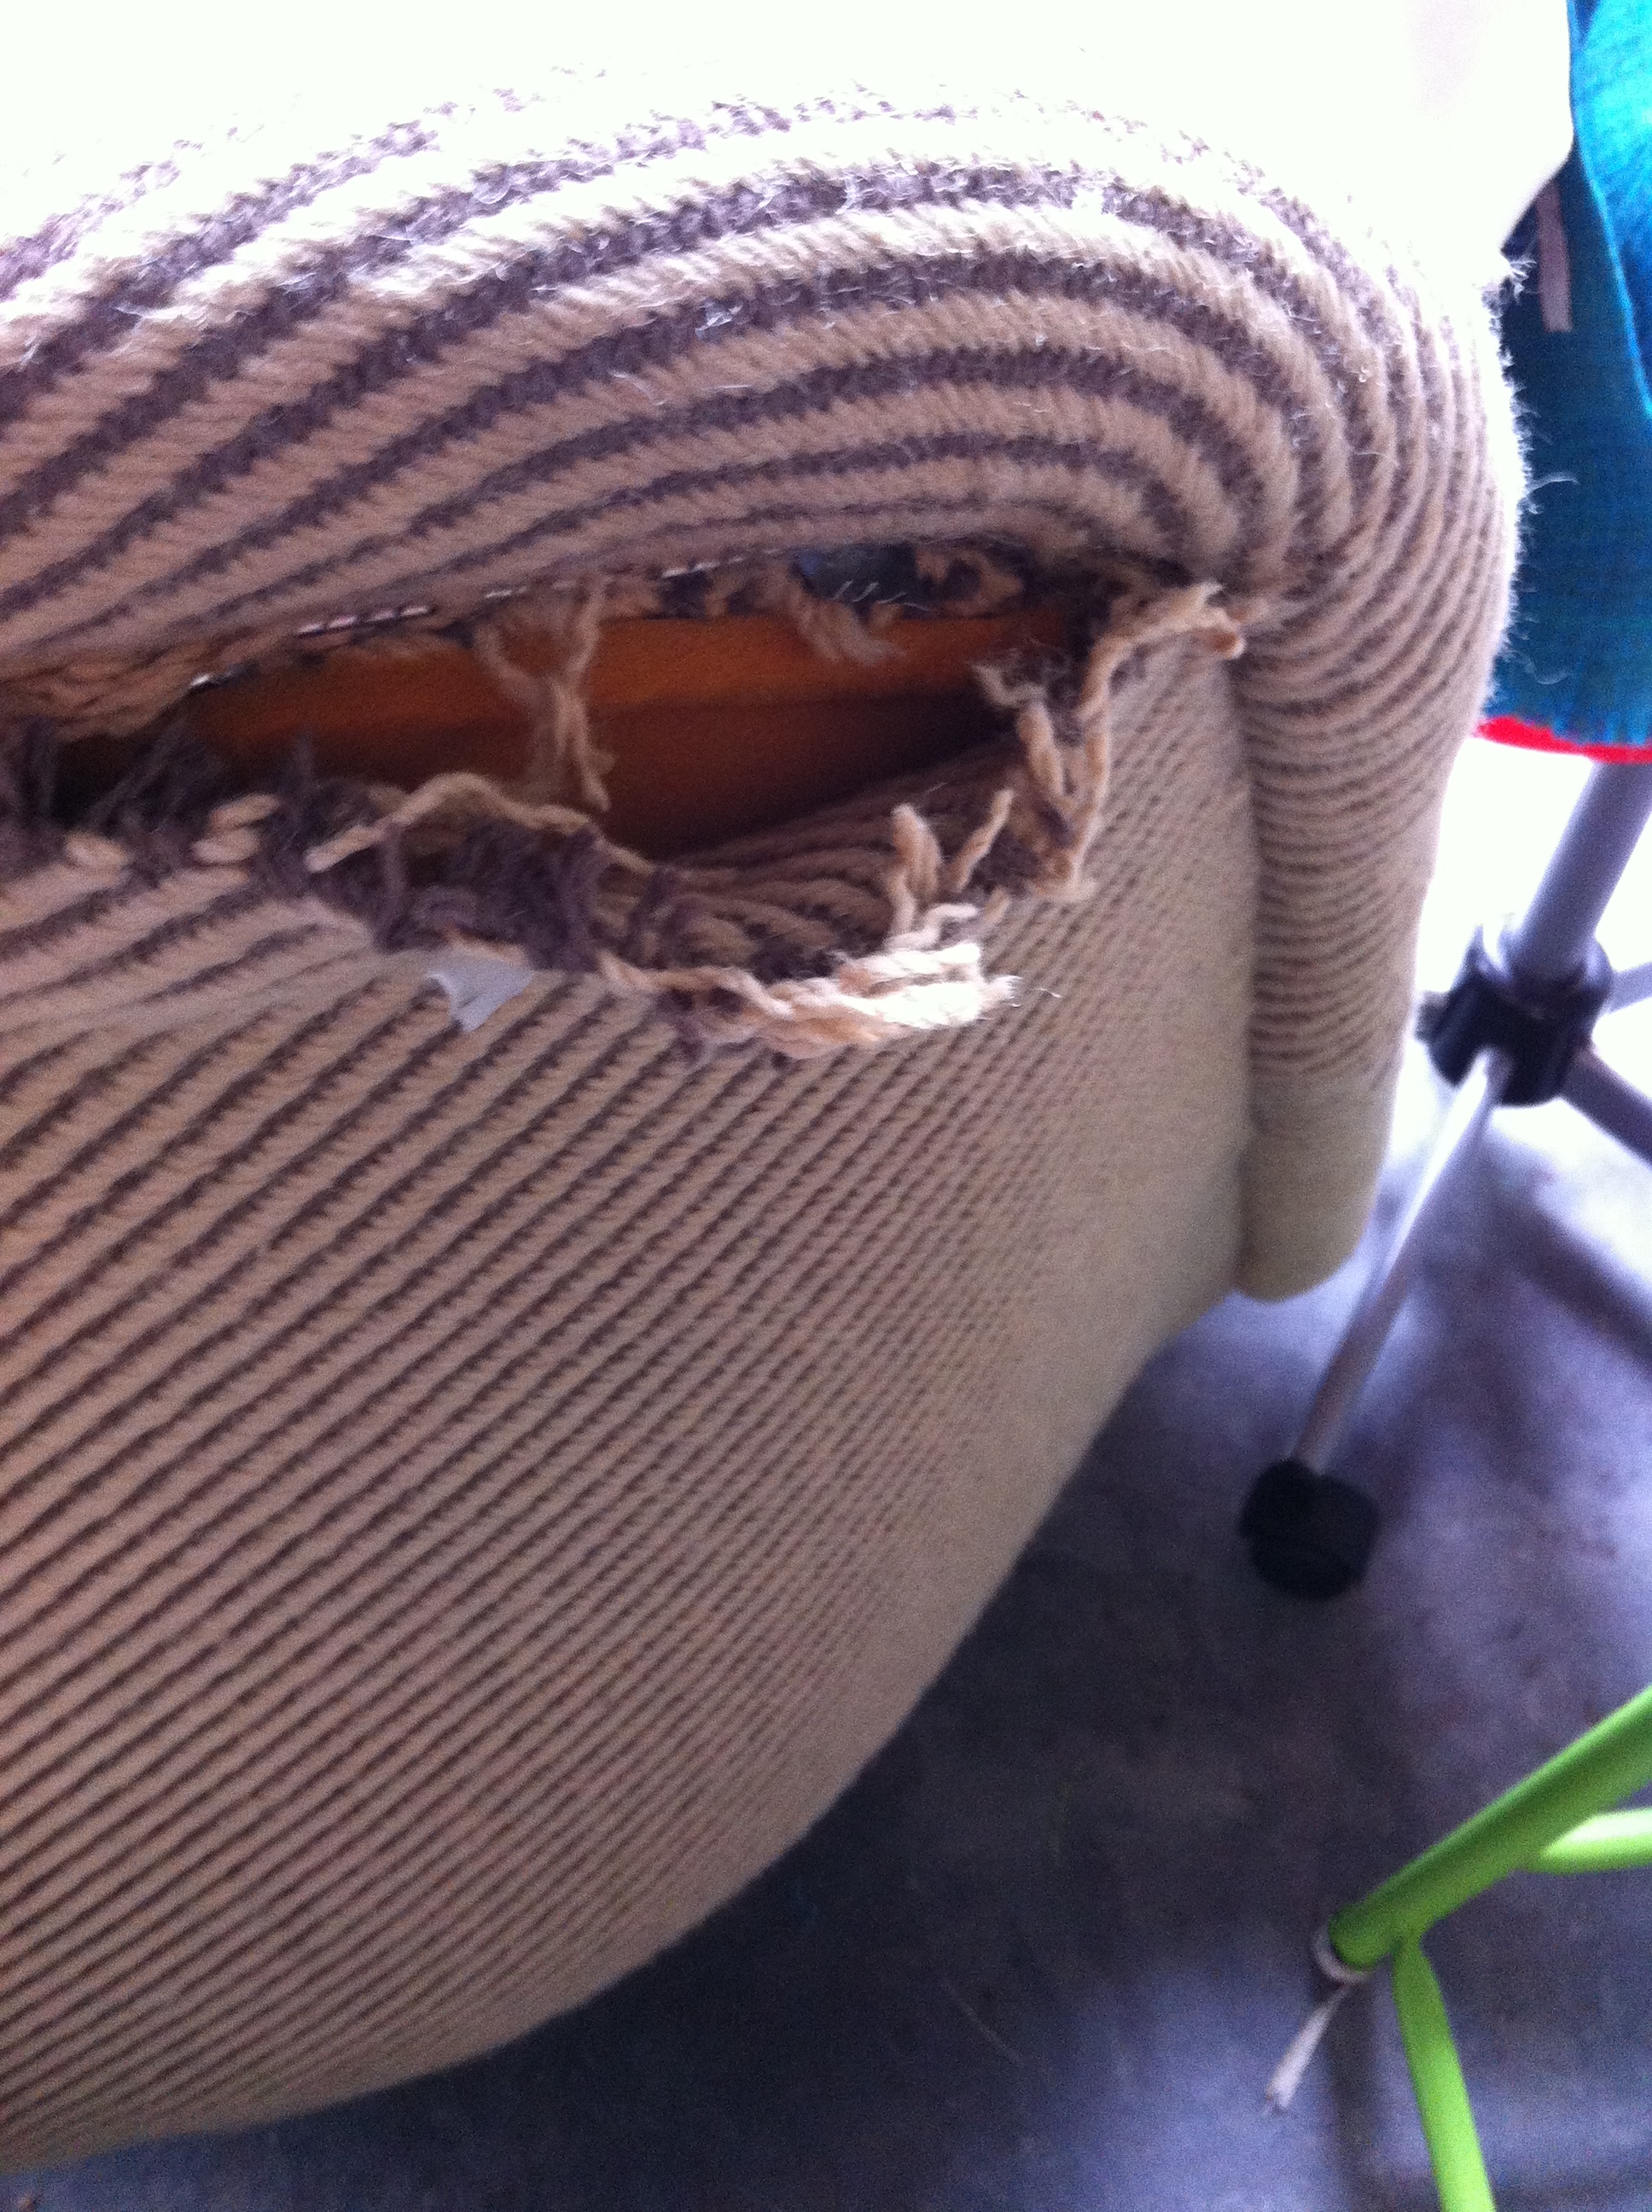
Ok we all have that chair that everybody in the family fights over – sometimes you are lucky and manage to get to it but after a while it more than looks a little lived in – Yep time for a revamp………..
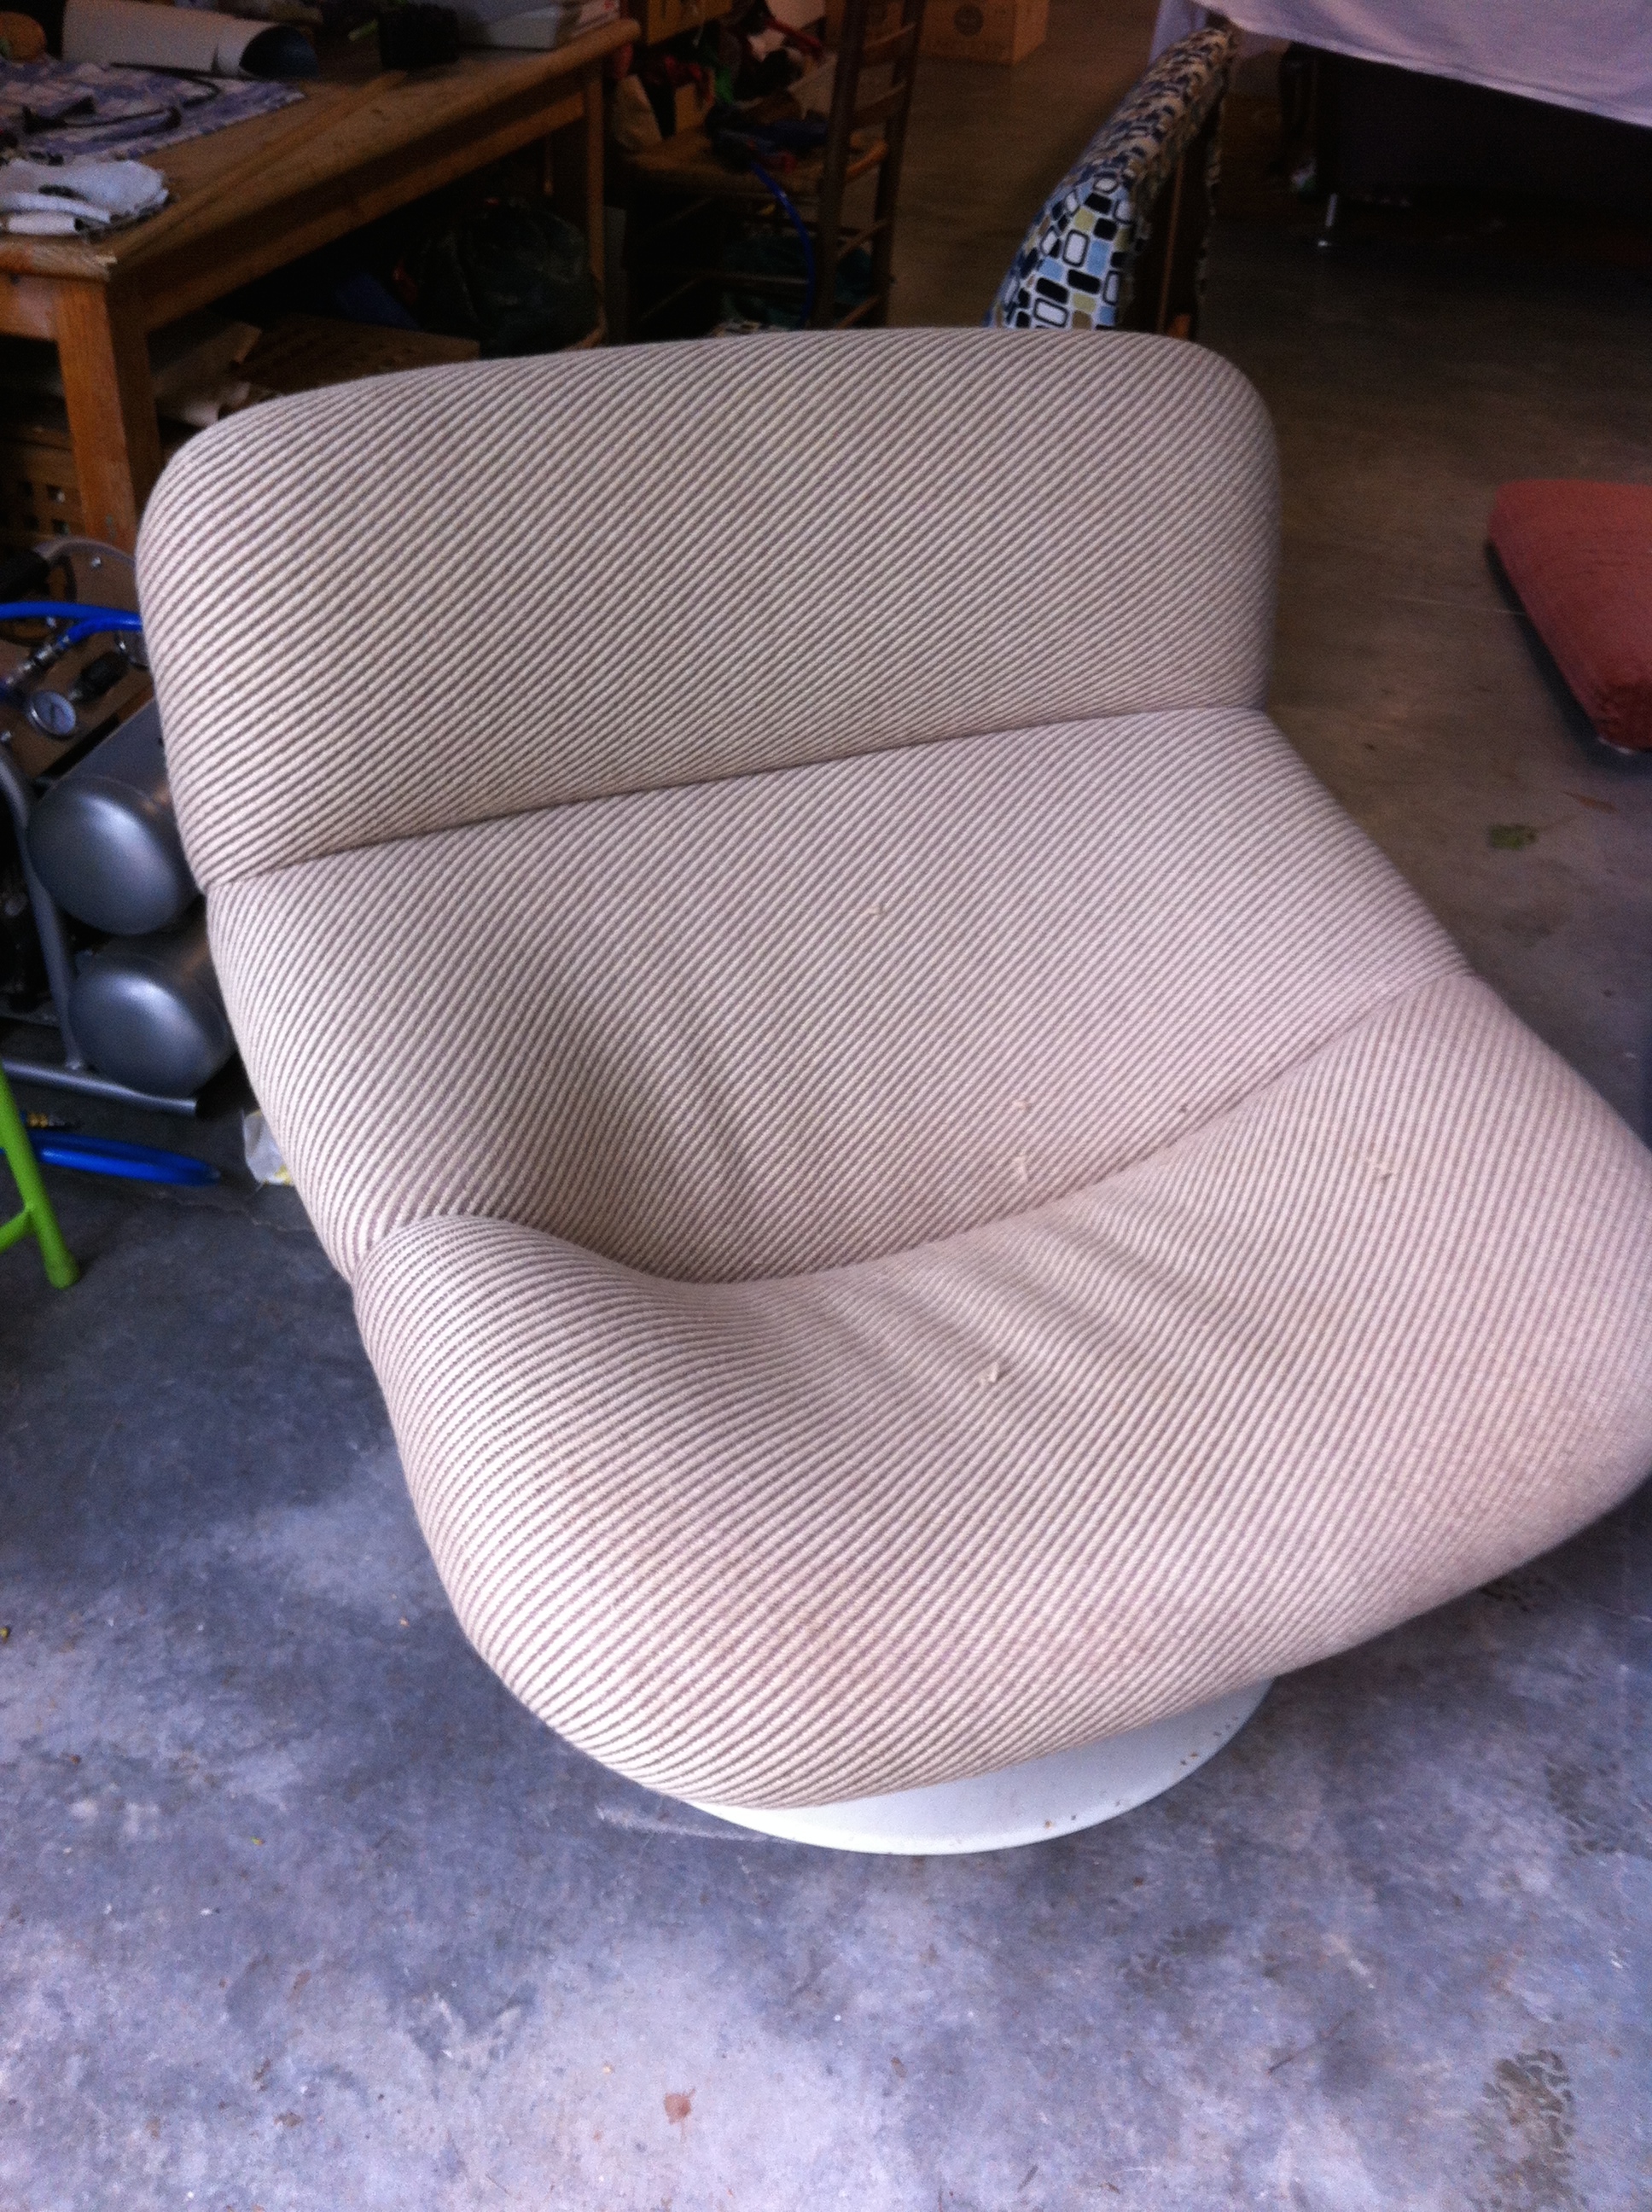
This chair is an original Artifort Lounge chair and was covered in a brown, beige stripe wool – time for a change.

First off what material????? – in keeping with the original it had to be a wool – the client chose a fantastic wool fabric from Instyle – design ‘Mammoth’, colour ‘Decision’.
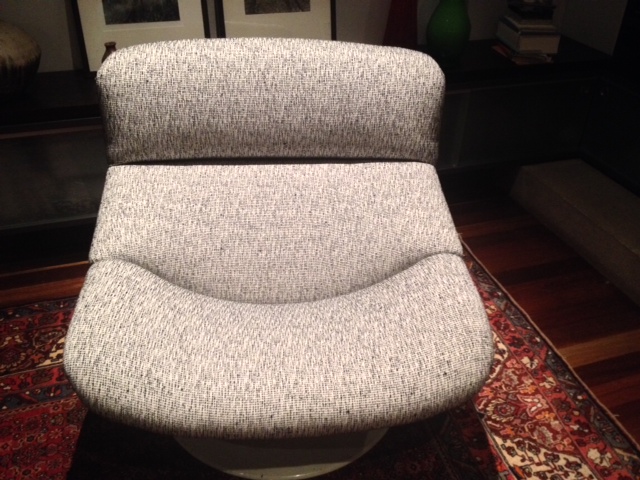
The Artifort Lounge chair has to be one of the most comfortable chairs there is and was a joy to recover.
Working with a top quality fabric makes all the difference.

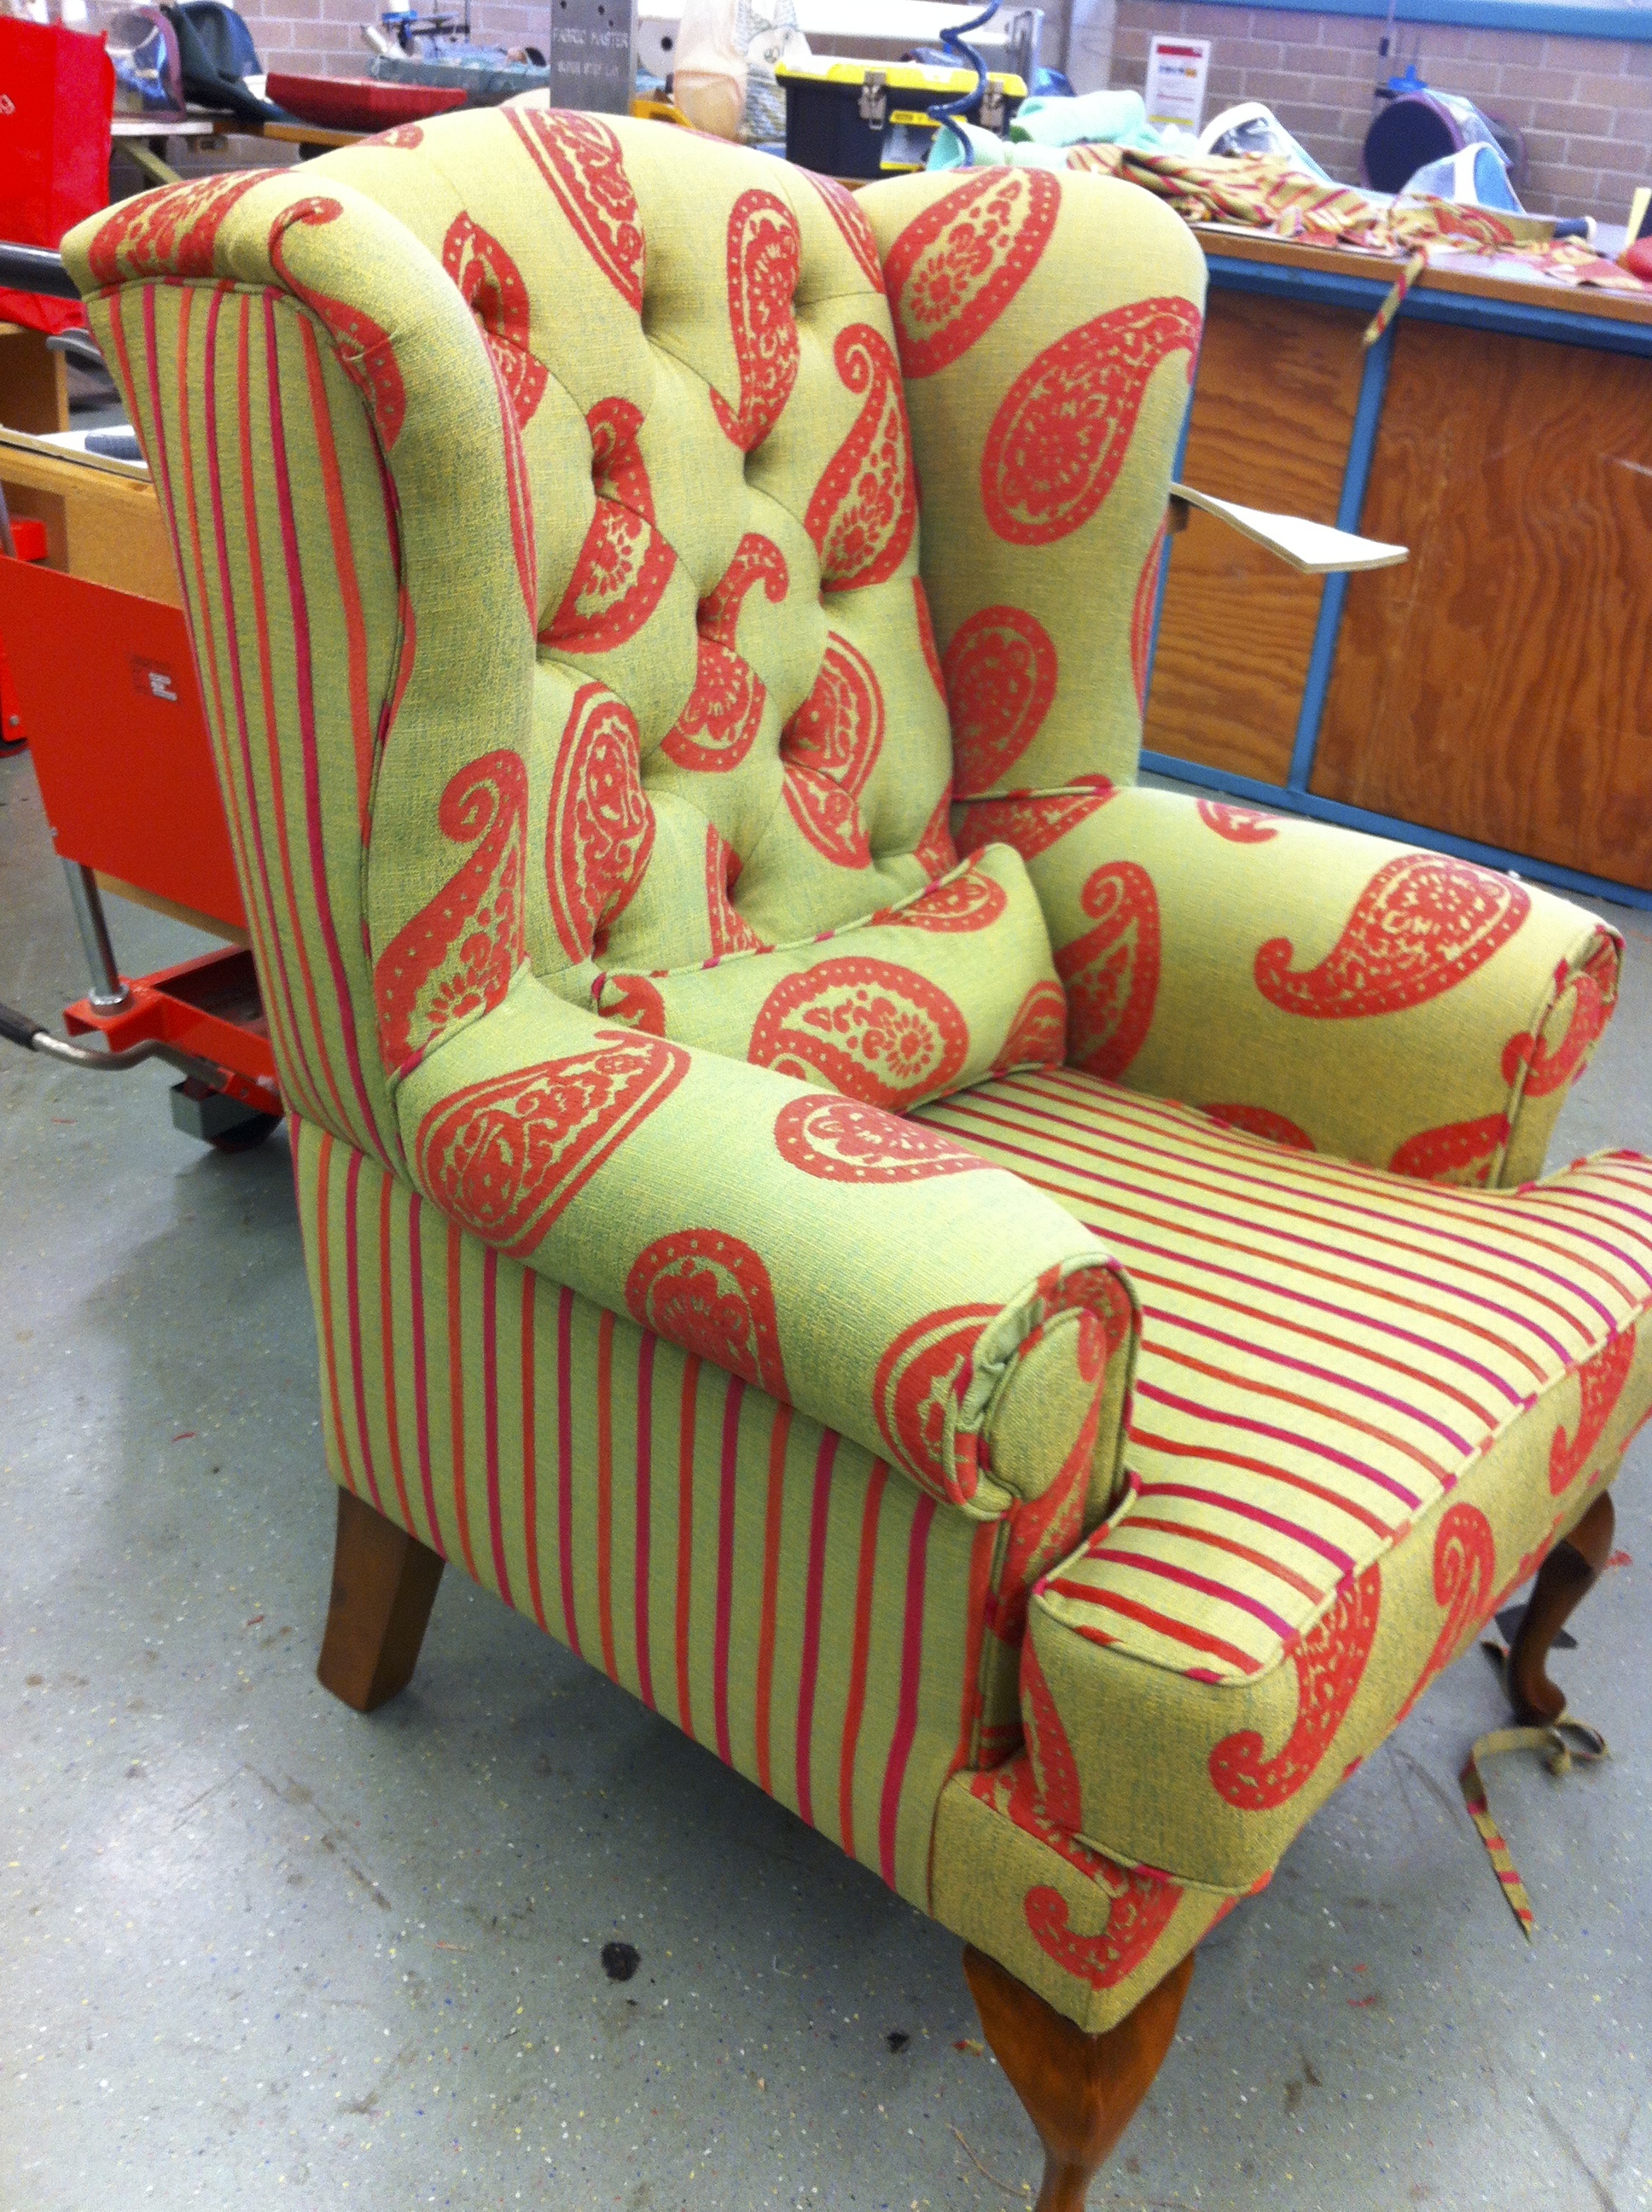
My client wanted a wingback chair for her formal lounge but with a contemporary look.
I managed to find this great paisley fabric with a matching stripe – she loved it. Looks fab with her other lounges which are in a dark leather.
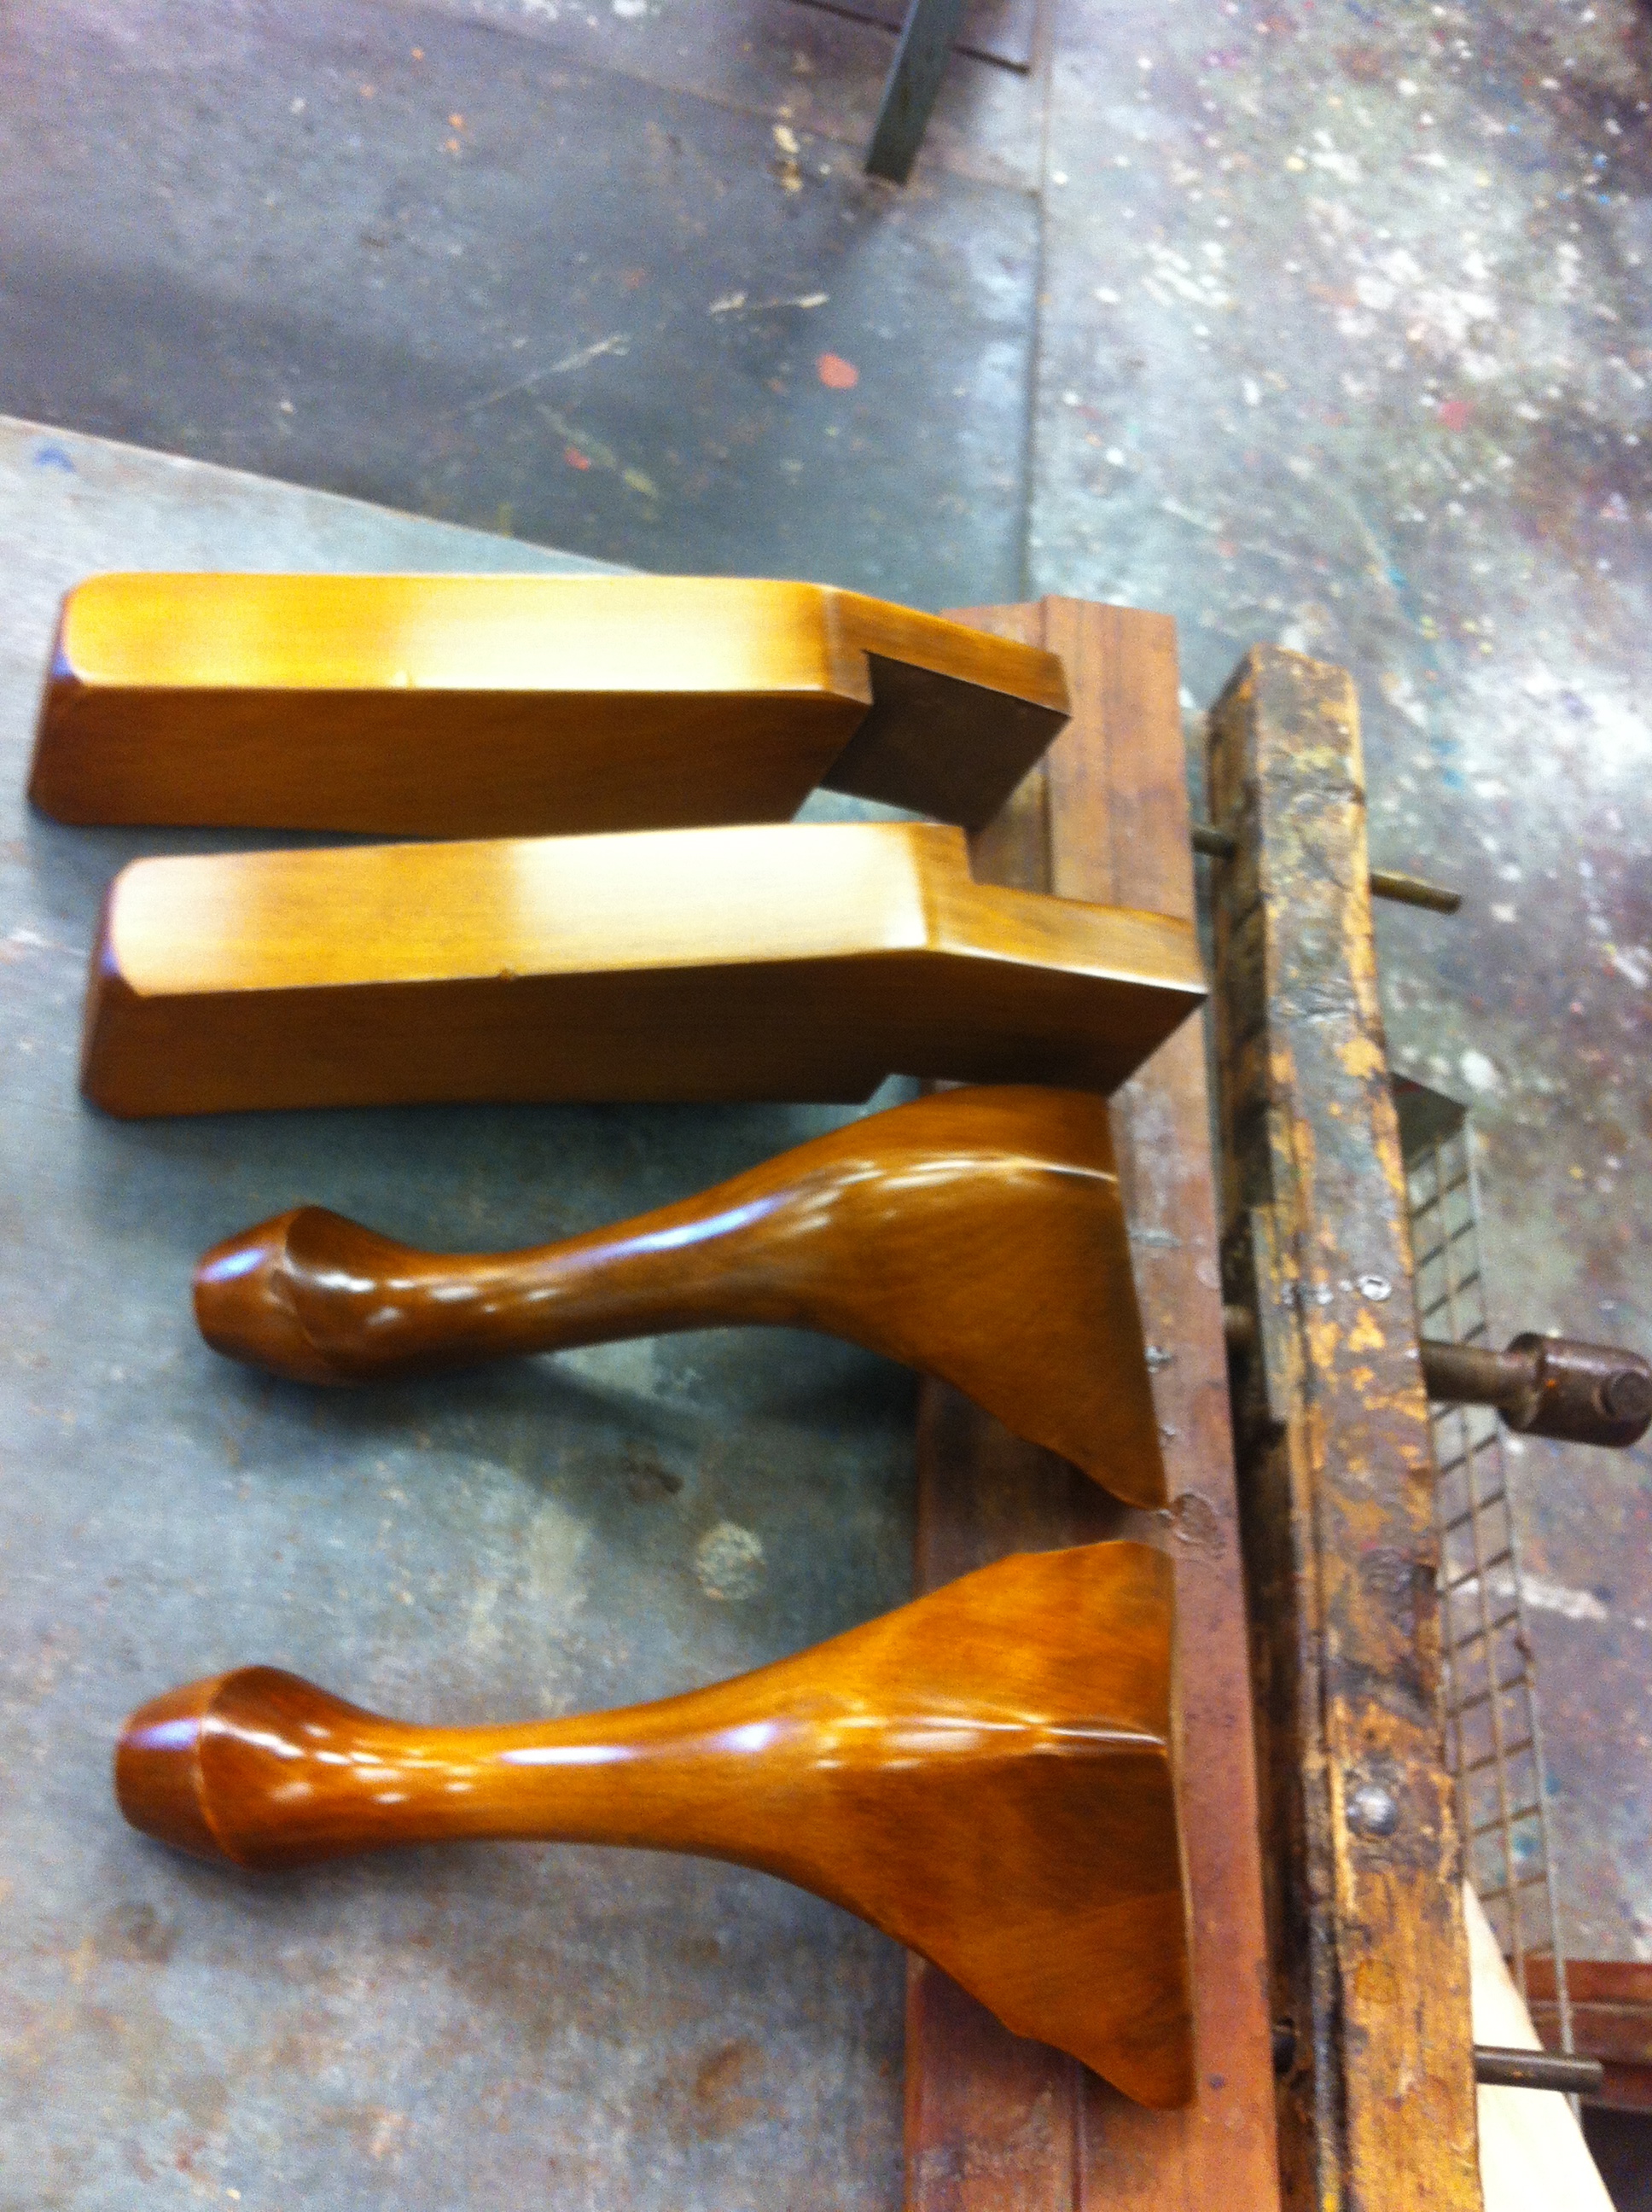
To finish the chair off I hand polished the legs to get a warm, golden, antique look.

Recent Comments