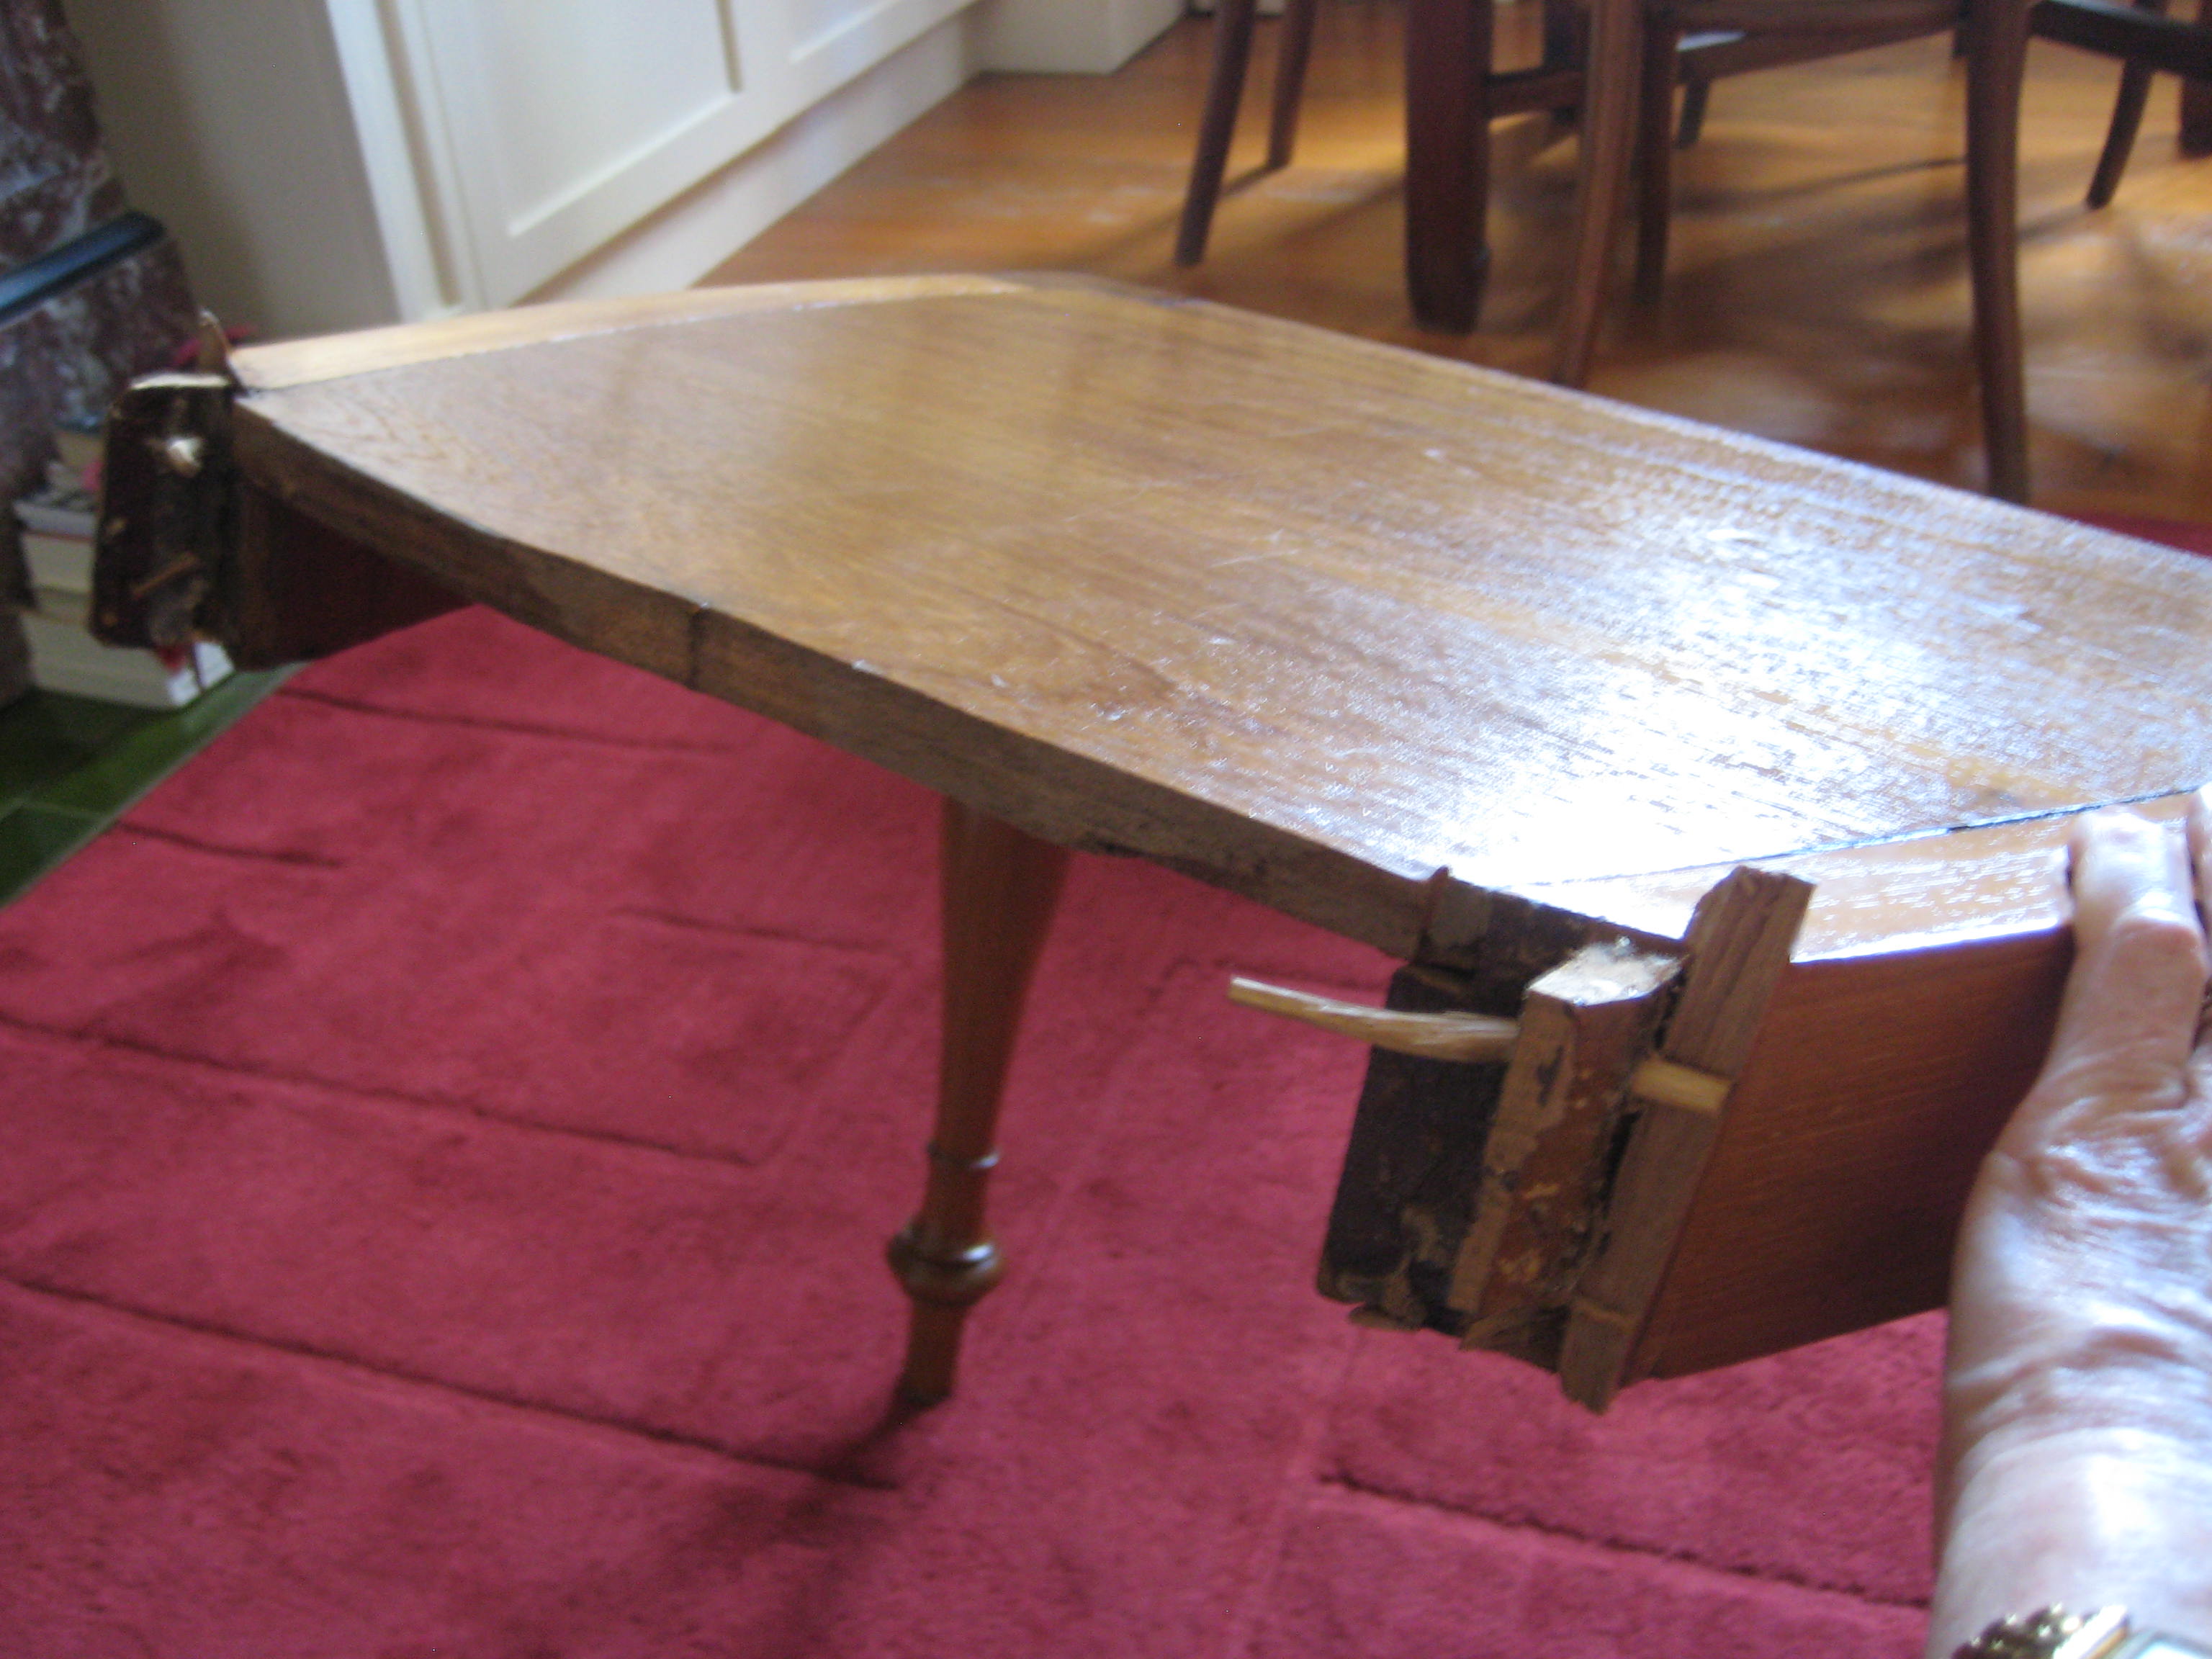
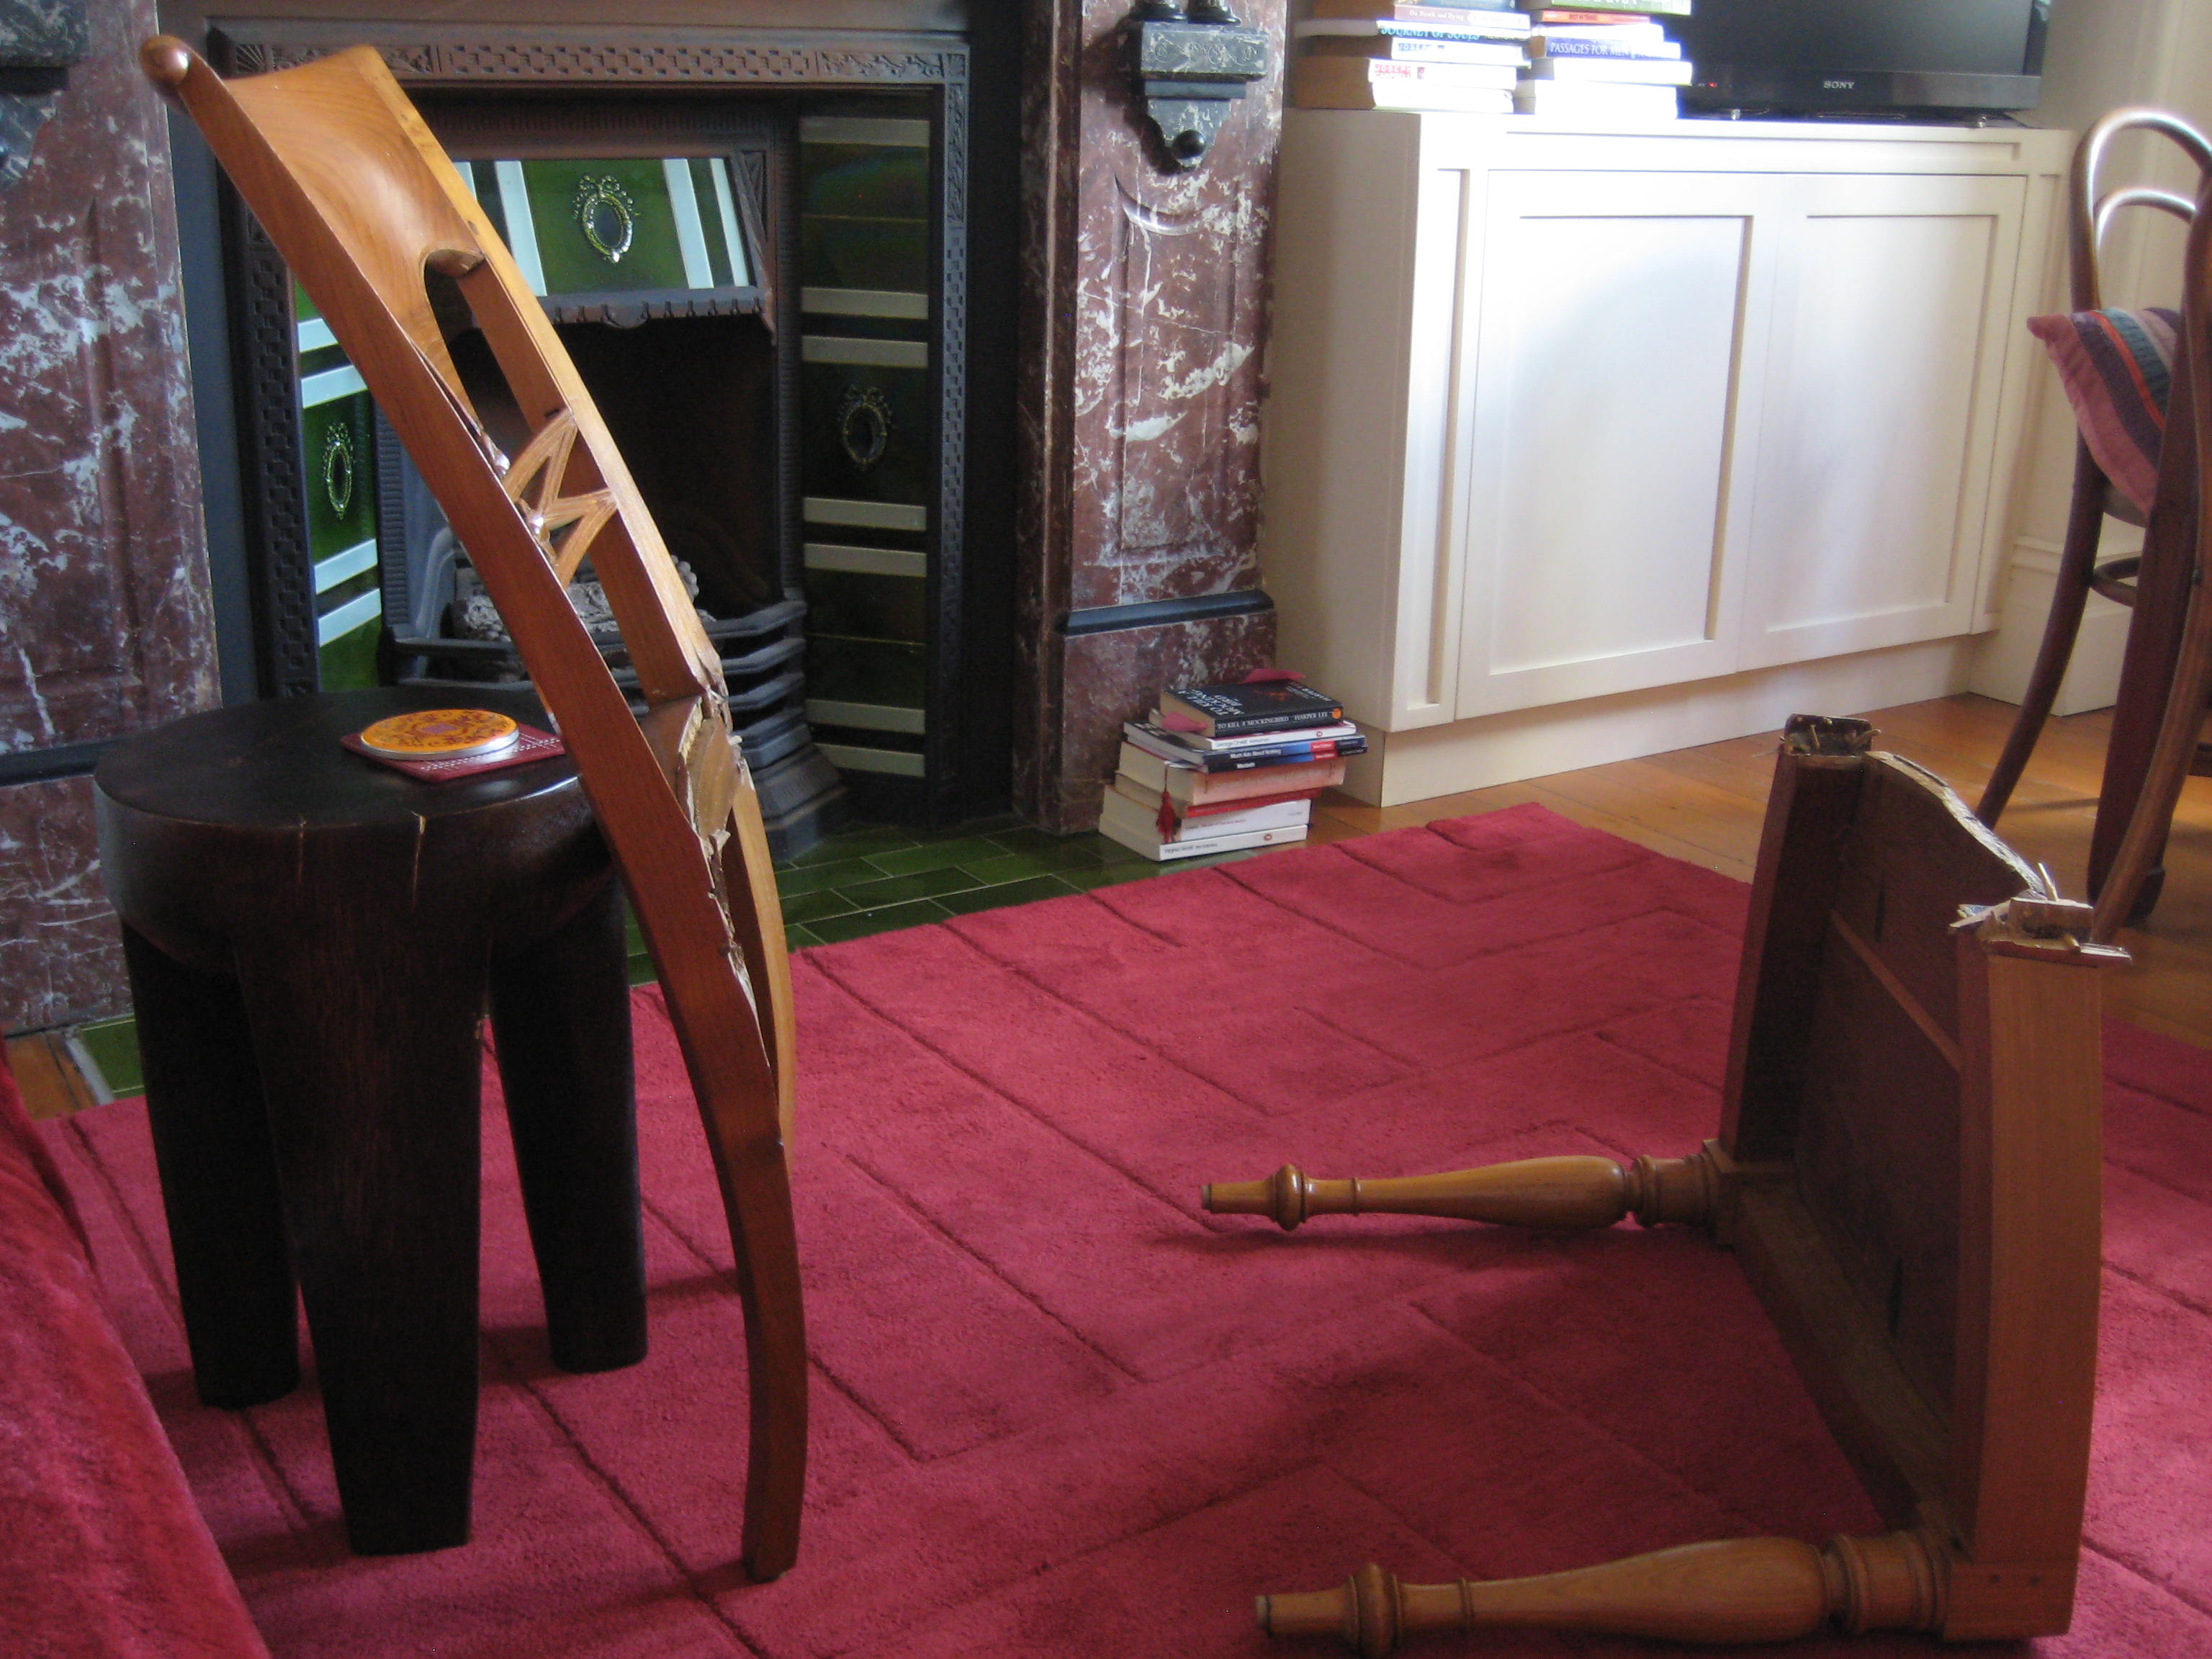
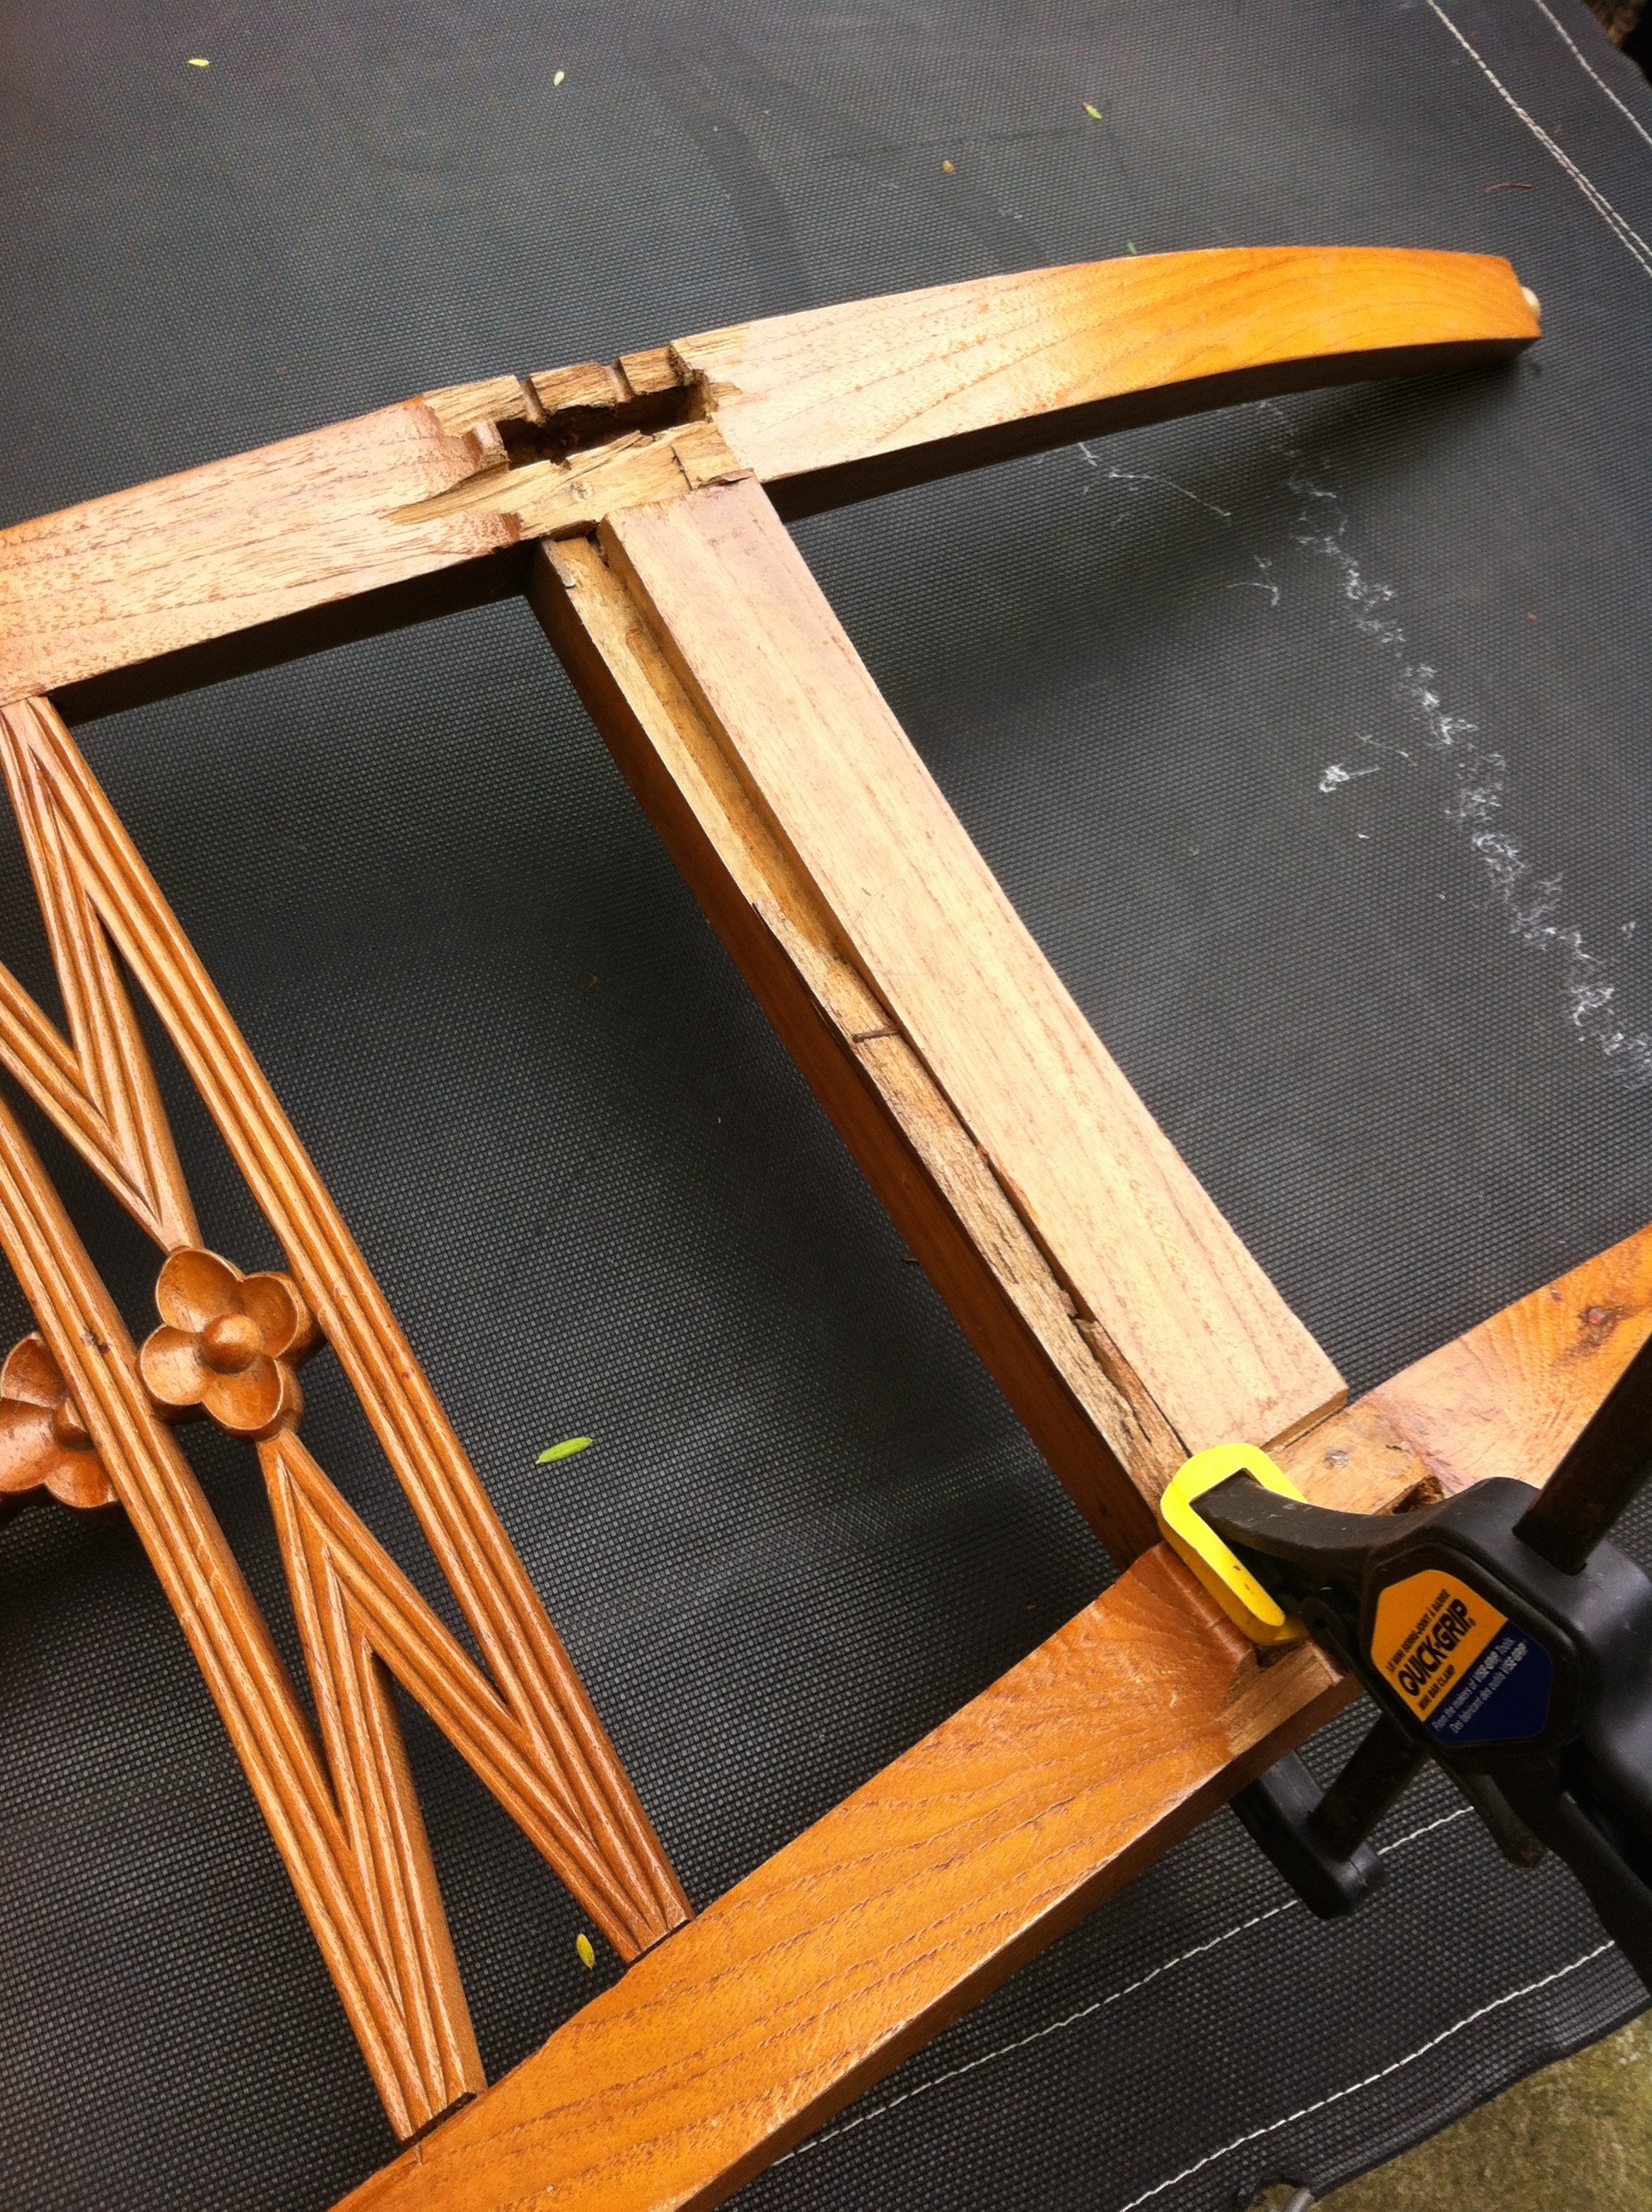
What is it about teenage boys who can’t sit still and need to rock back & forth on the dining room chair.
No matter who I talk to this is a common theme. Of course the inevitable happens , after countless raves at them to stop it – Yep the whole chair breaks. But can it be fixed or do you chuck it out.
After a friend told me about the chair I said I would try to fix it for her. Time to put those lessons from Furnishing Finishing course into use.
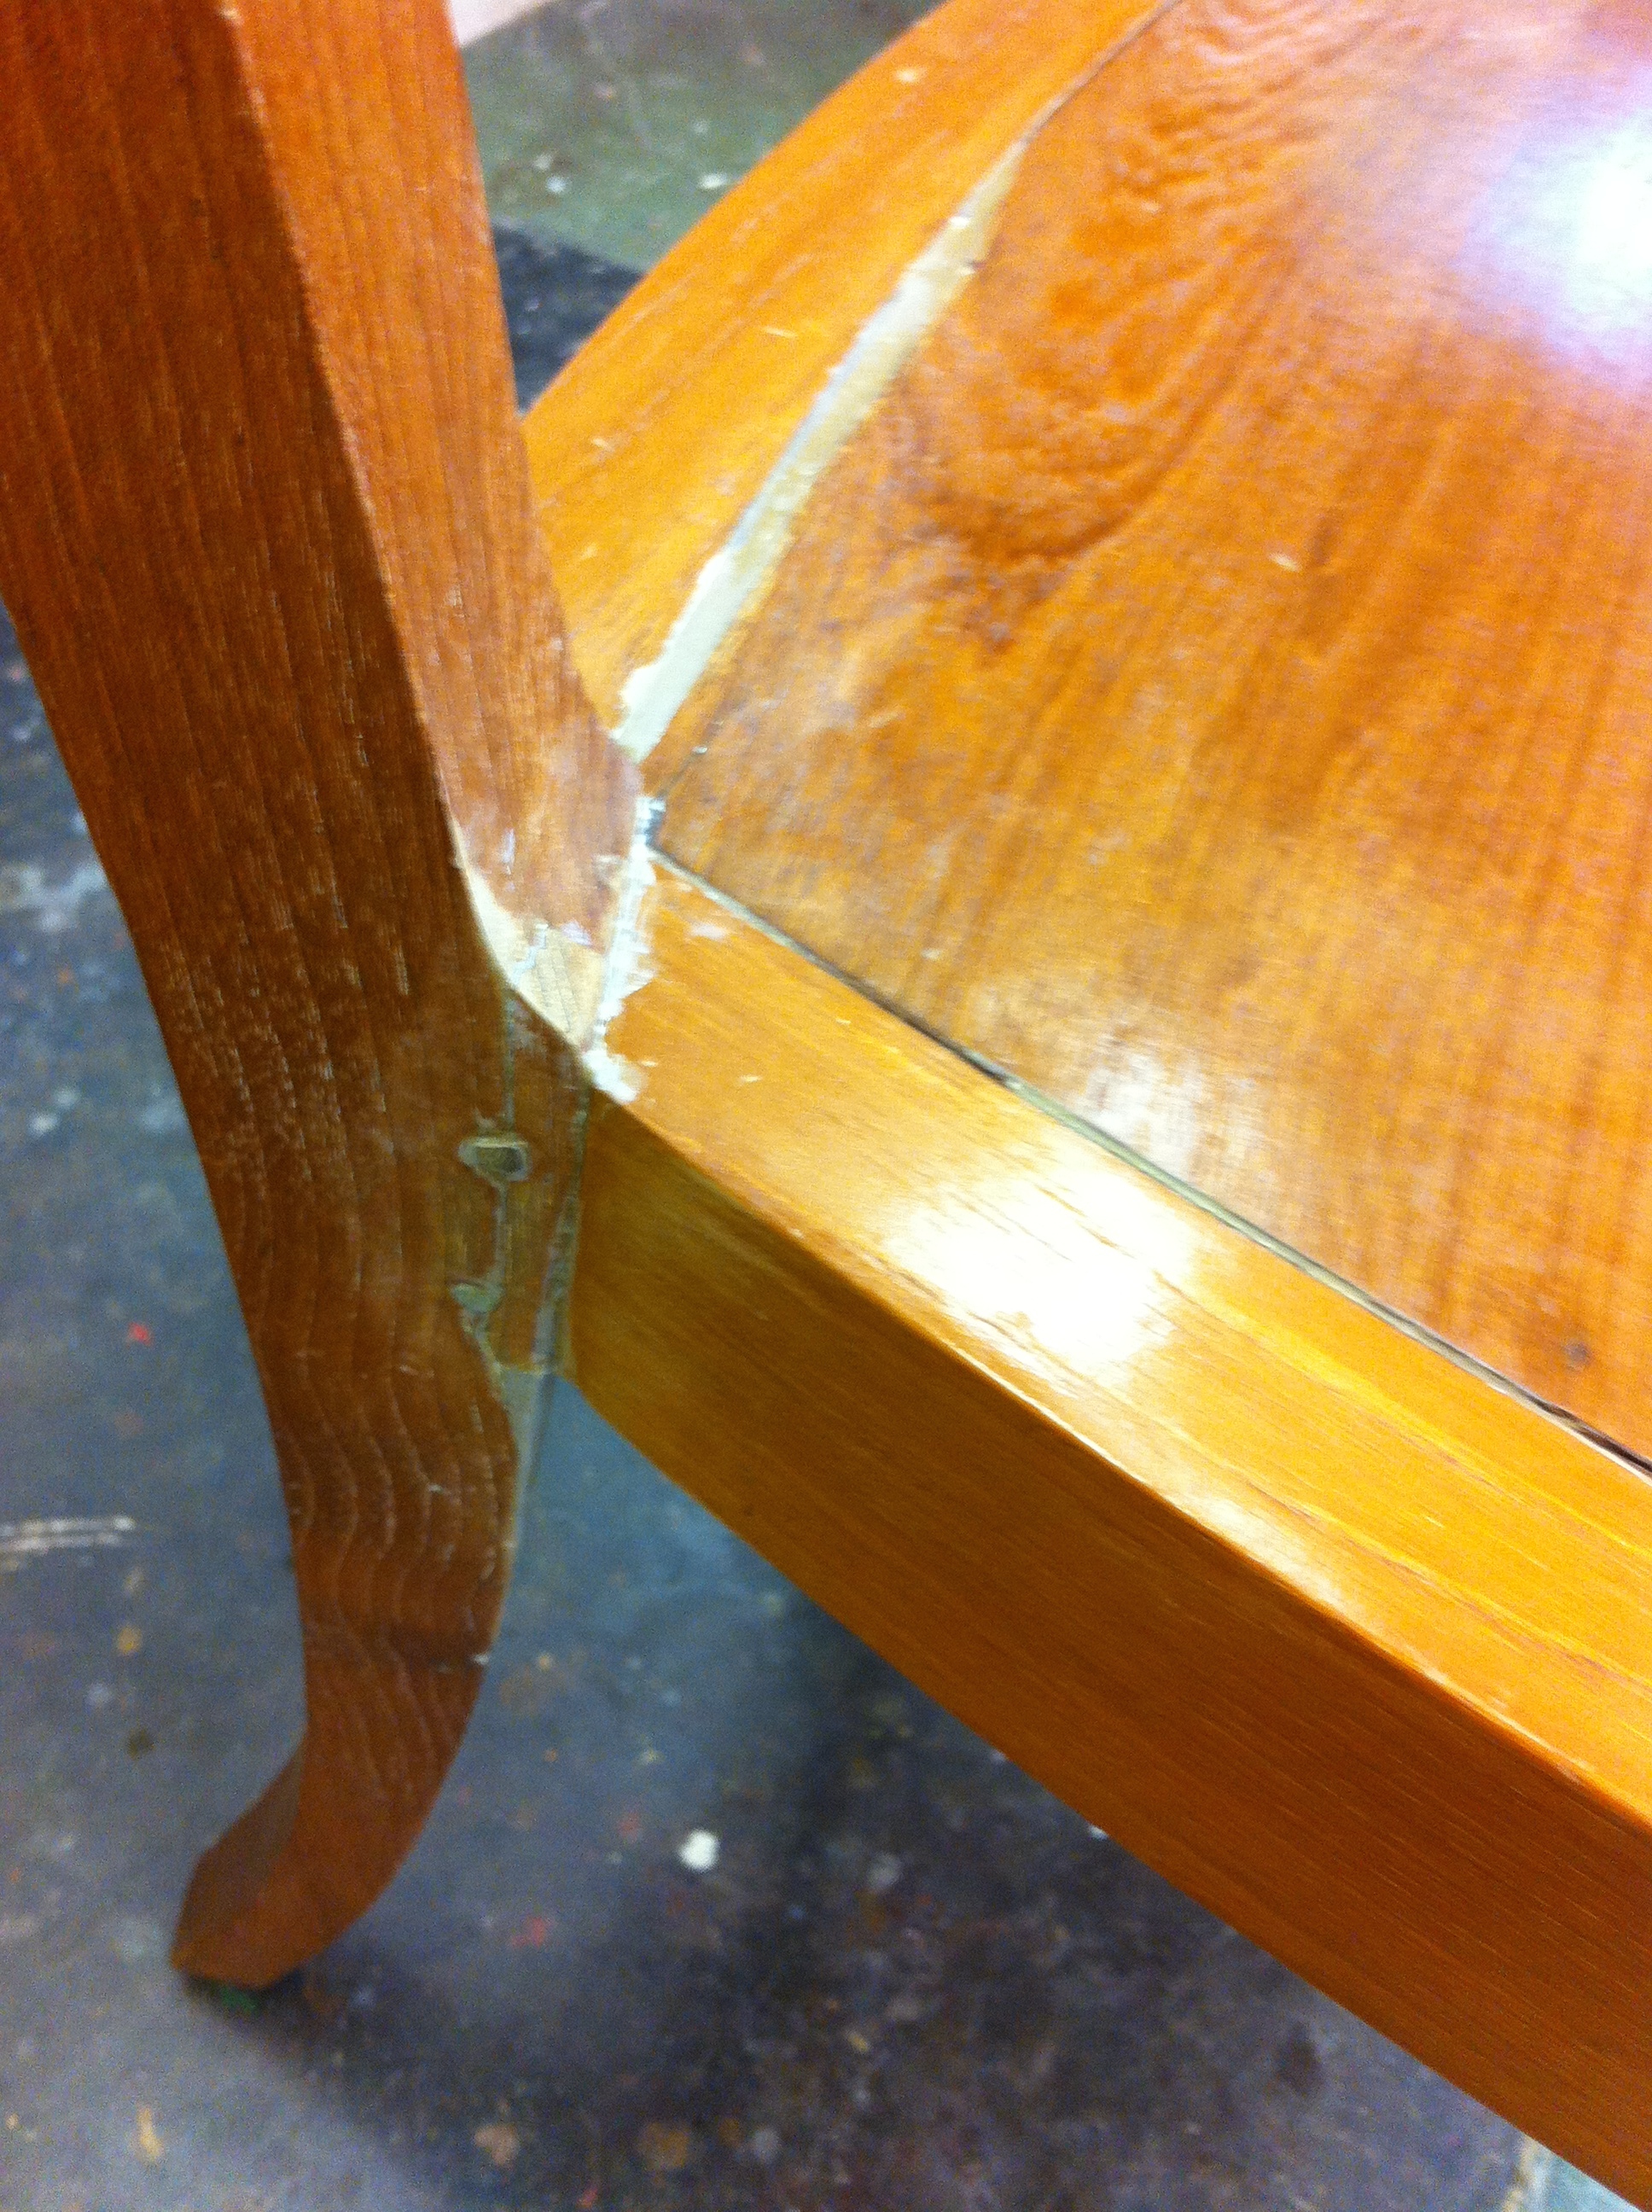
First off all the old glue needed to be sanded or scraped off so the new glue would adhere. In a number of areas the snap wood needed to be taken off so it would fit together again. All joints were glued and clamped together.
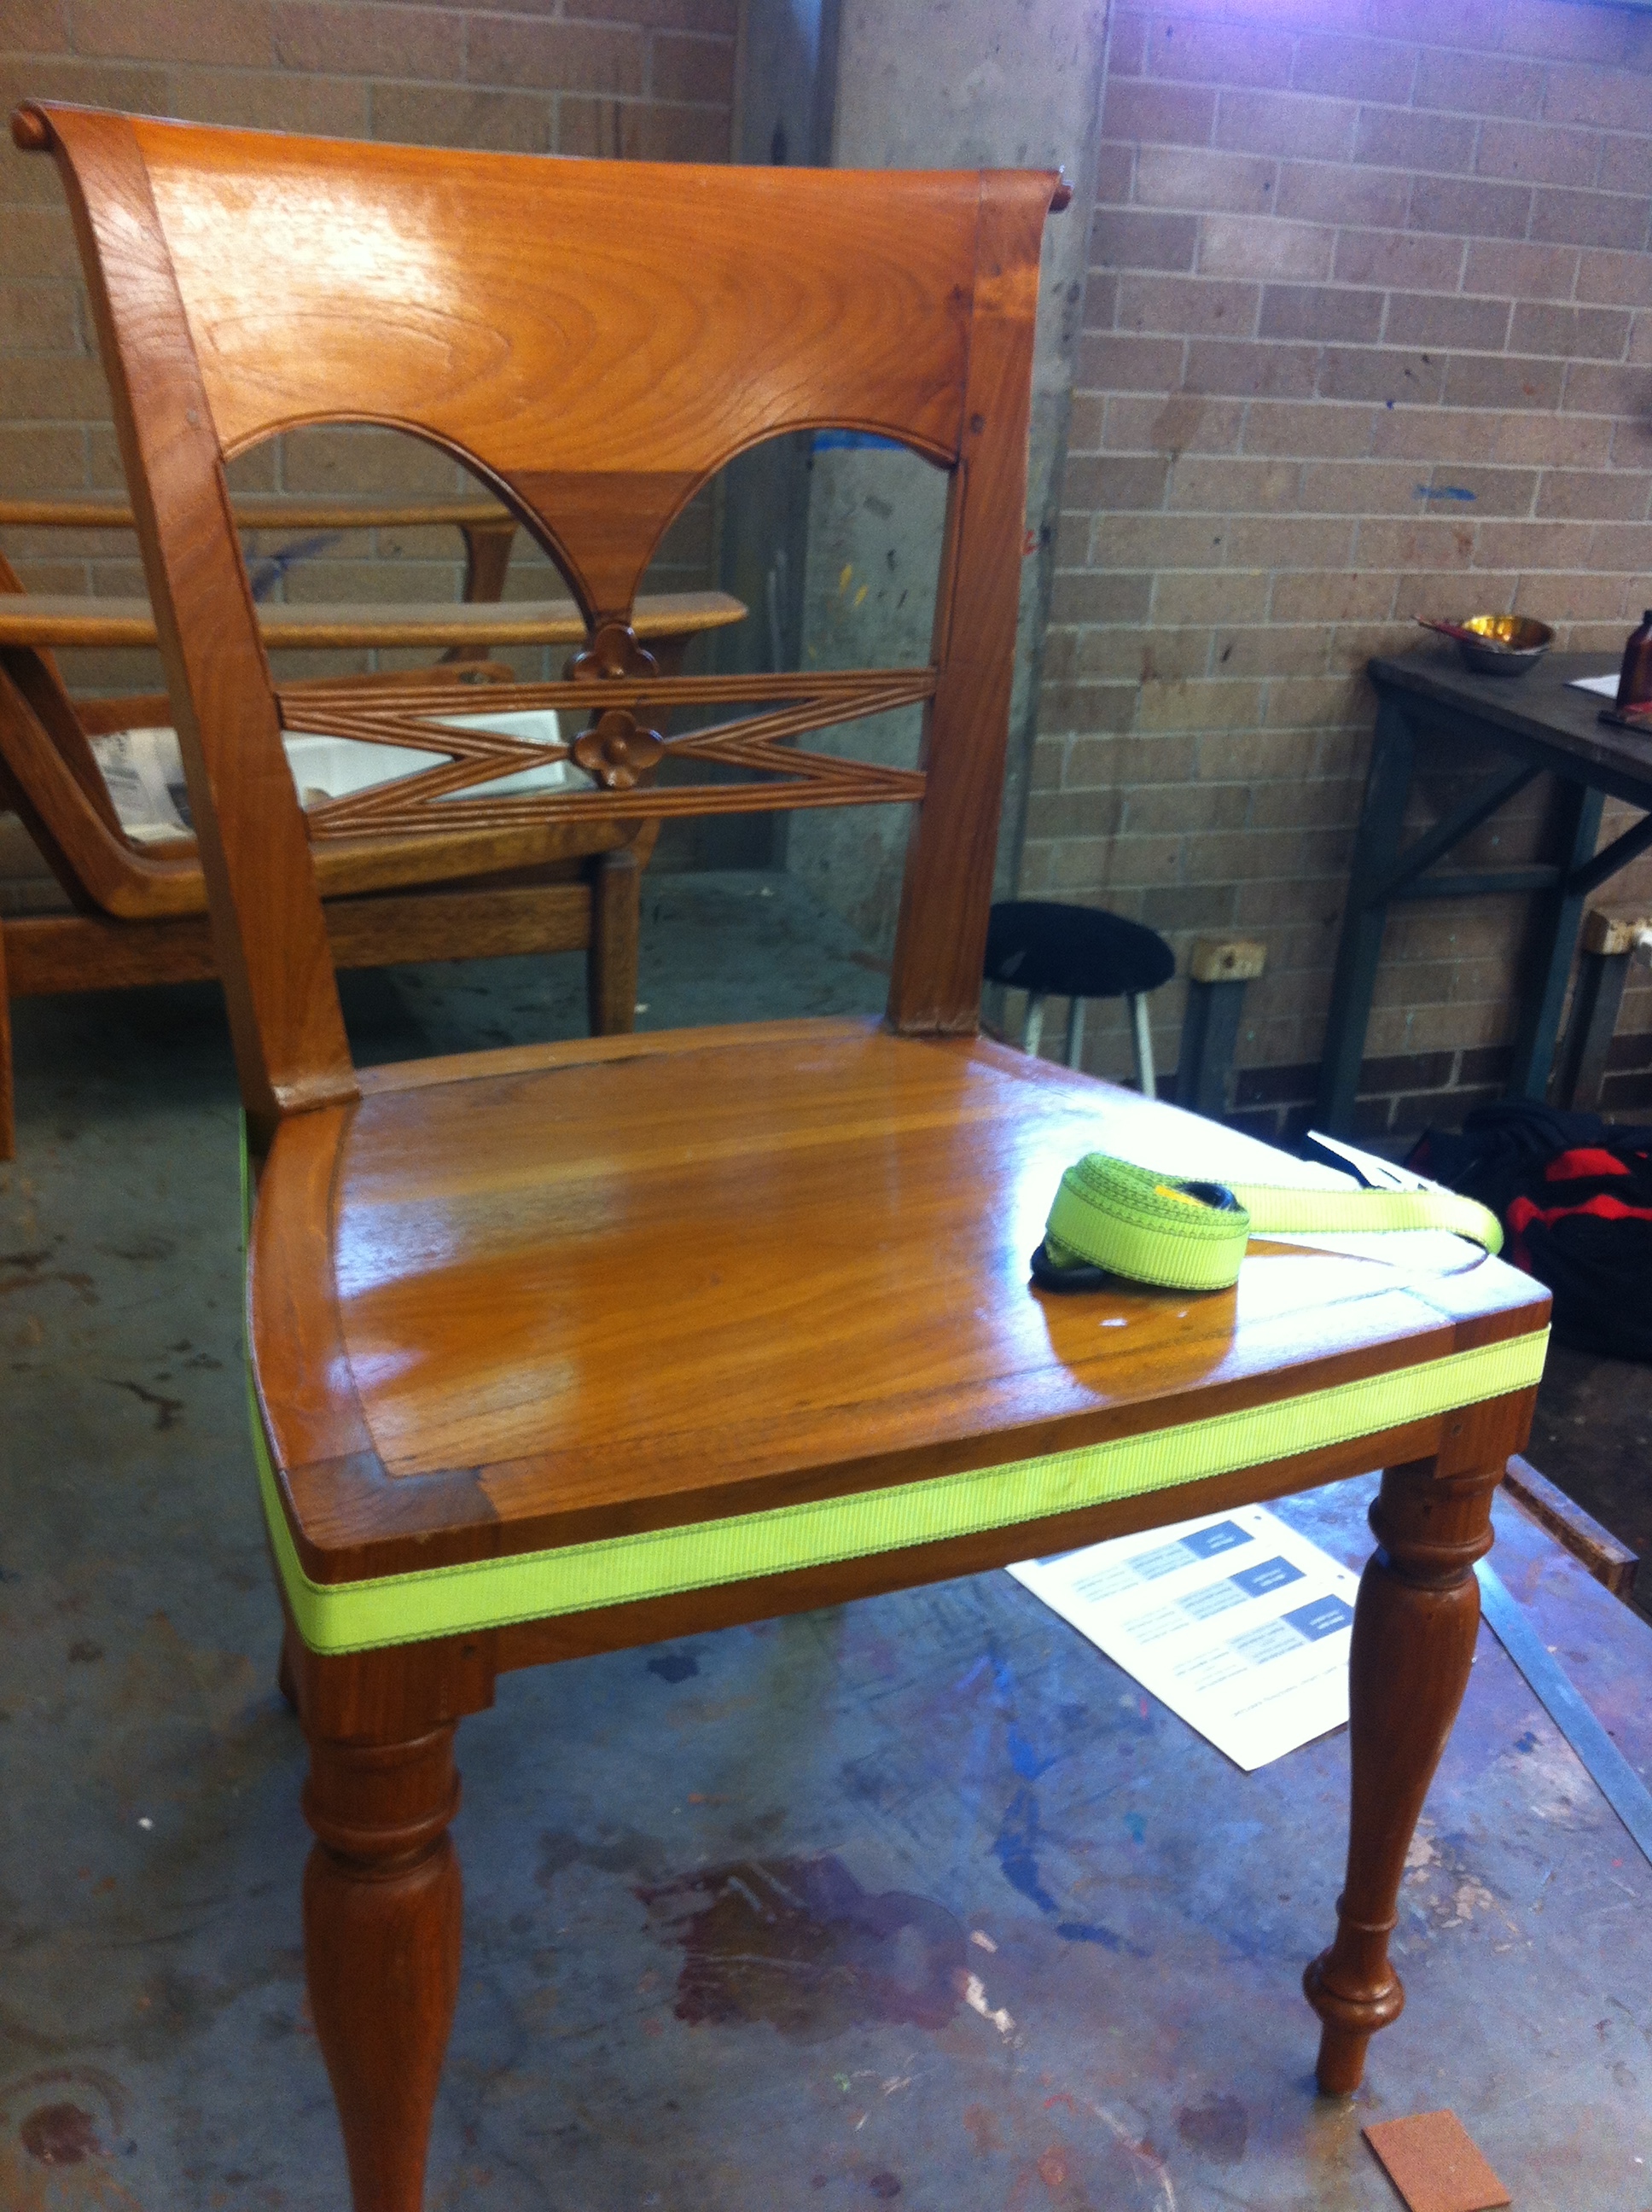
Once that job was done a fair amount of filling was required with epoxy. Once the epoxy was dried I sanded the areas back to smooth then it was the job of touching up all those areas to get the colour looking the same.
Done.
Whoops one more thing I added corner chocks underneath to give the back legs more strength – hopefully to save from another teenager rocking on the chair and snapping it.
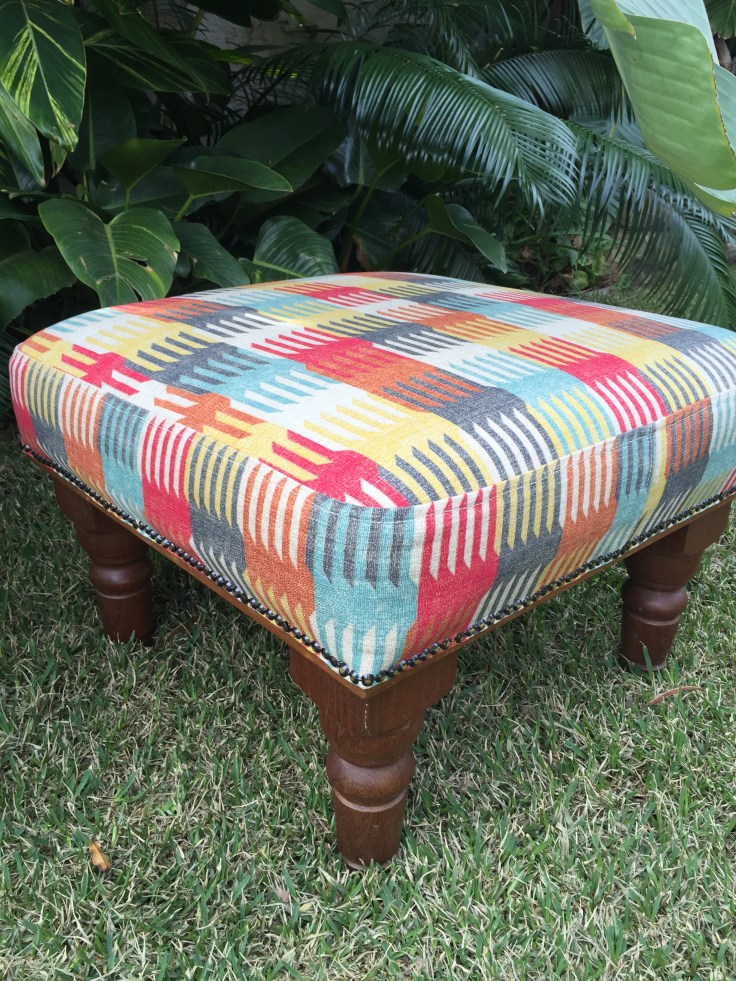
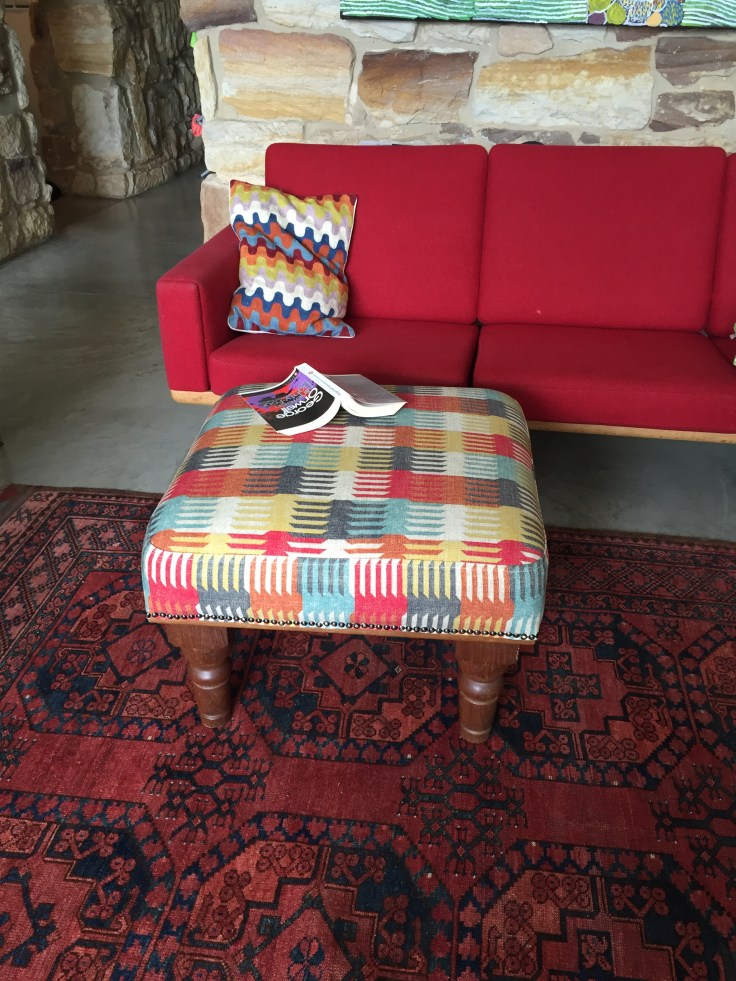
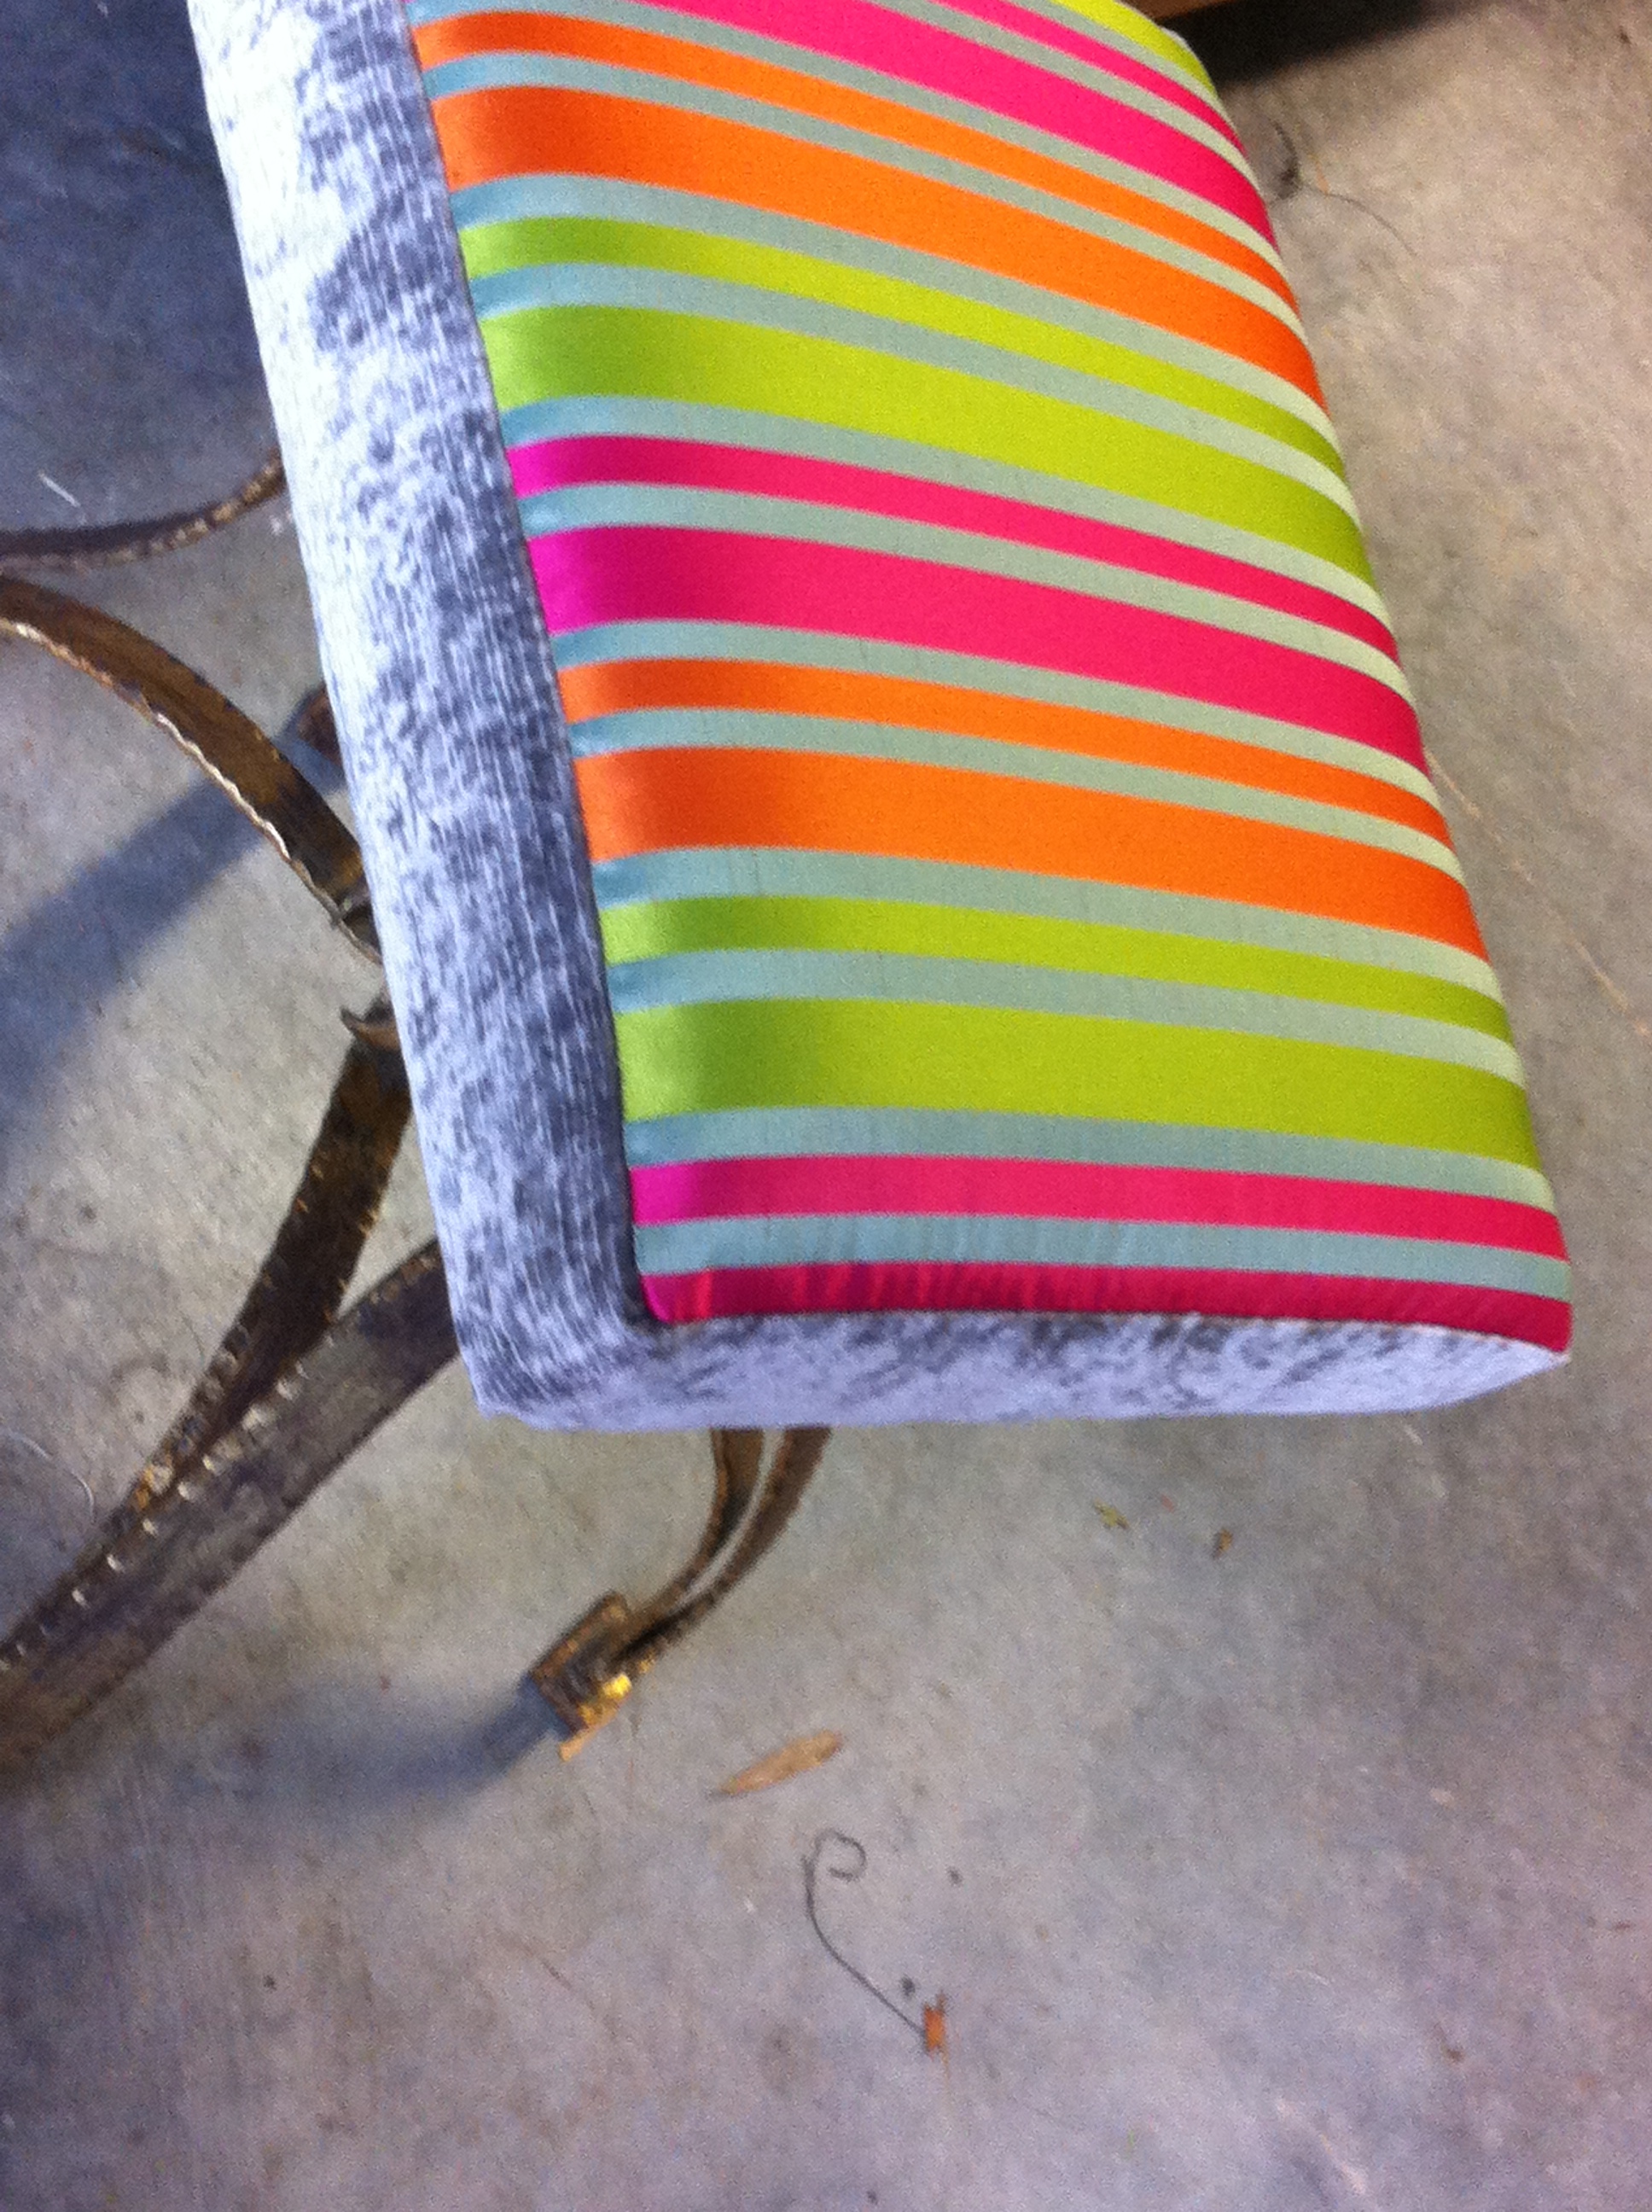
I found this material a while ago and have just been waiting for the right project to use it.
Yes – the colours are a bit out there, but I think they are fun, lively and will brighten up a bedroom, giving it a pop of colour.
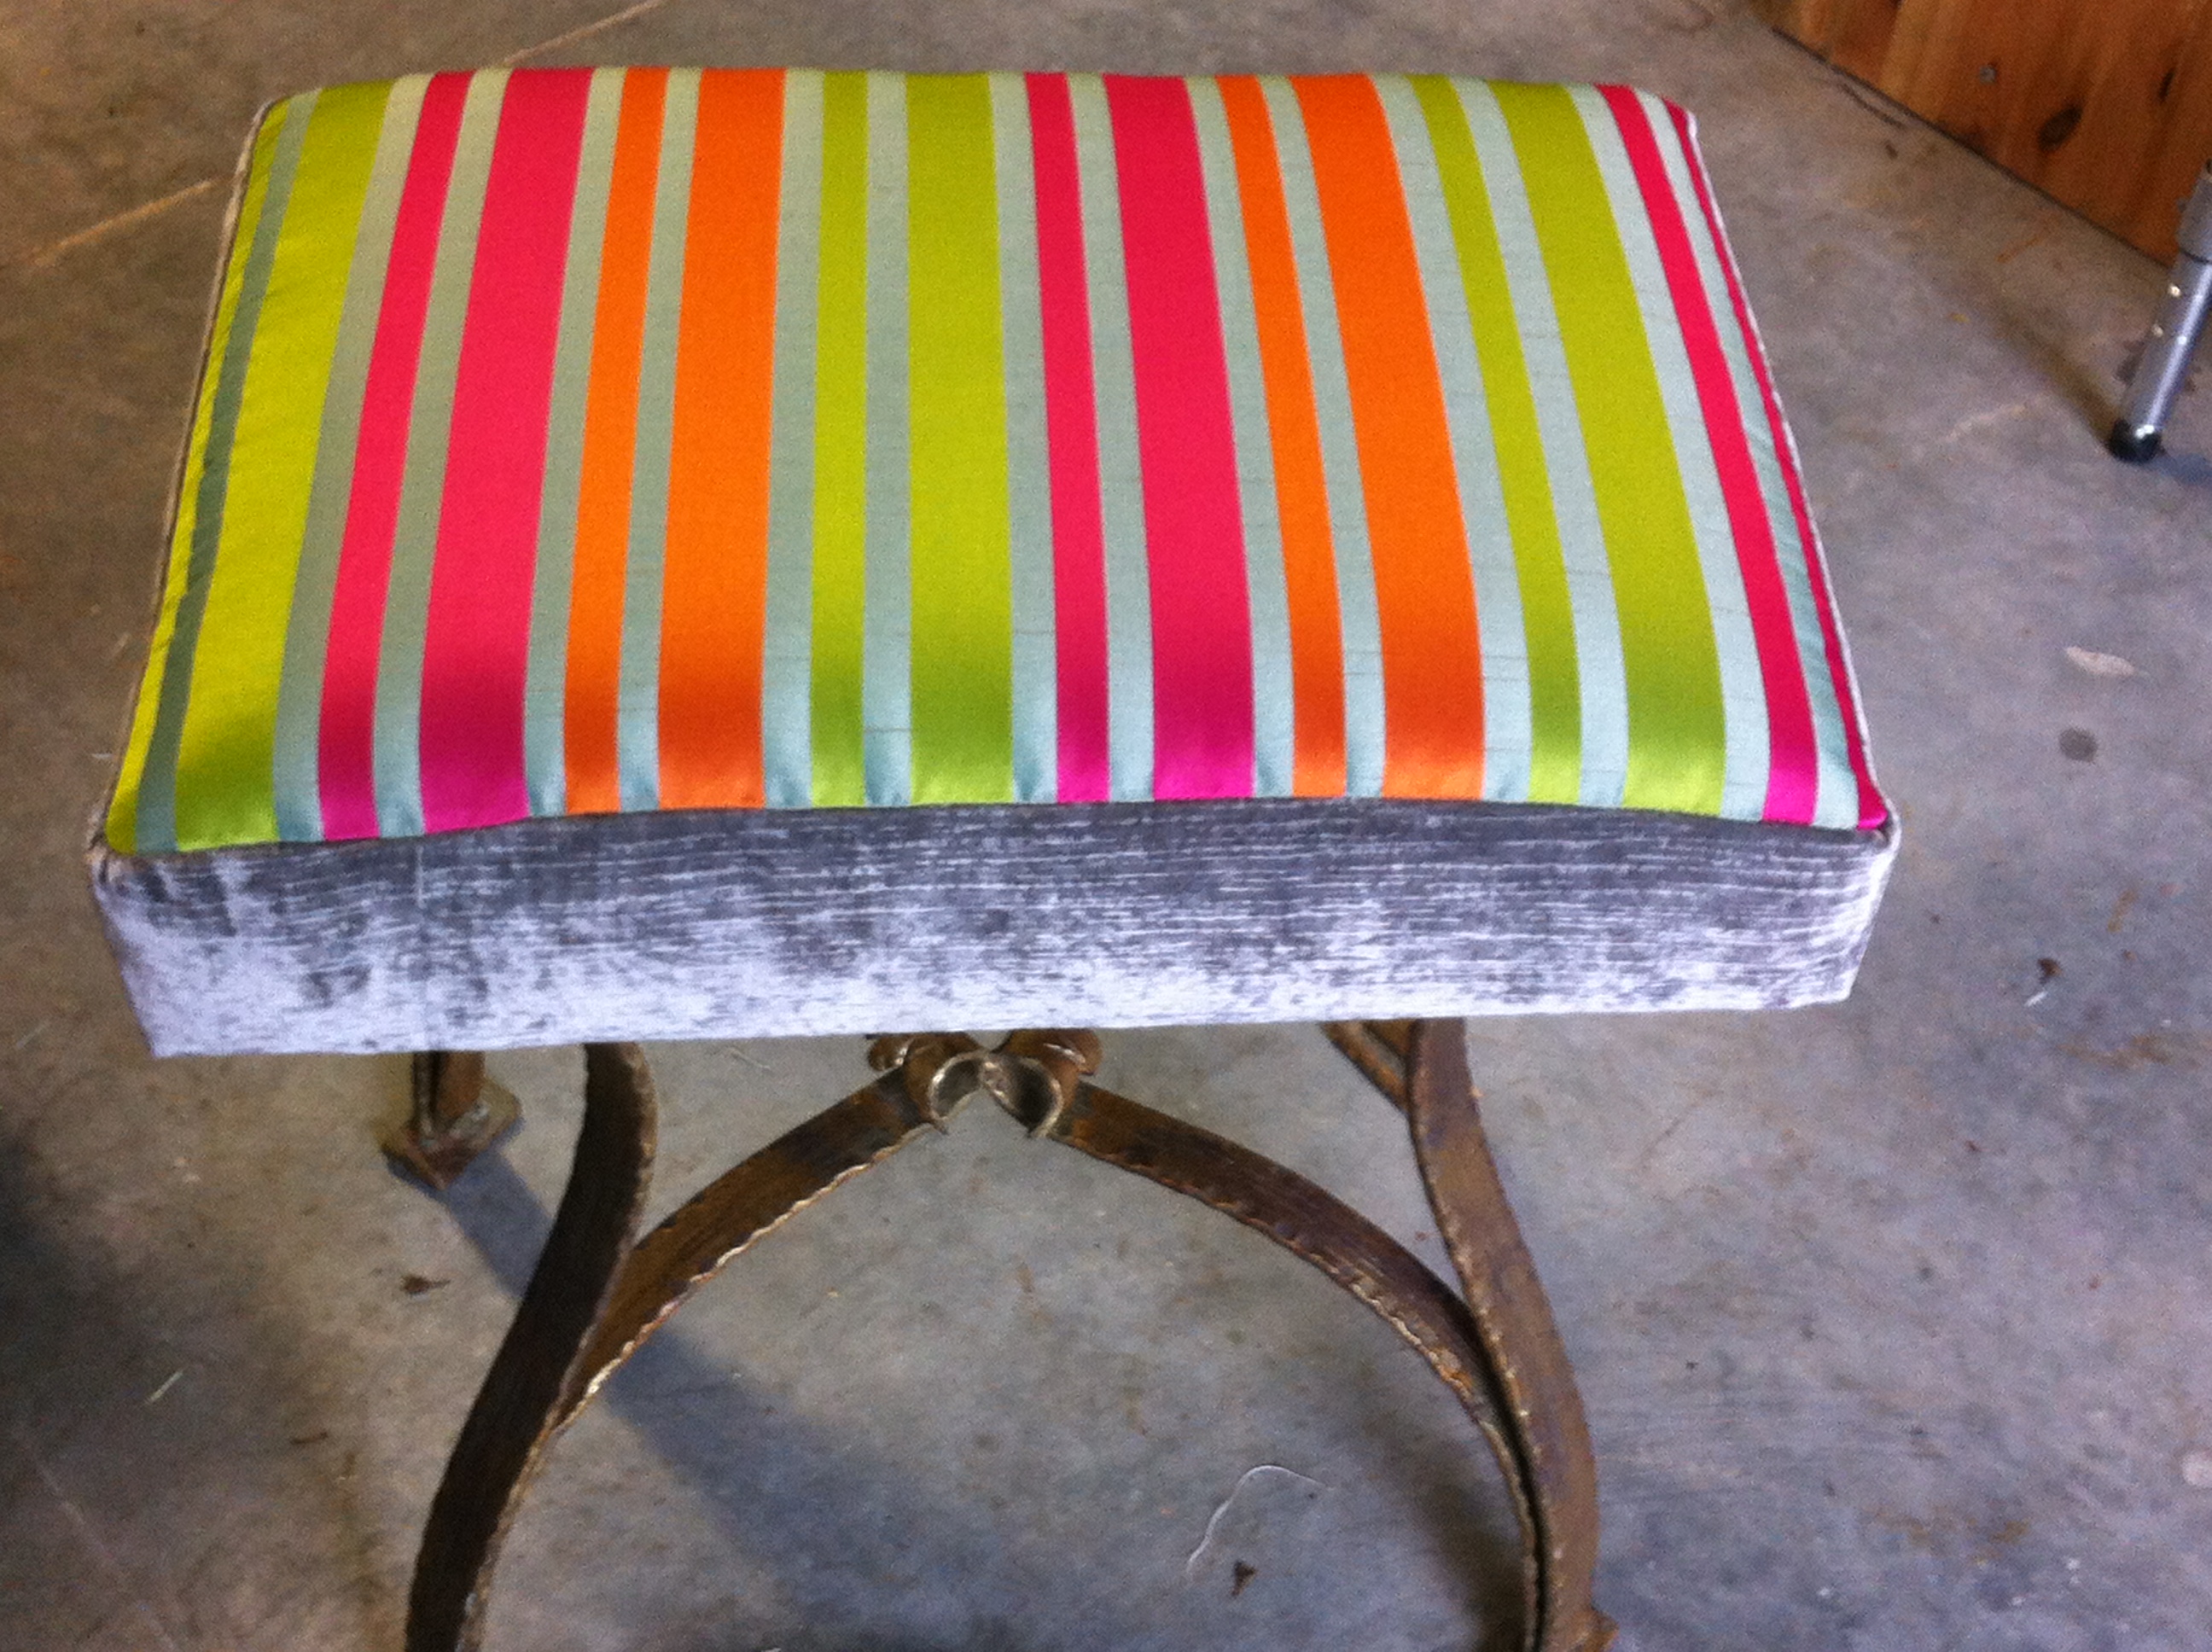
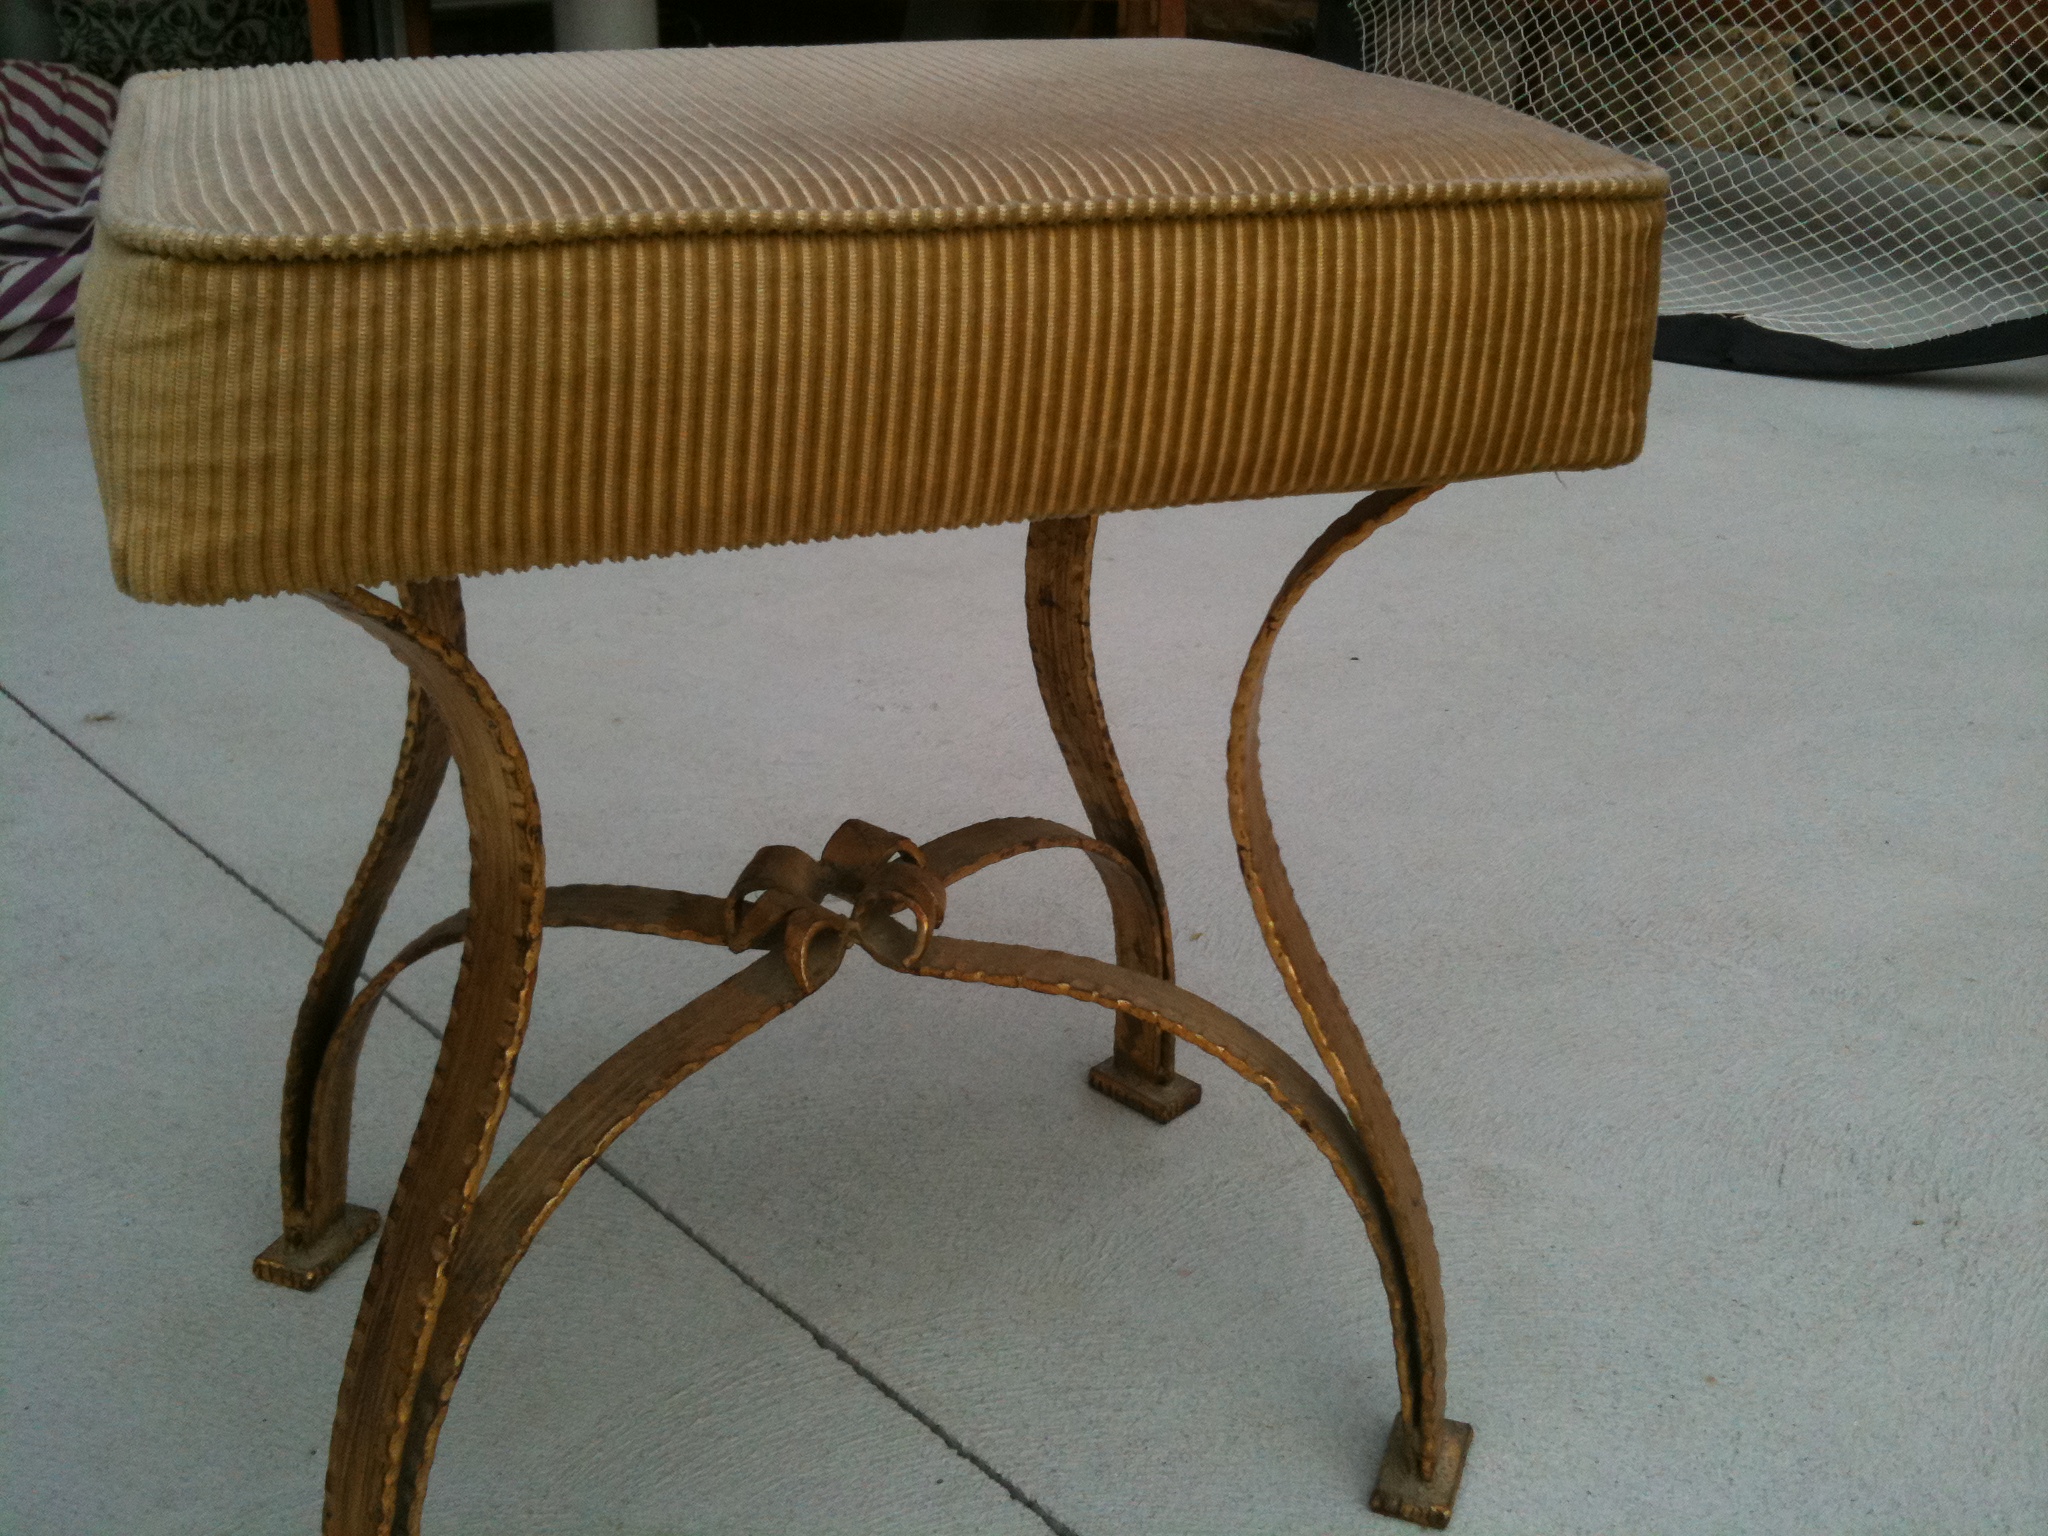
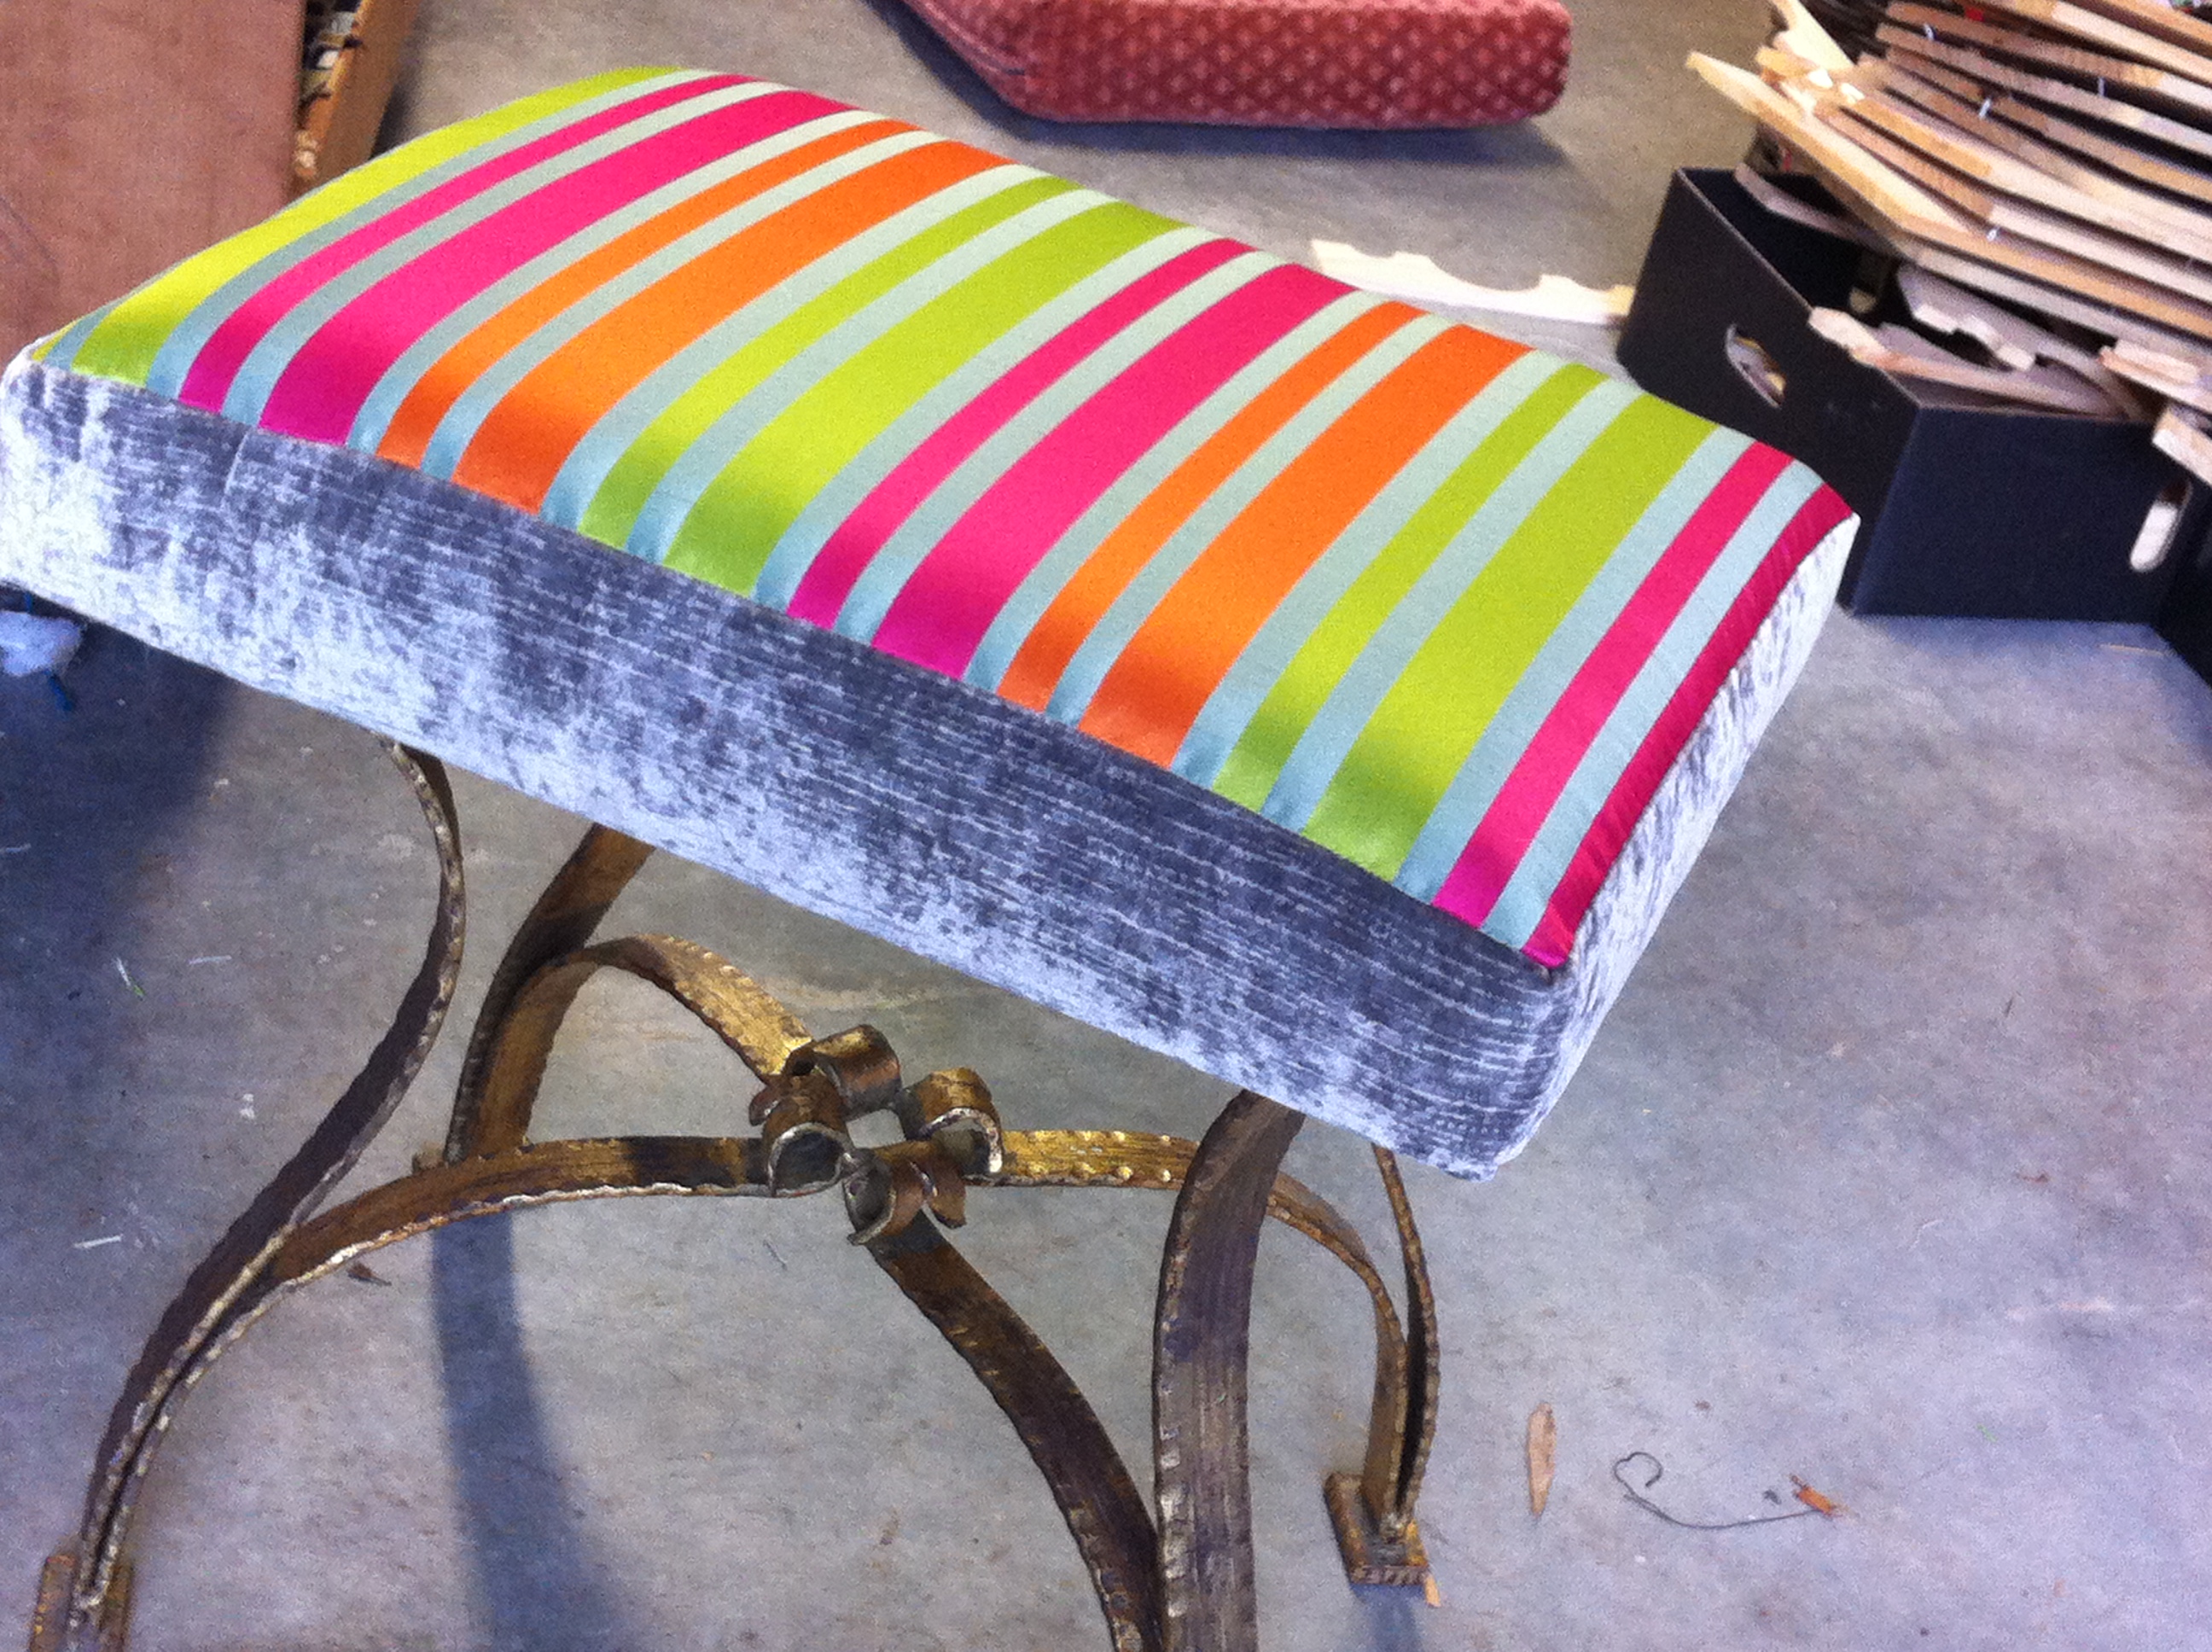
The old stool definitely needed a makeover.
Now to decided whether to change the colour of the stool to an antique silver black or just leave it. Will have a think, in the mean time I may make some cushions with the grey velvet and stripe.
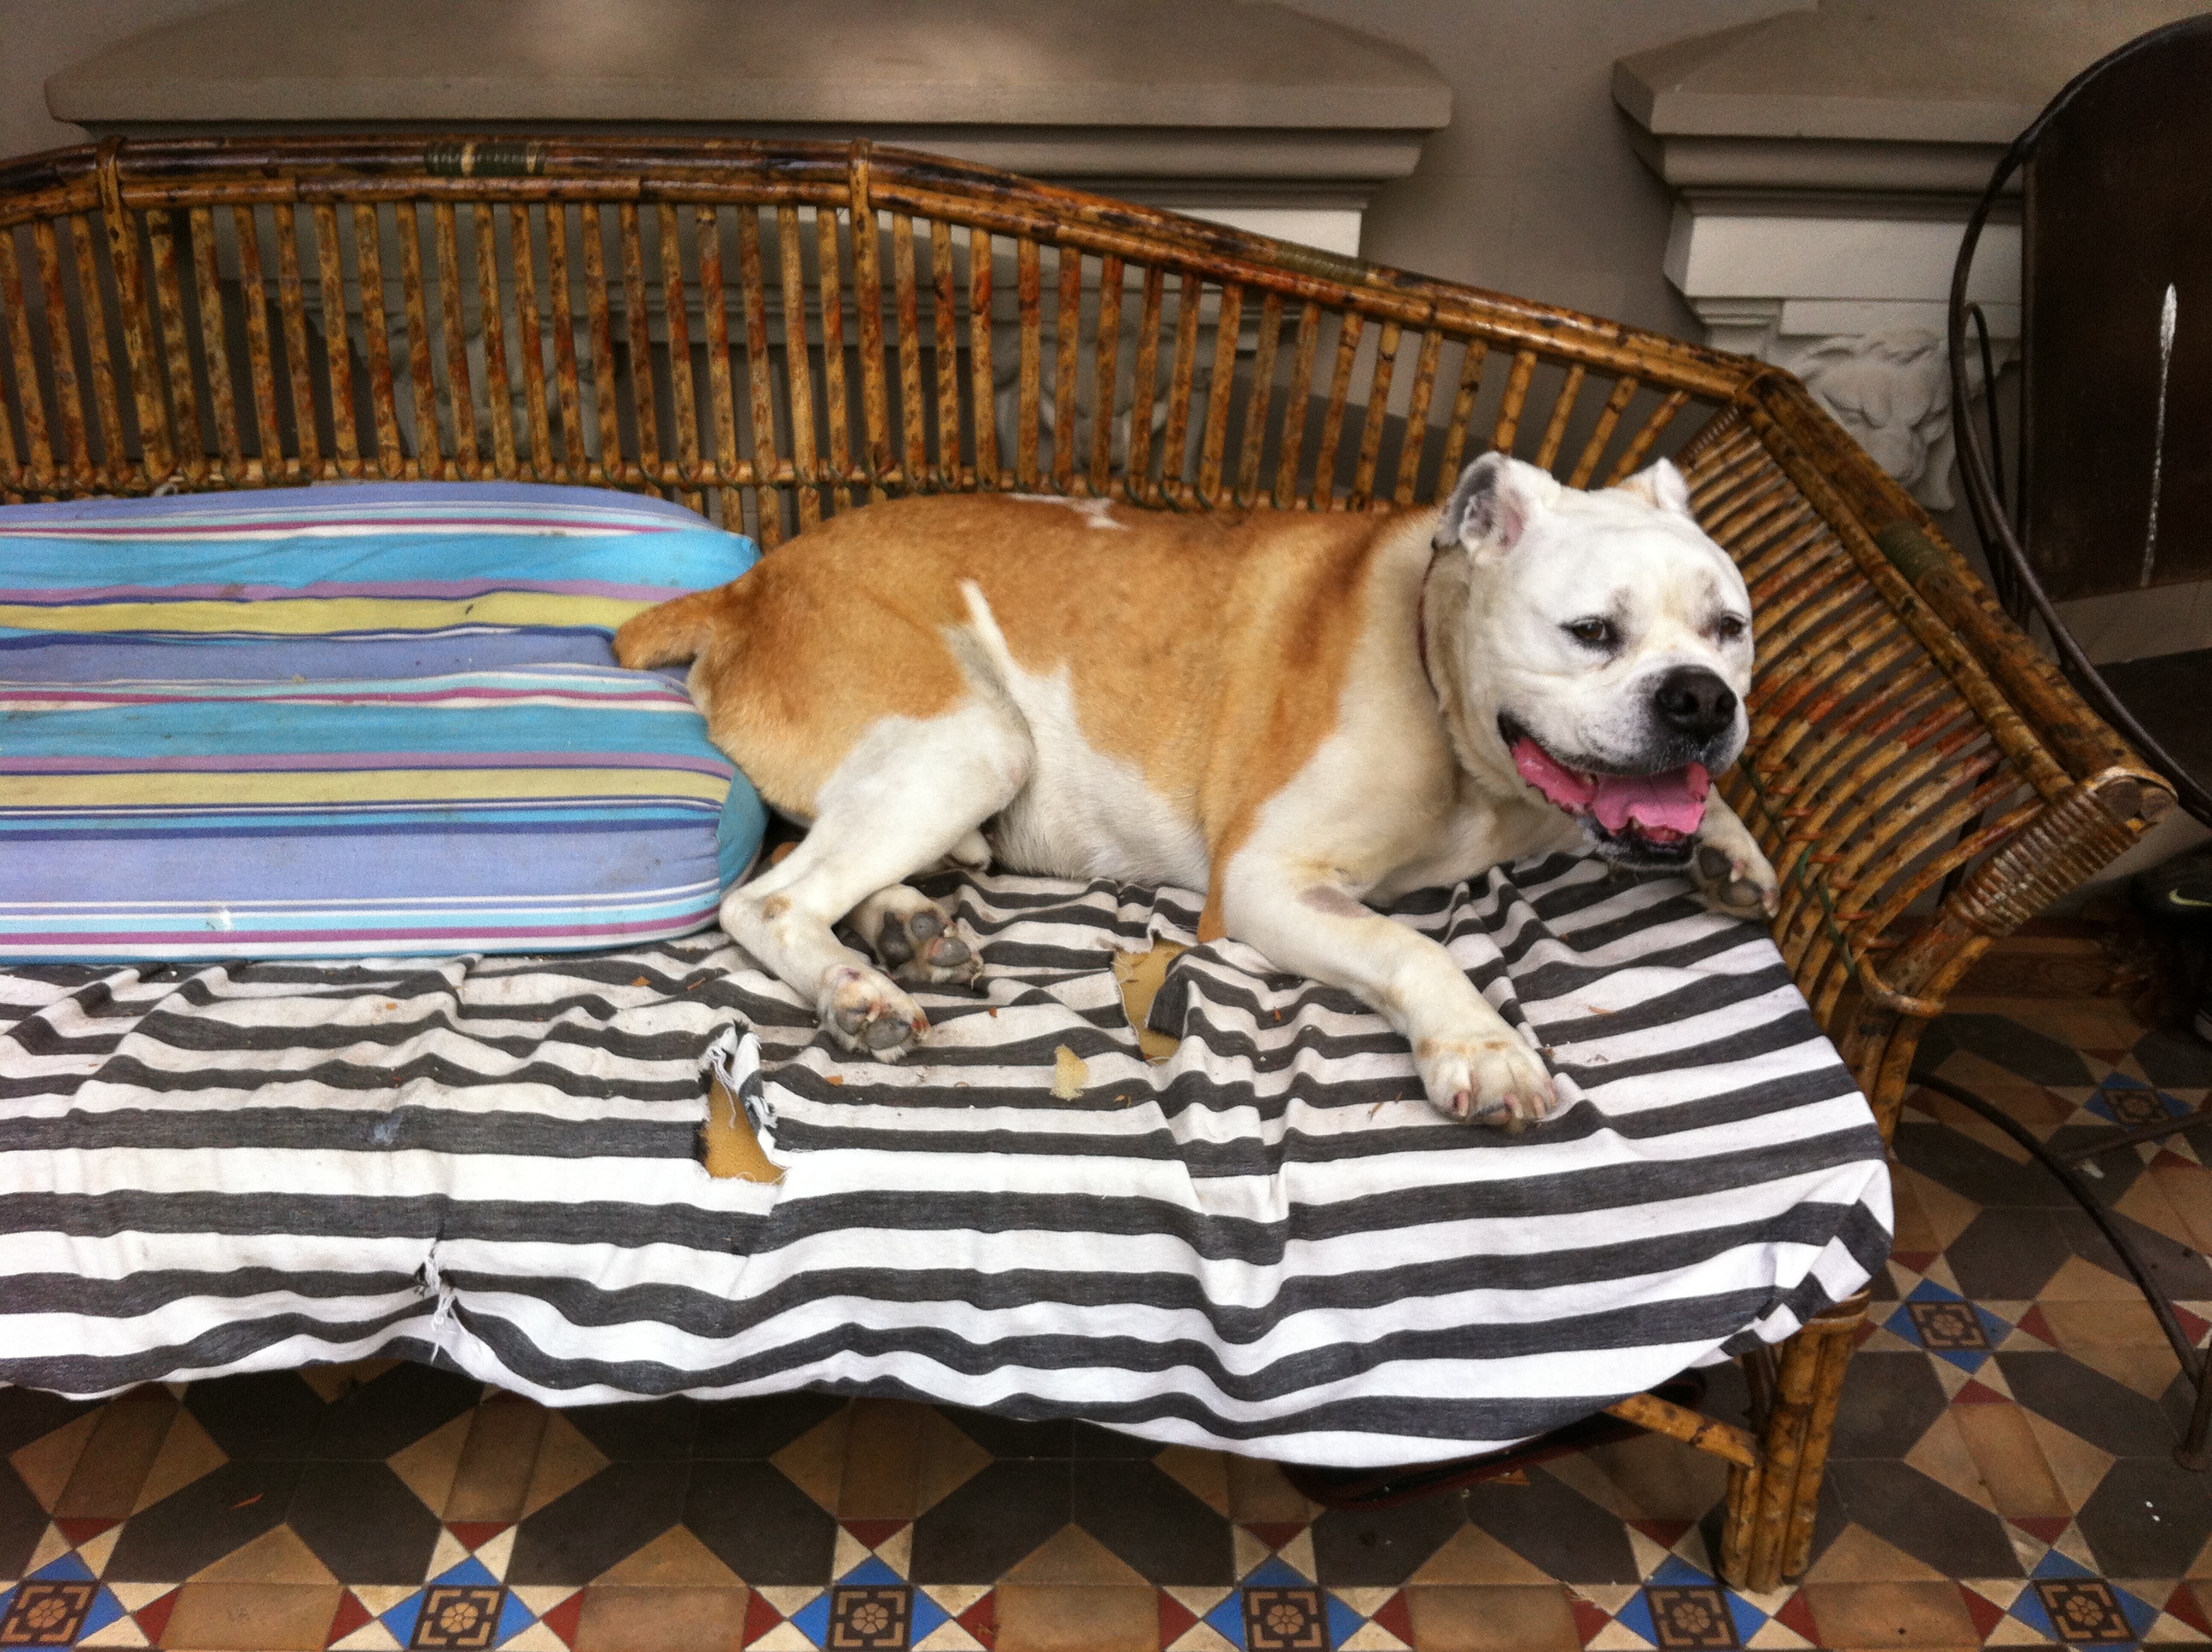
Ok – enough is enough ……….it is high time the cushion for the outdoor rattan lounge was recovered. Yes, I know Jed looks very comfortable and even once a new cover is completed I’m sure he will like it just as well.
I am using an outdoor foam which is more expensive, but it allows any water to run through.
It came slightly too big. As I don’t have a foam cutter (they are quite expensive) I am using an electric bread cutter (you can get one under $ 20.00). No, I’m not completely NUTS, it does a pretty good job.
As long as you have the line marked and cut straight up and down it does a fairly good job.
Once the foam was cut it was just a matter of cutting the material and get sewing. I love the contrast of pattern on one side and the stripe on the other. Instead of a zip I decided to put velcro right down one side as I am sure the dog will still make it his resting place – therefore frequent washing. It makes it easier to get the cover off and on.
Sometimes the simple jobs turn out to be the most effective.
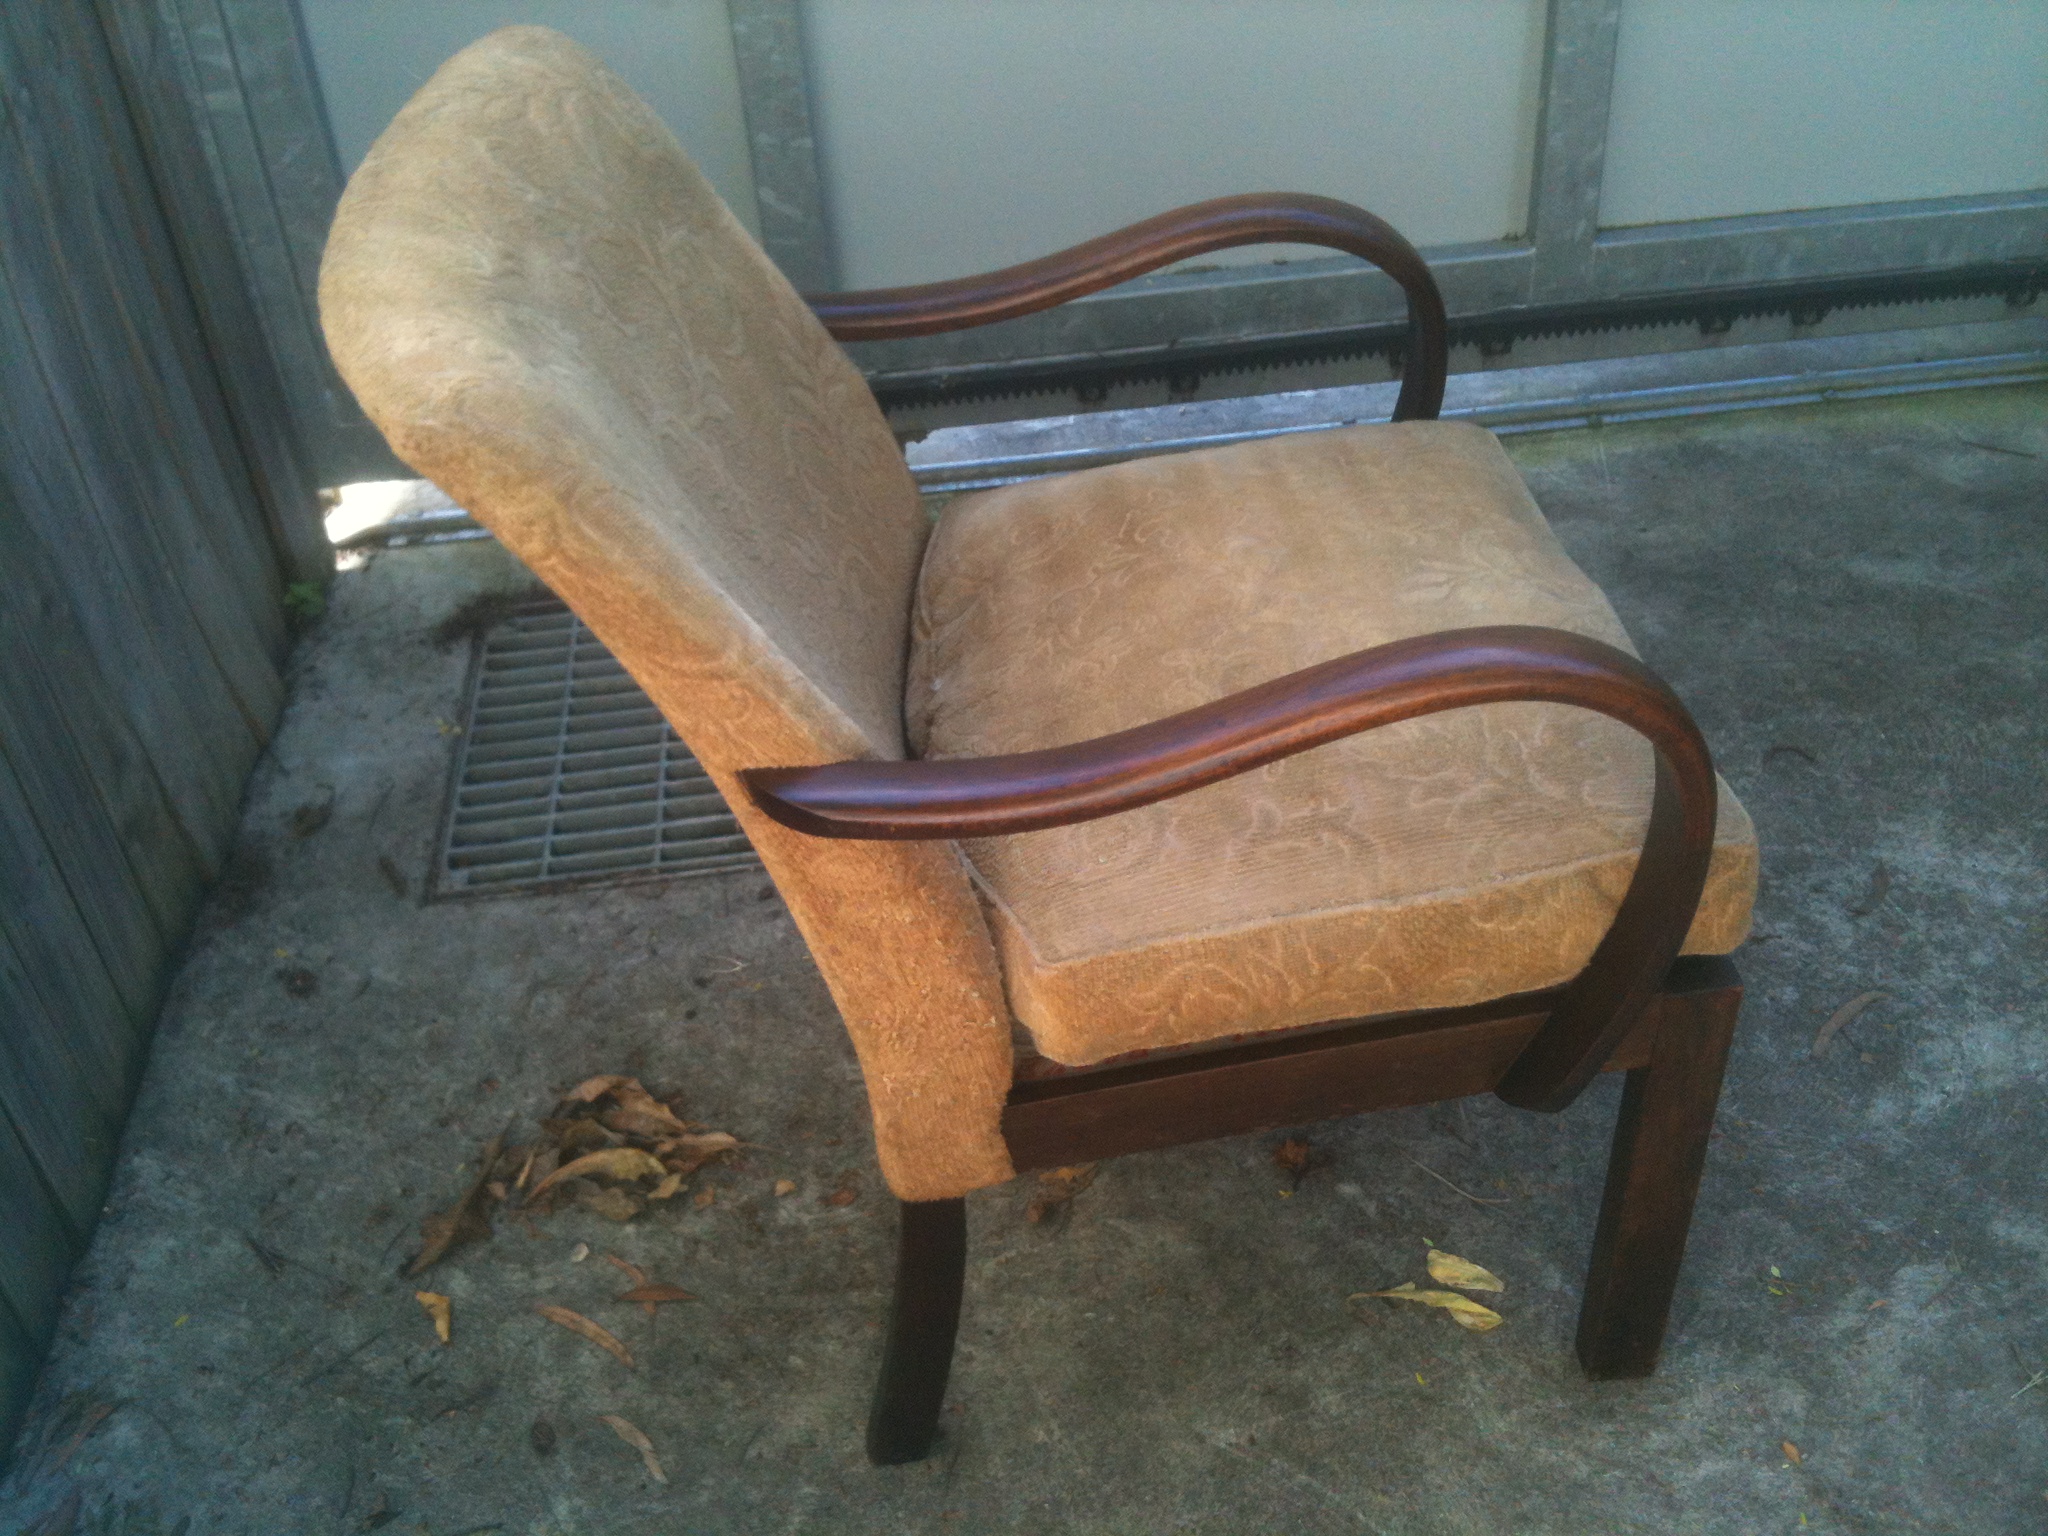
Before
I have two amazing retro stools – Ok they are looking a bit worst for wear but I love the colour and they are comfortable.
After careful consideration about maybe putting on new vinyl I decided to keep the integrity of the stools and just redo the buttons.
When I took the base of the stool off I found there was a piece of vinyl covering the bottom of the stool that I could use to make new buttons without disturbing the rest of the stool YA…………
In the end it was an easier job than I first thought but very satisfying.
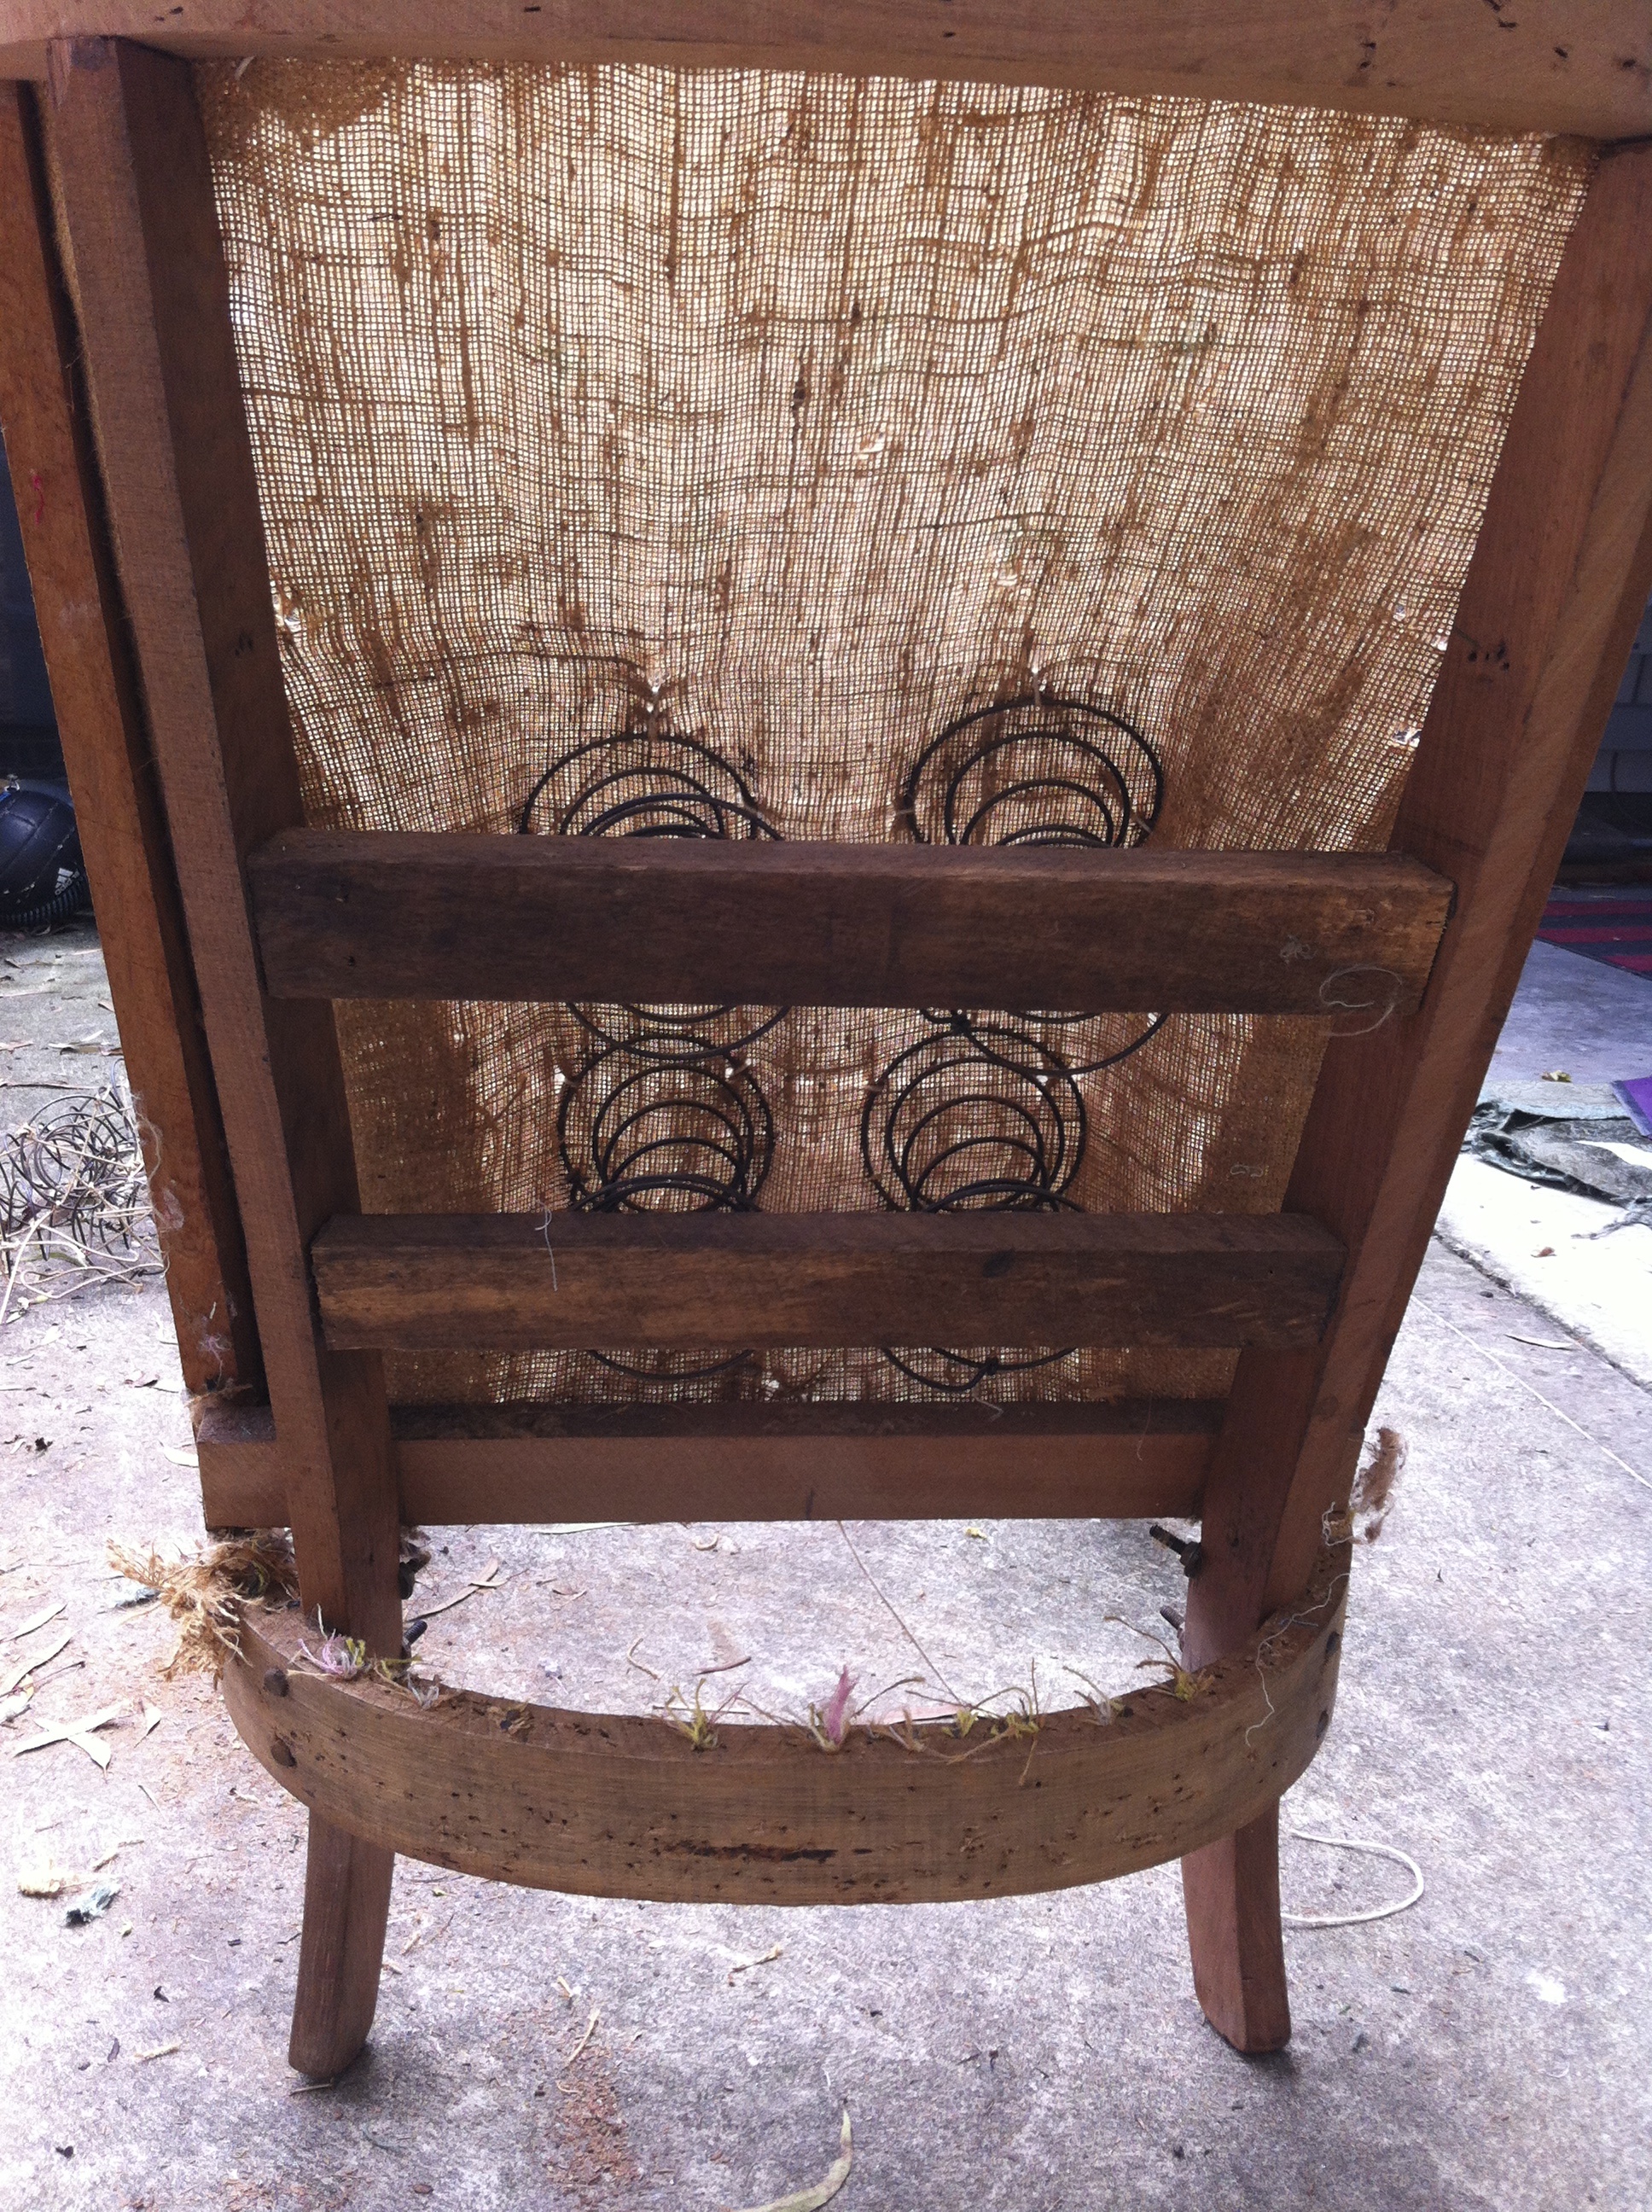
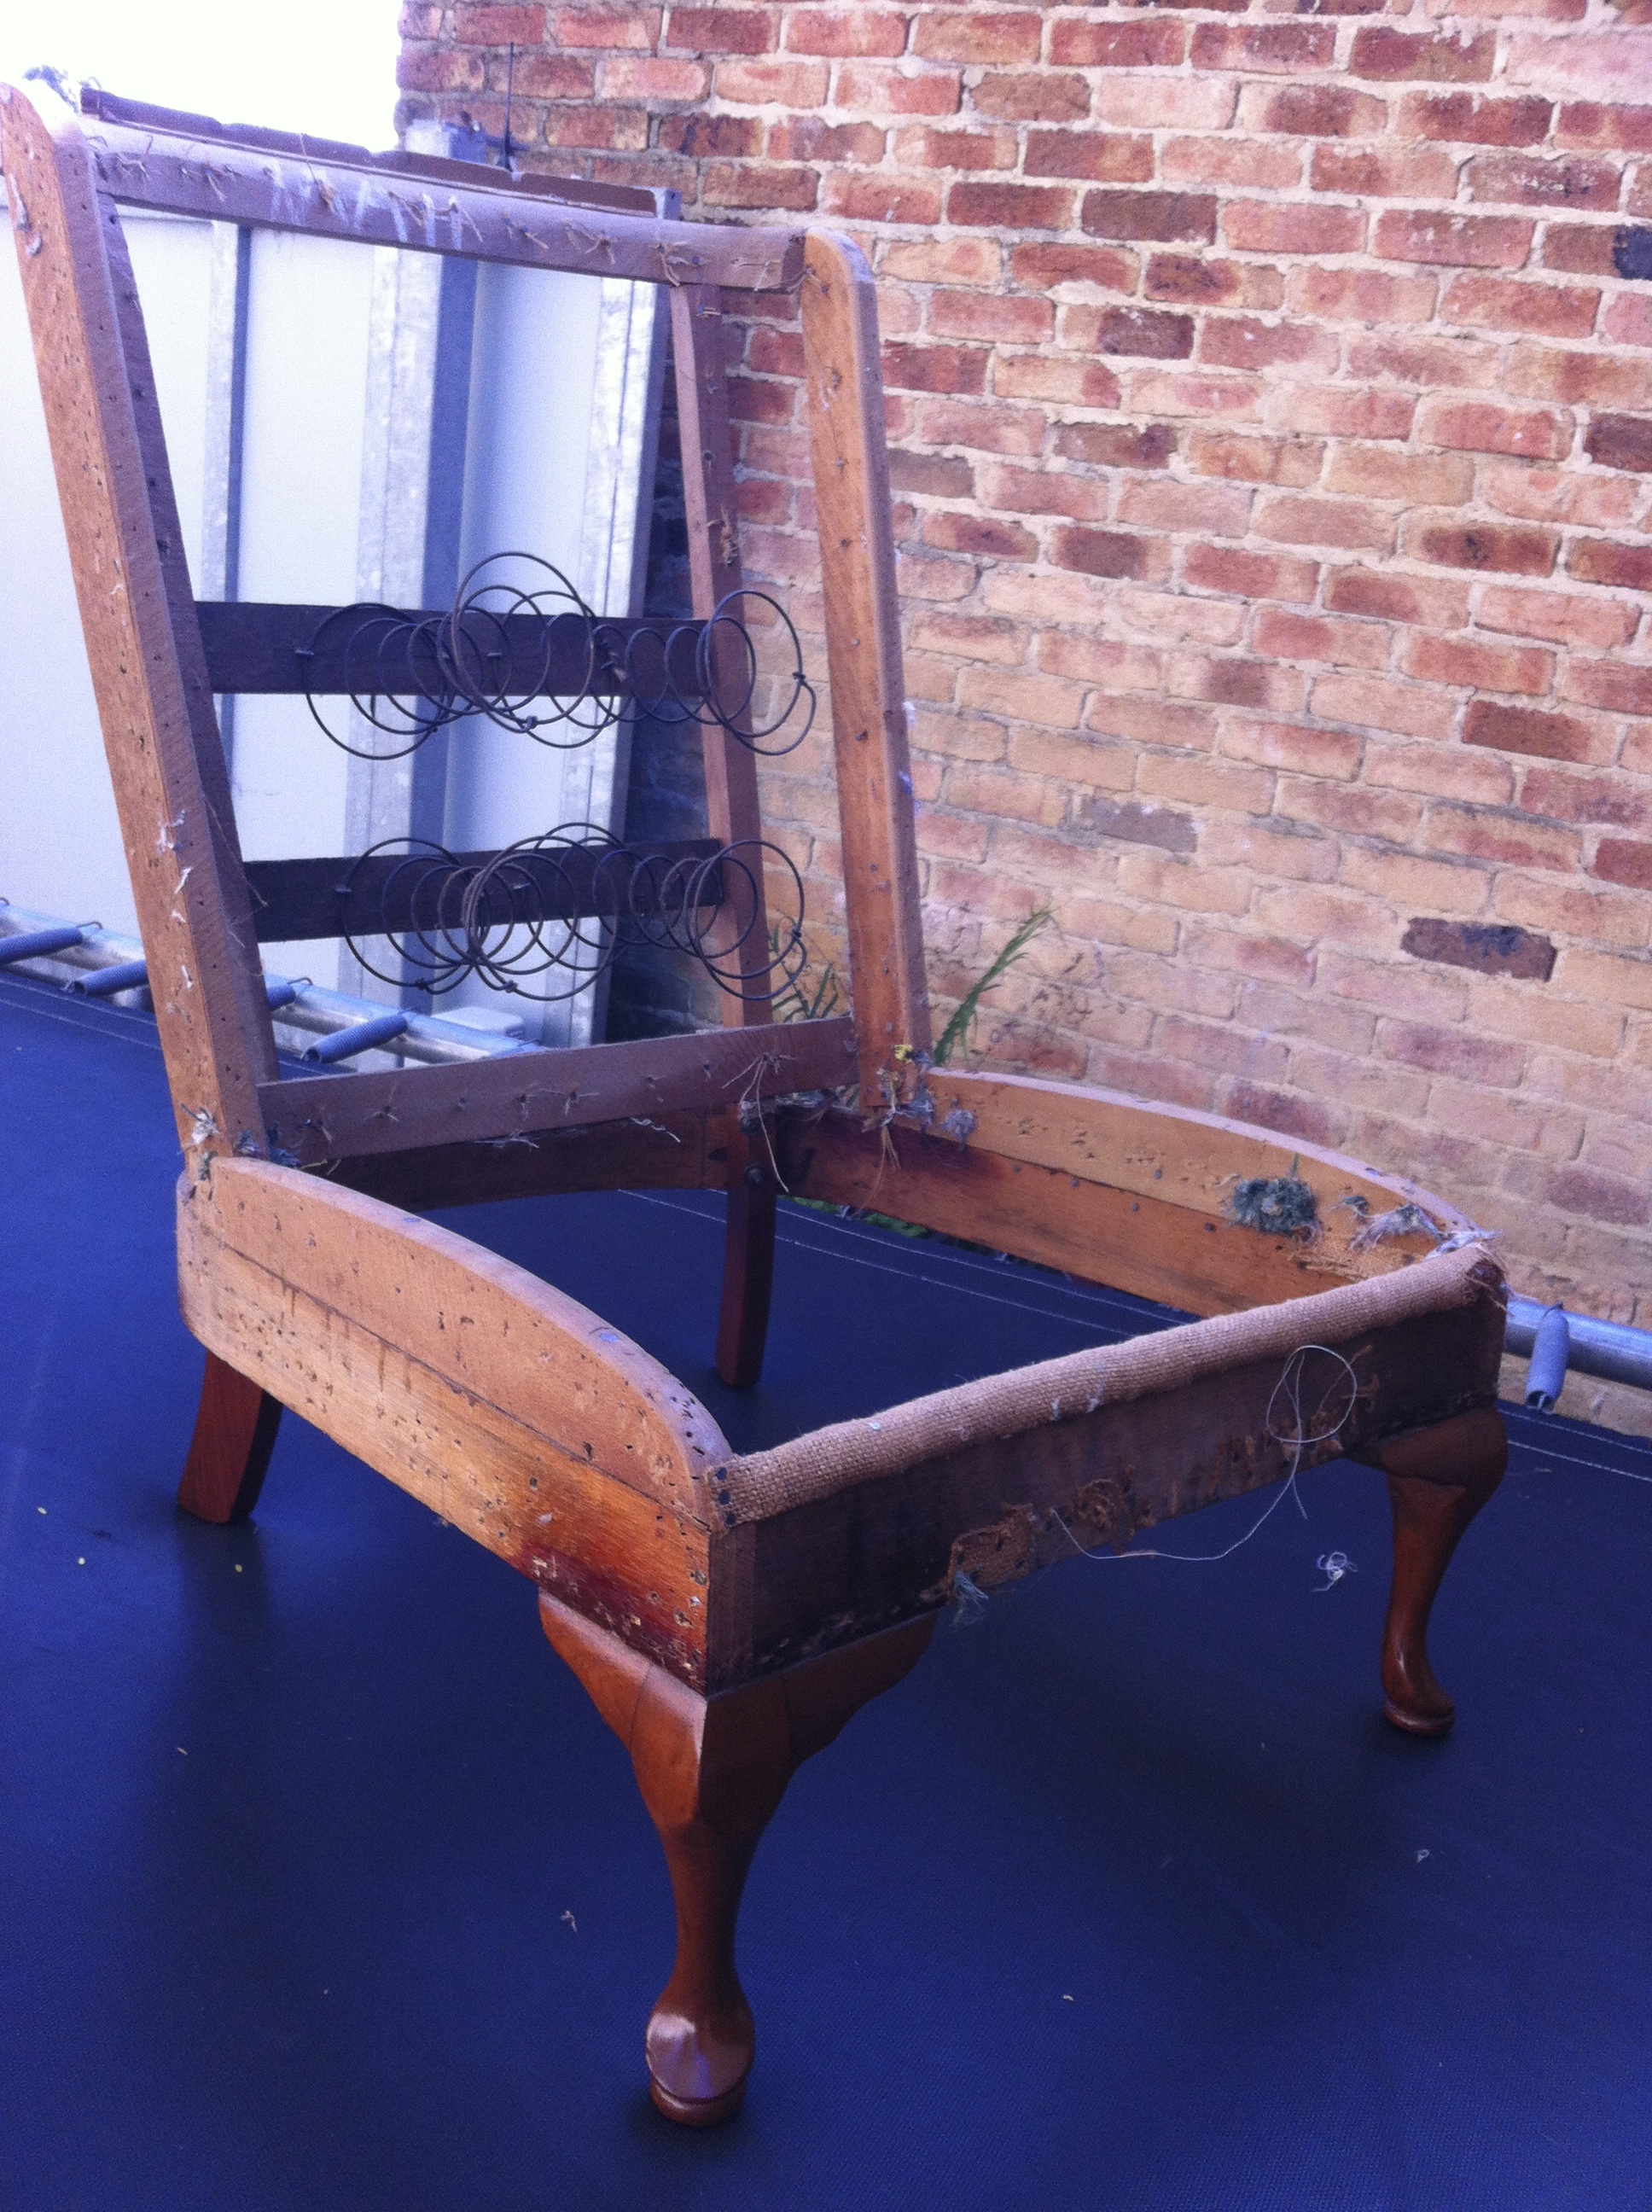
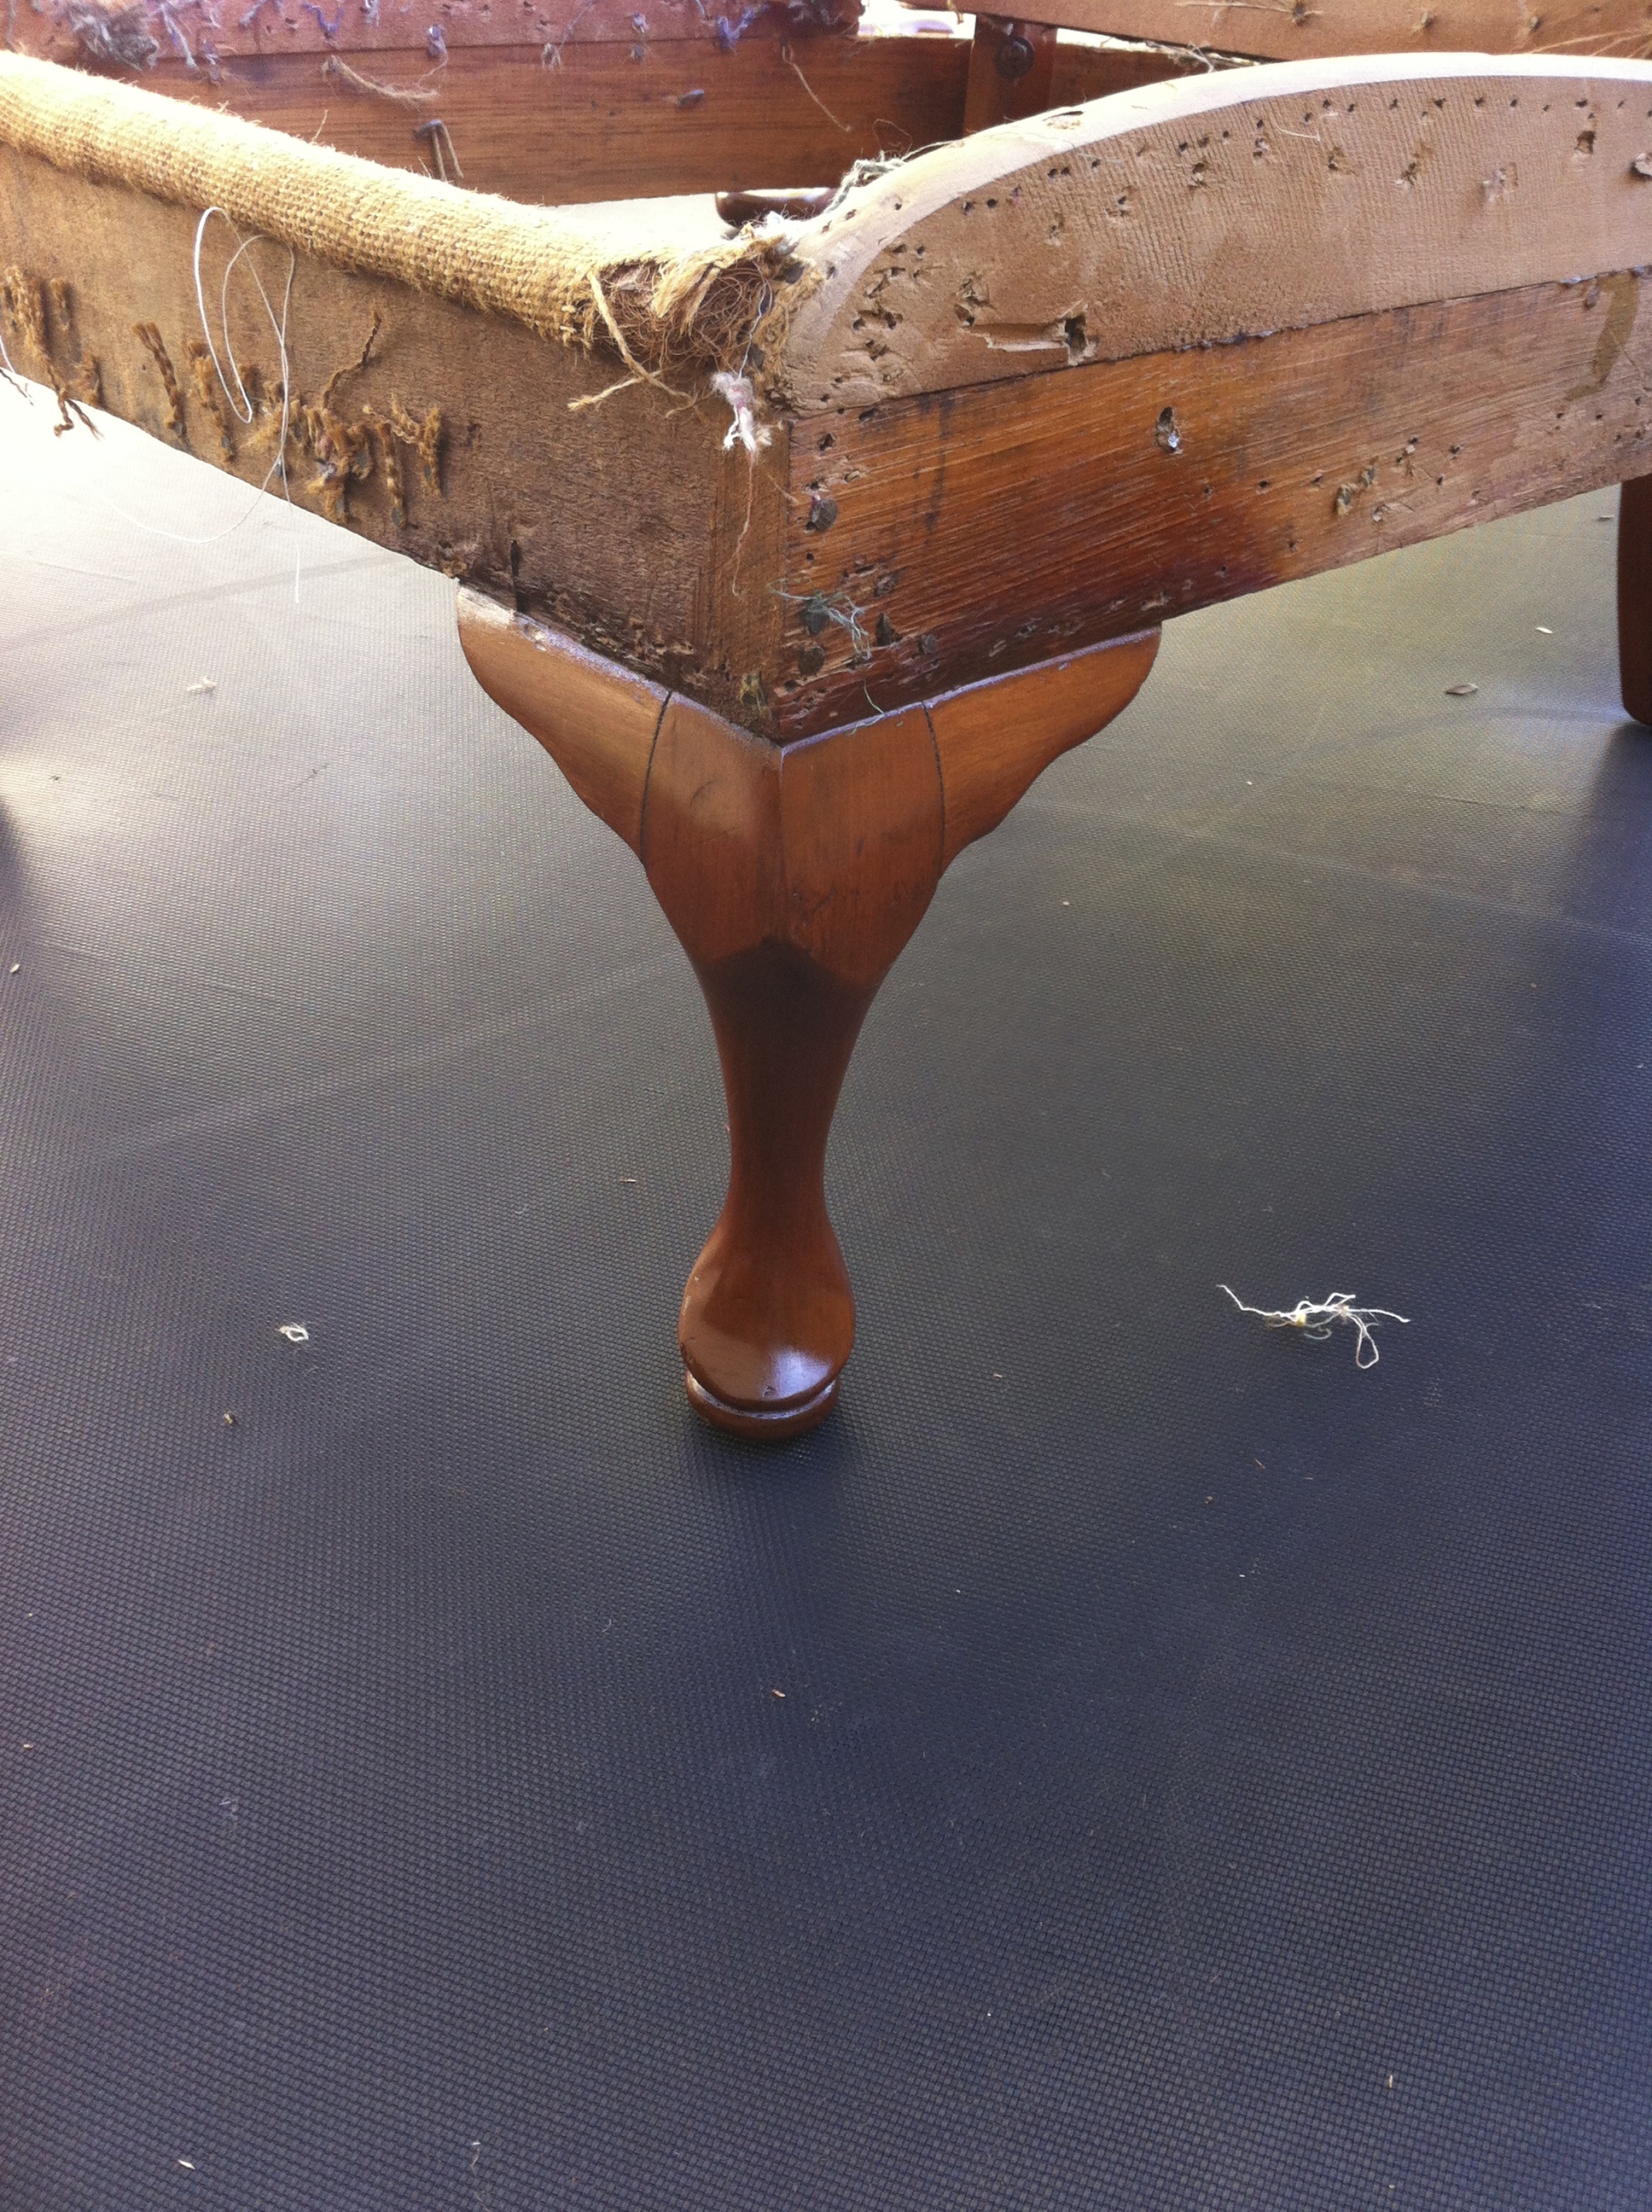
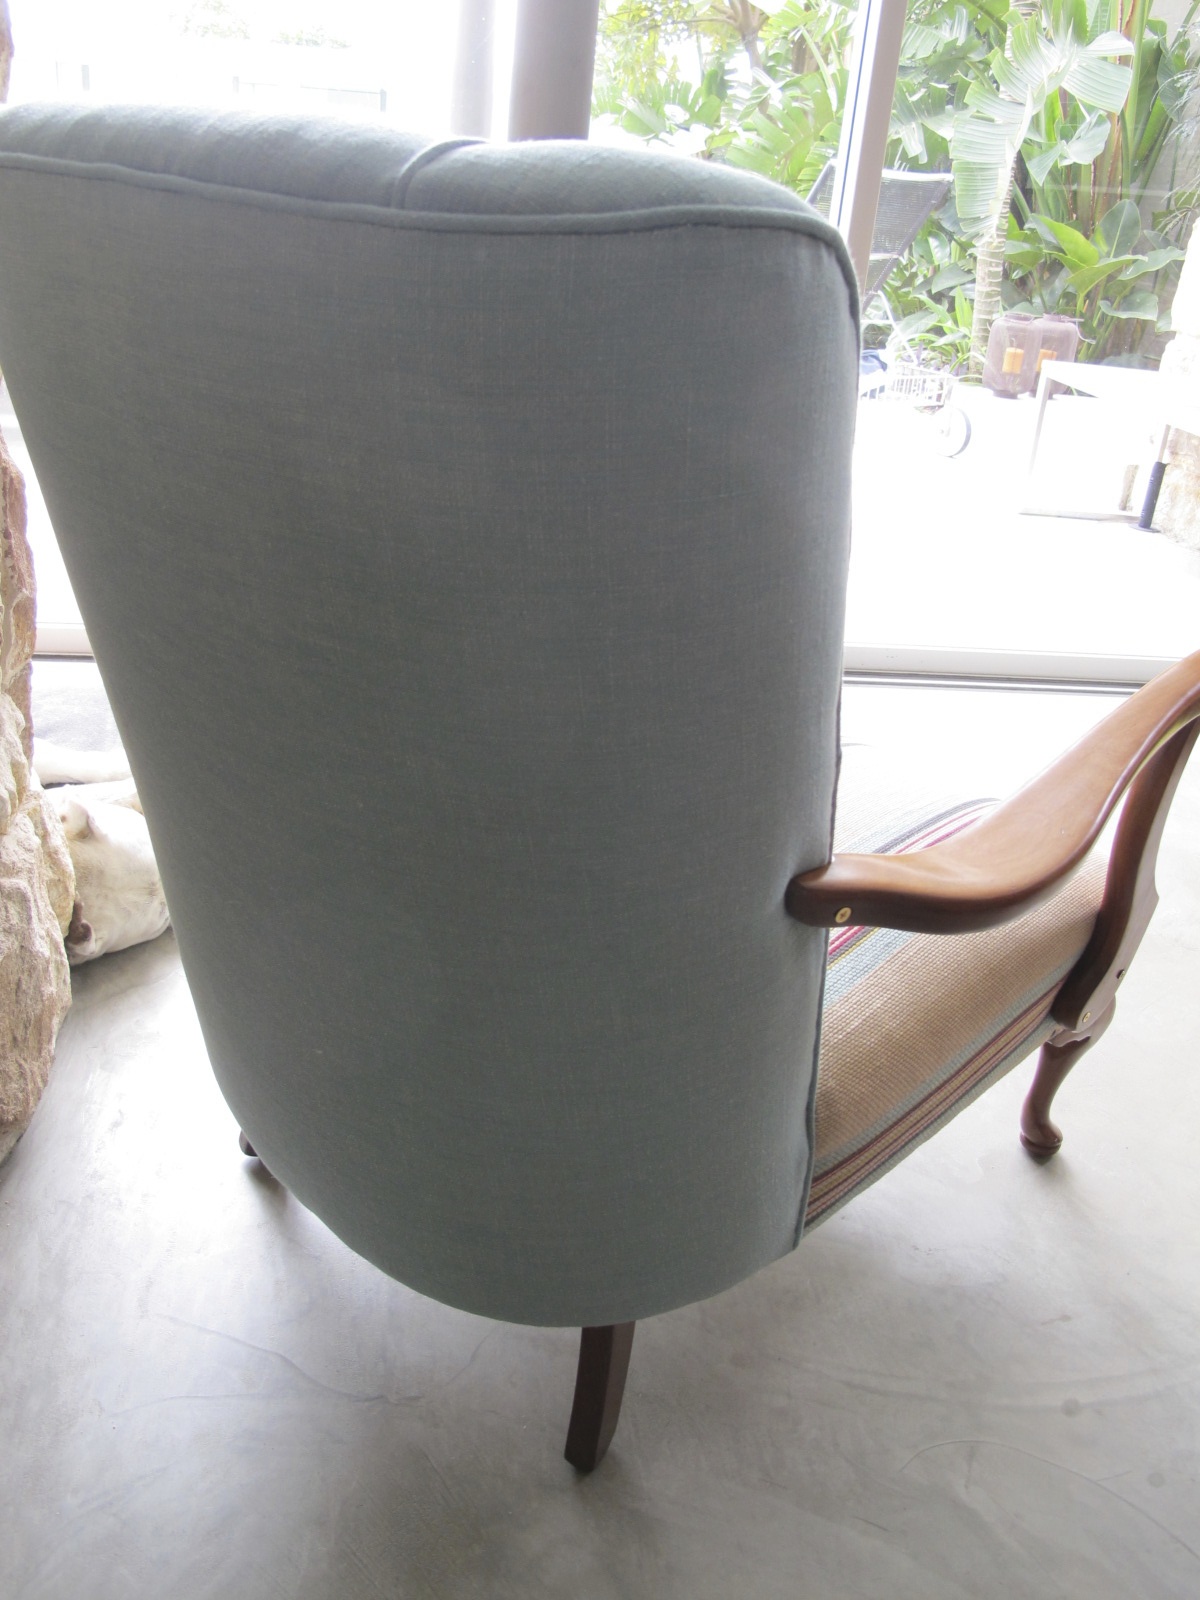
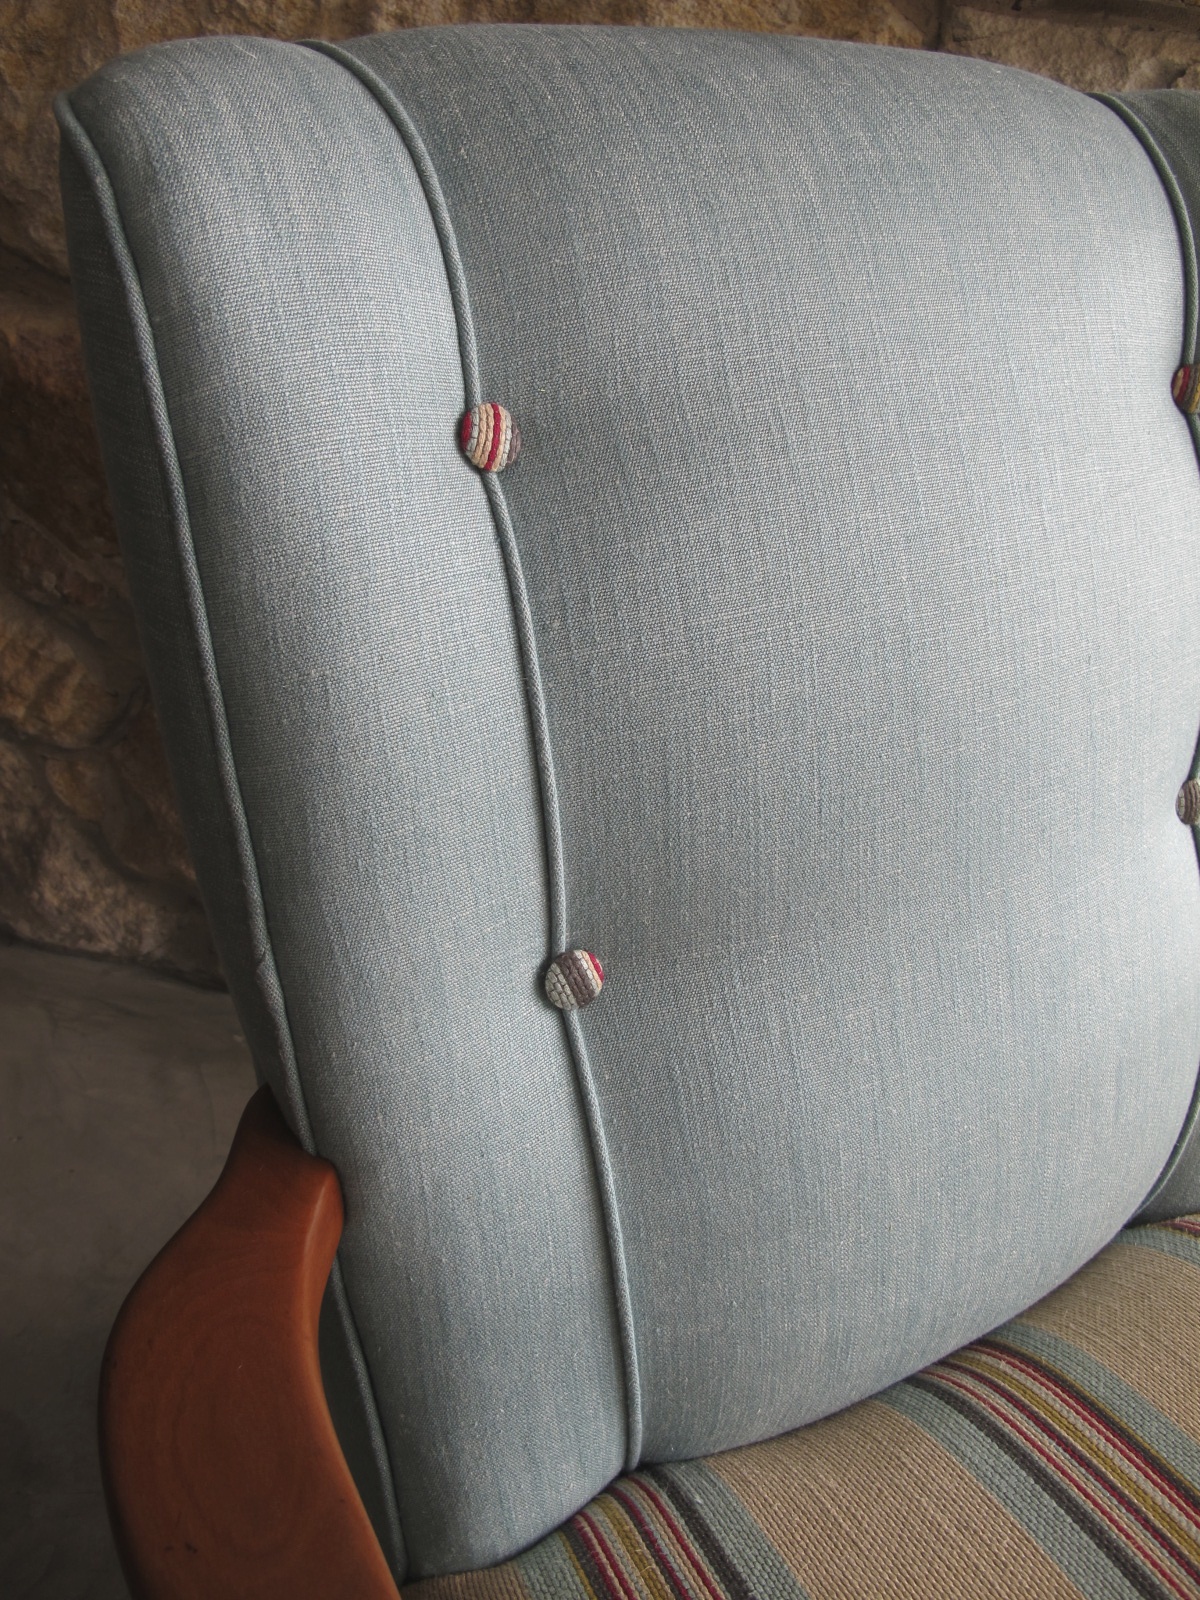
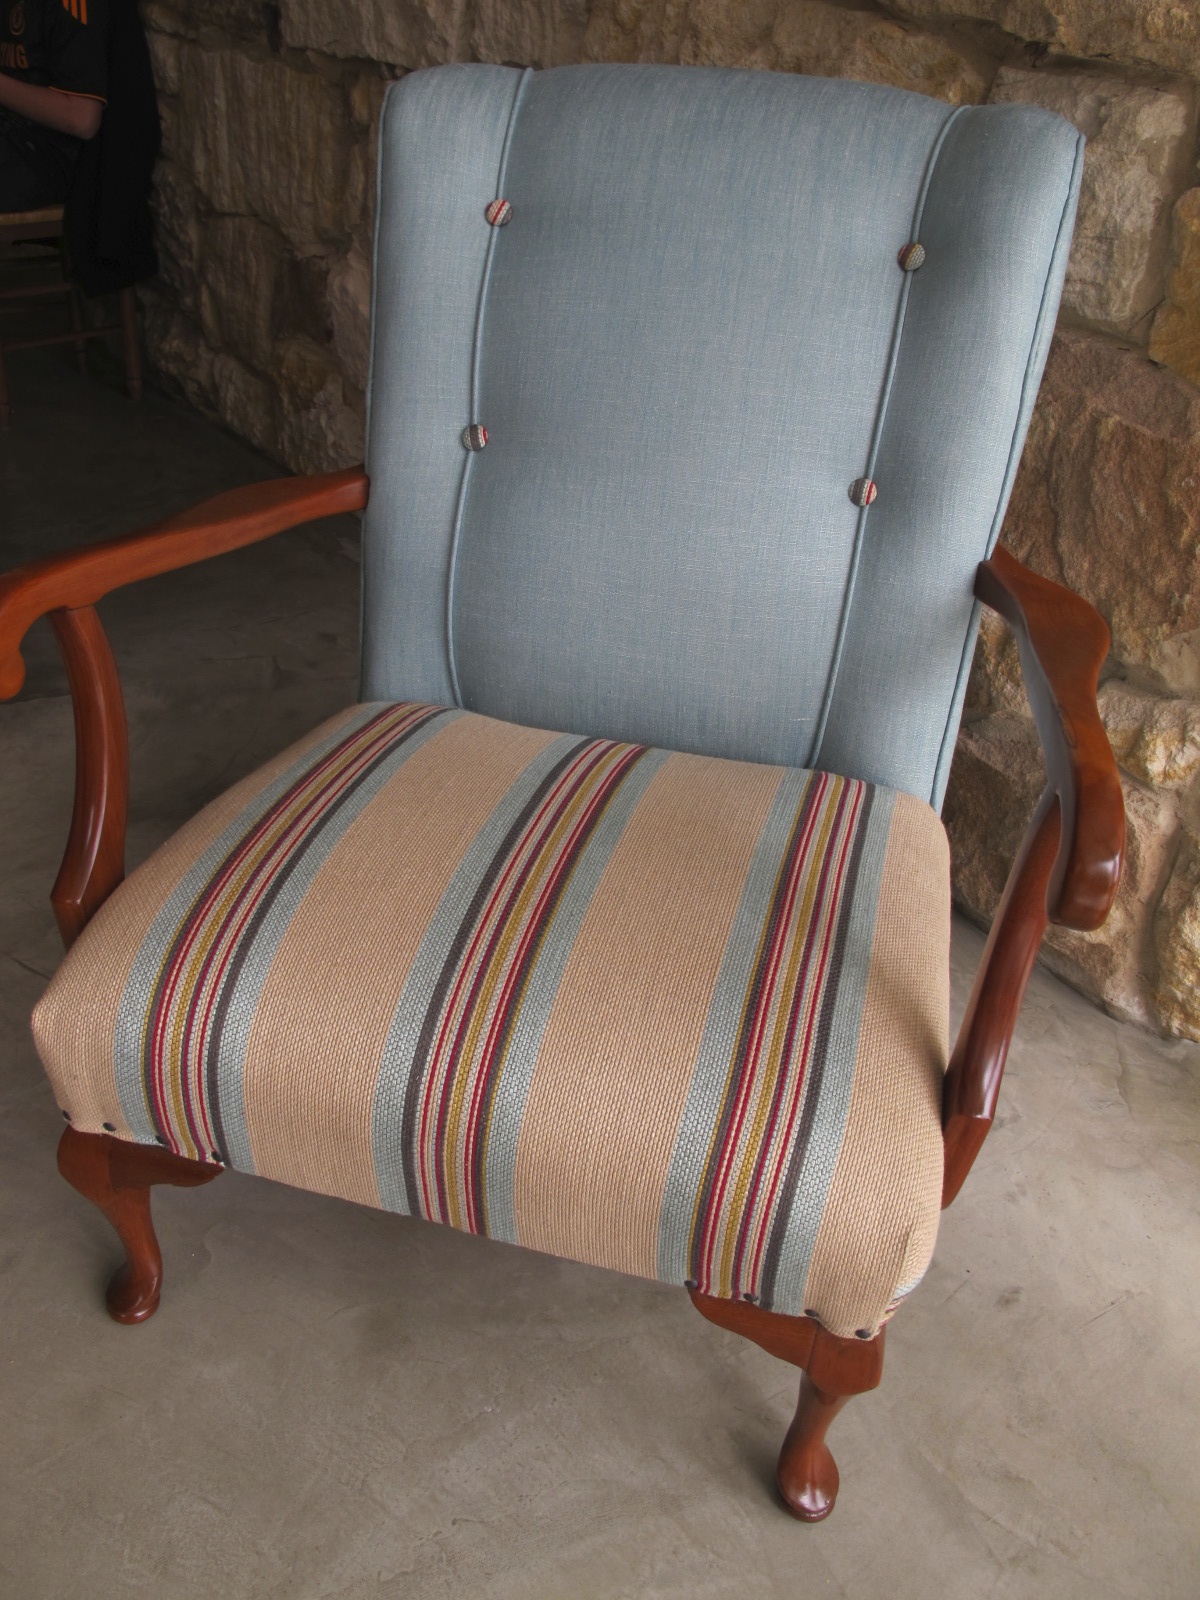
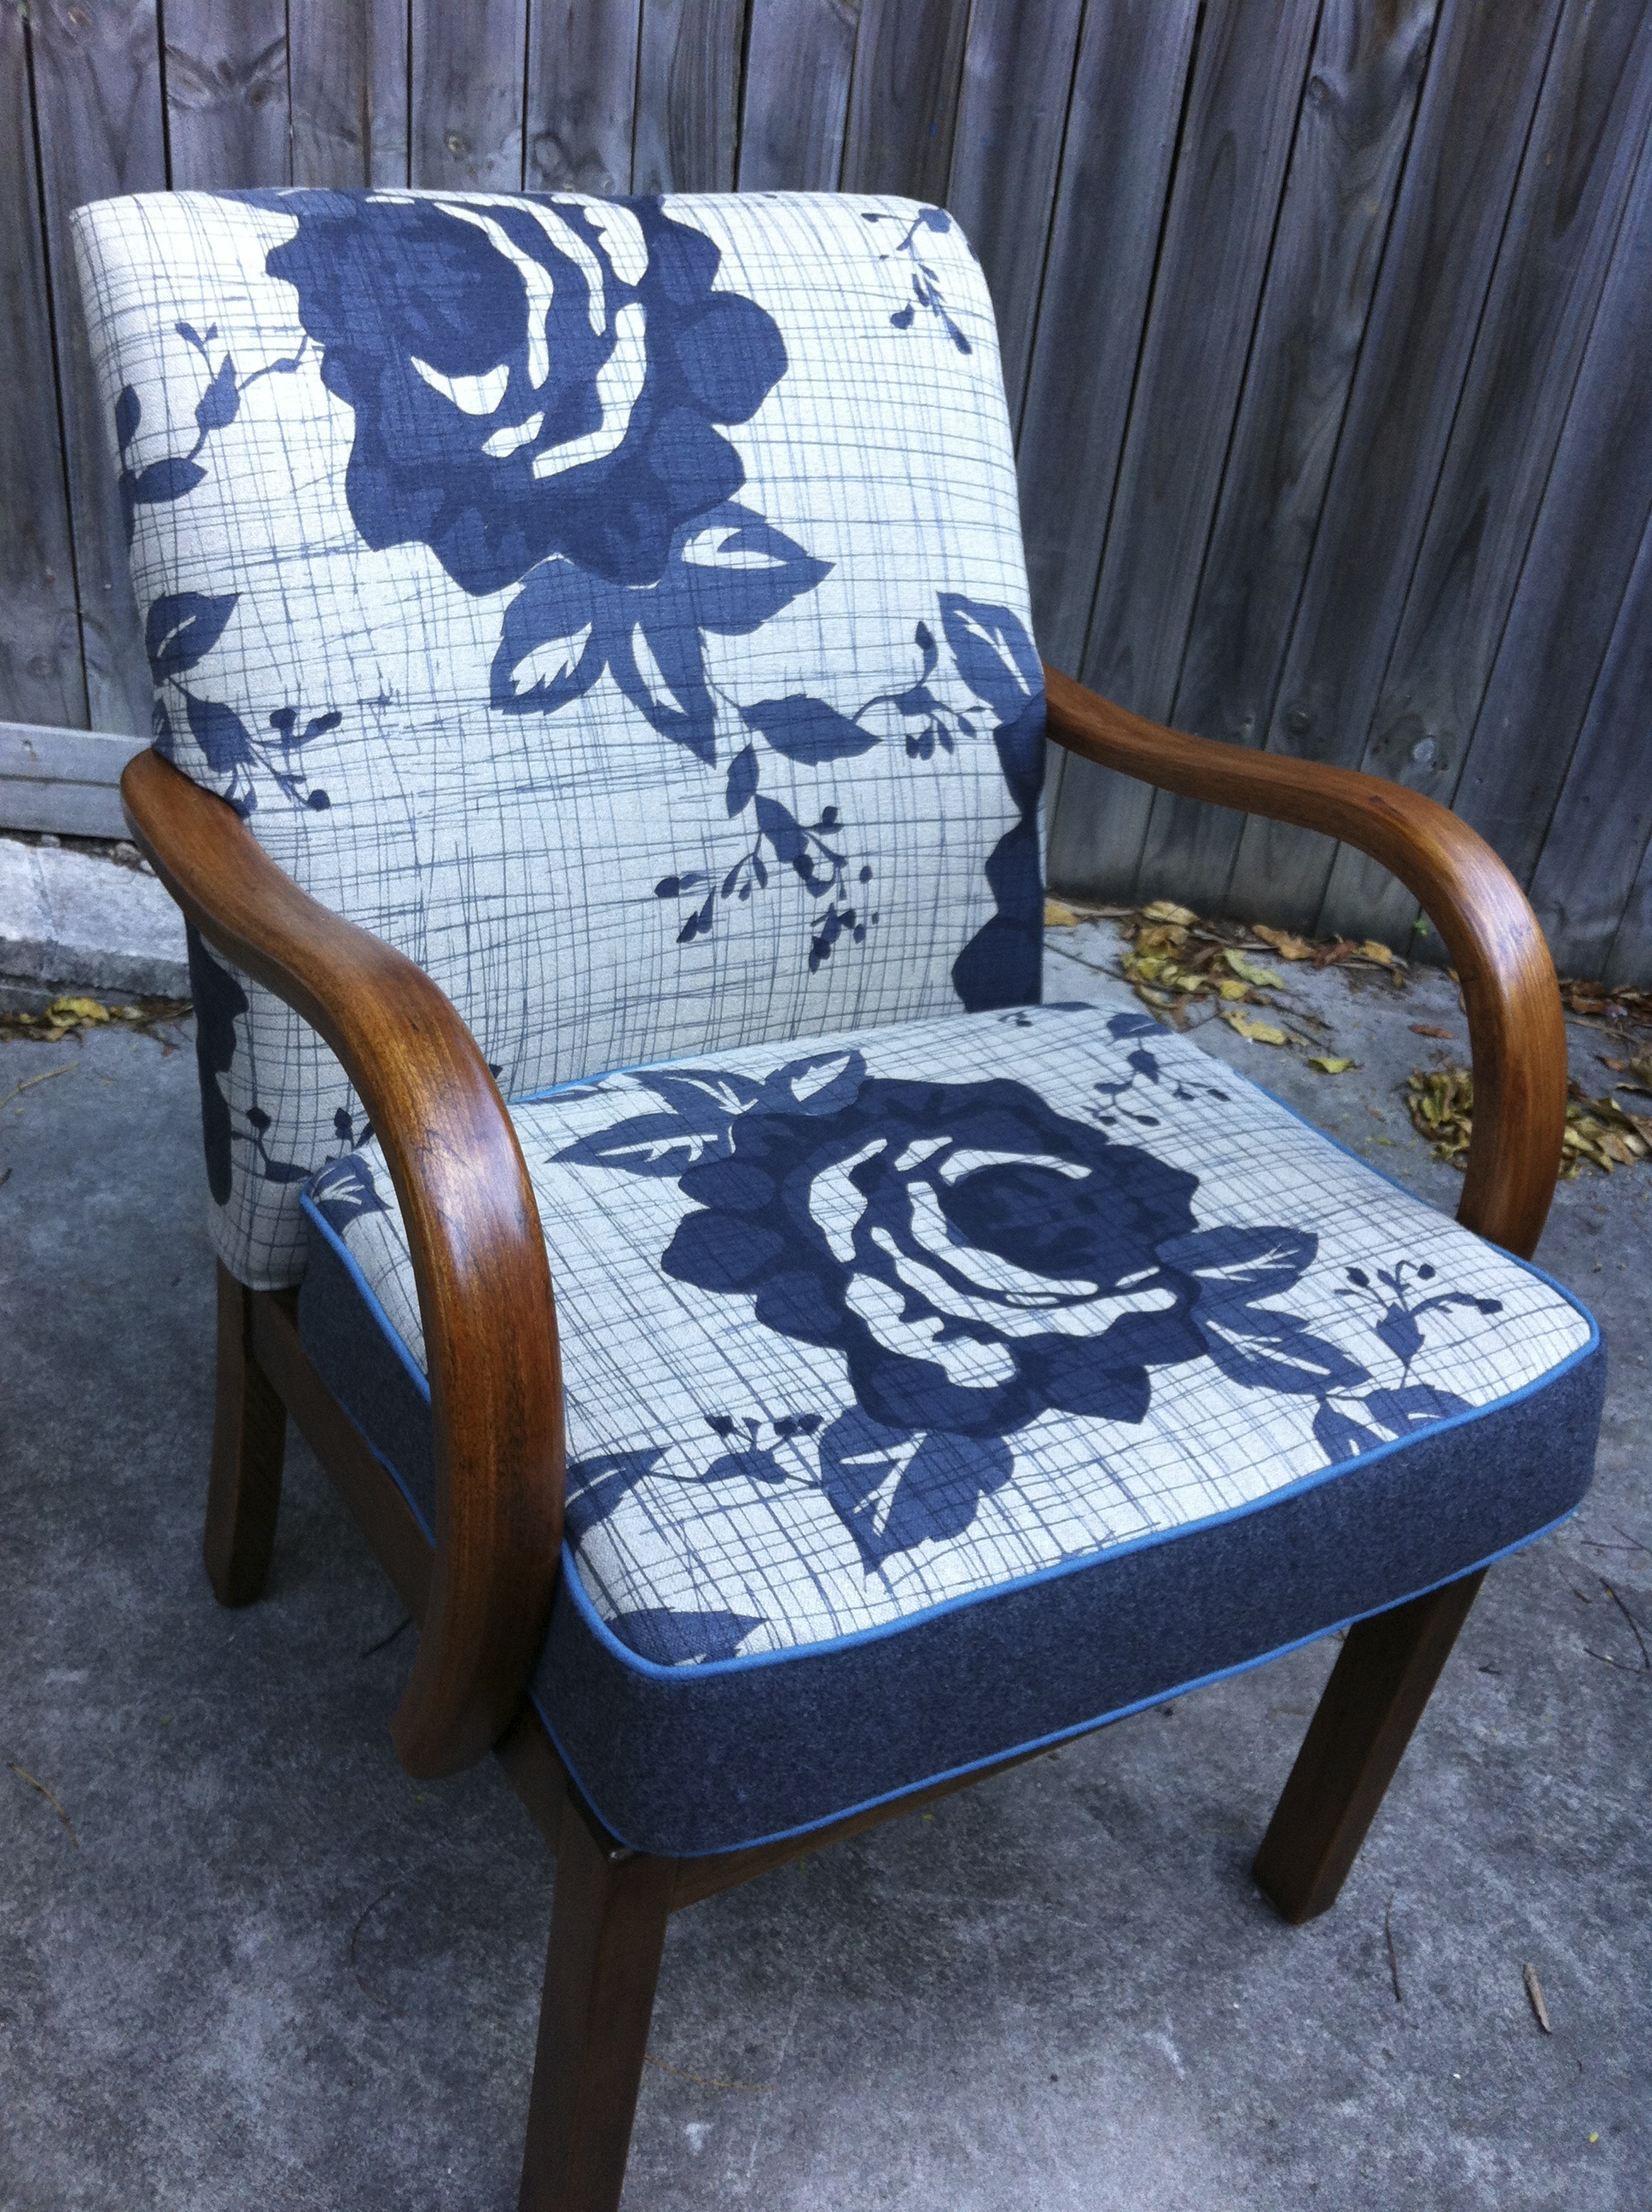
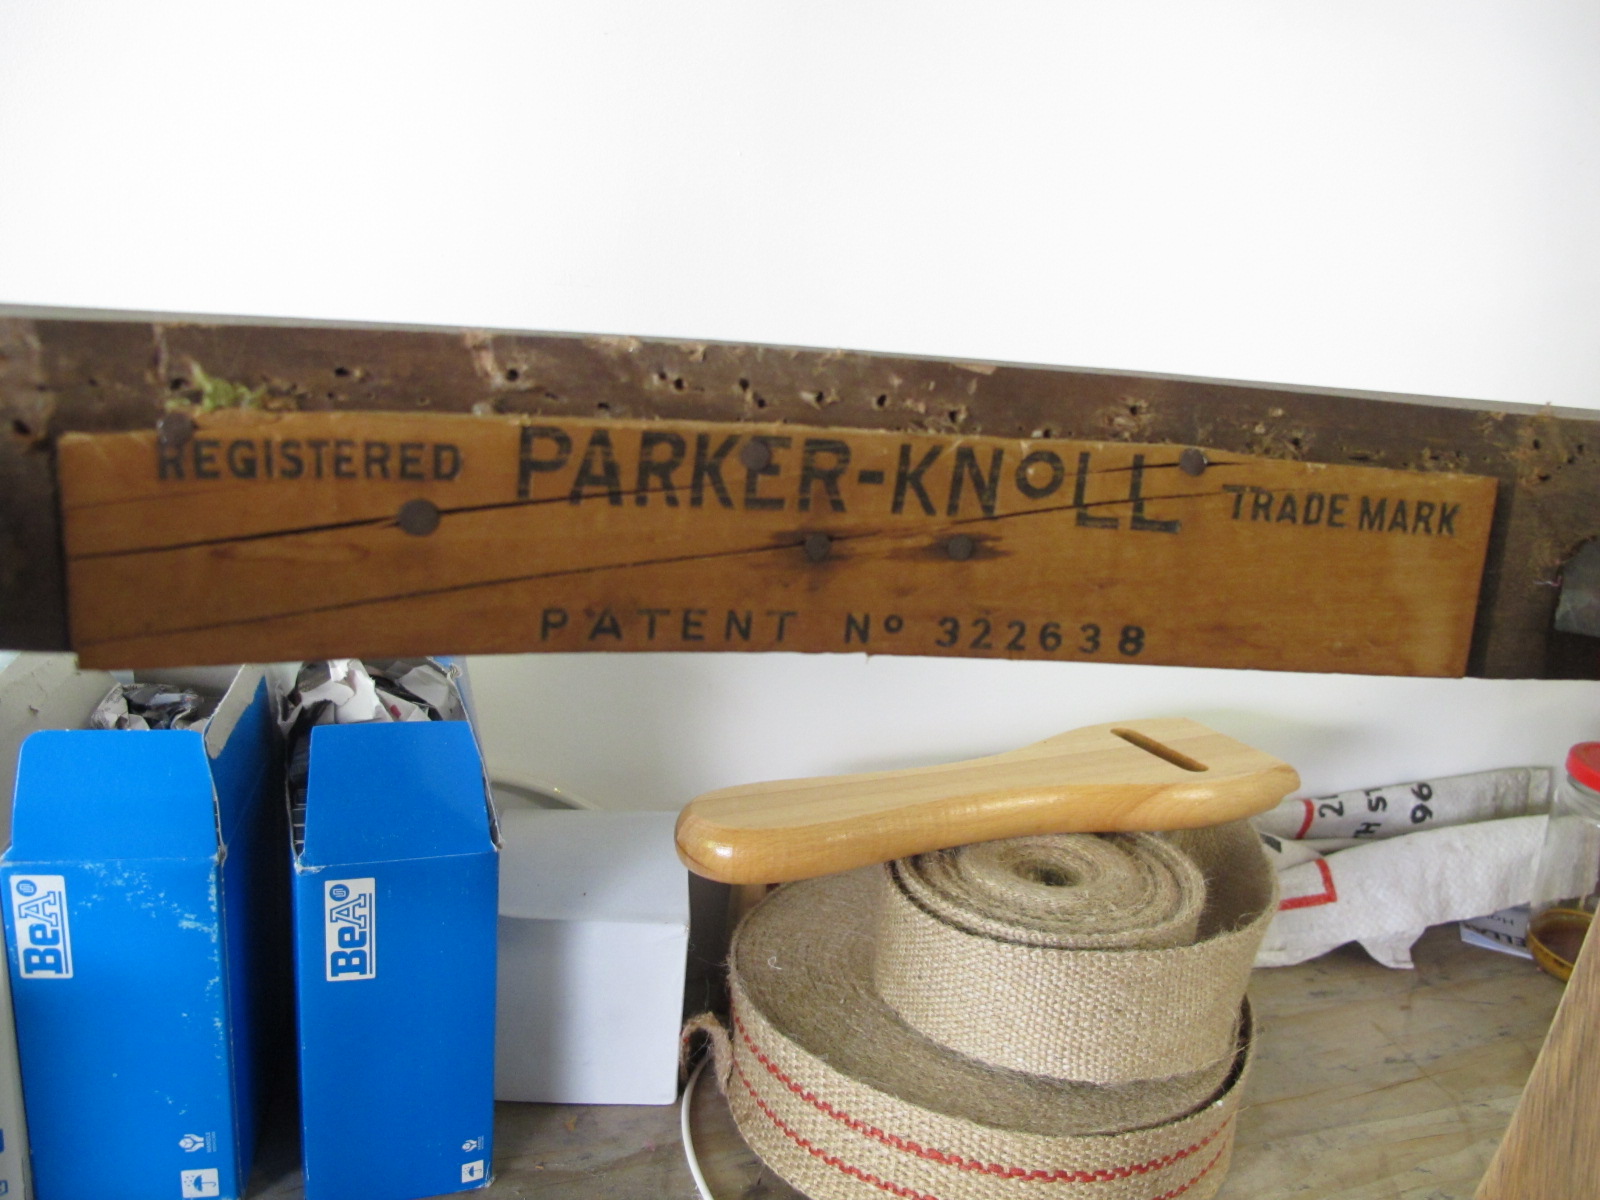
I loved this chair the moment I saw it – once you looked past the stained fabric and very scratched wooden arms, the potential was endless.
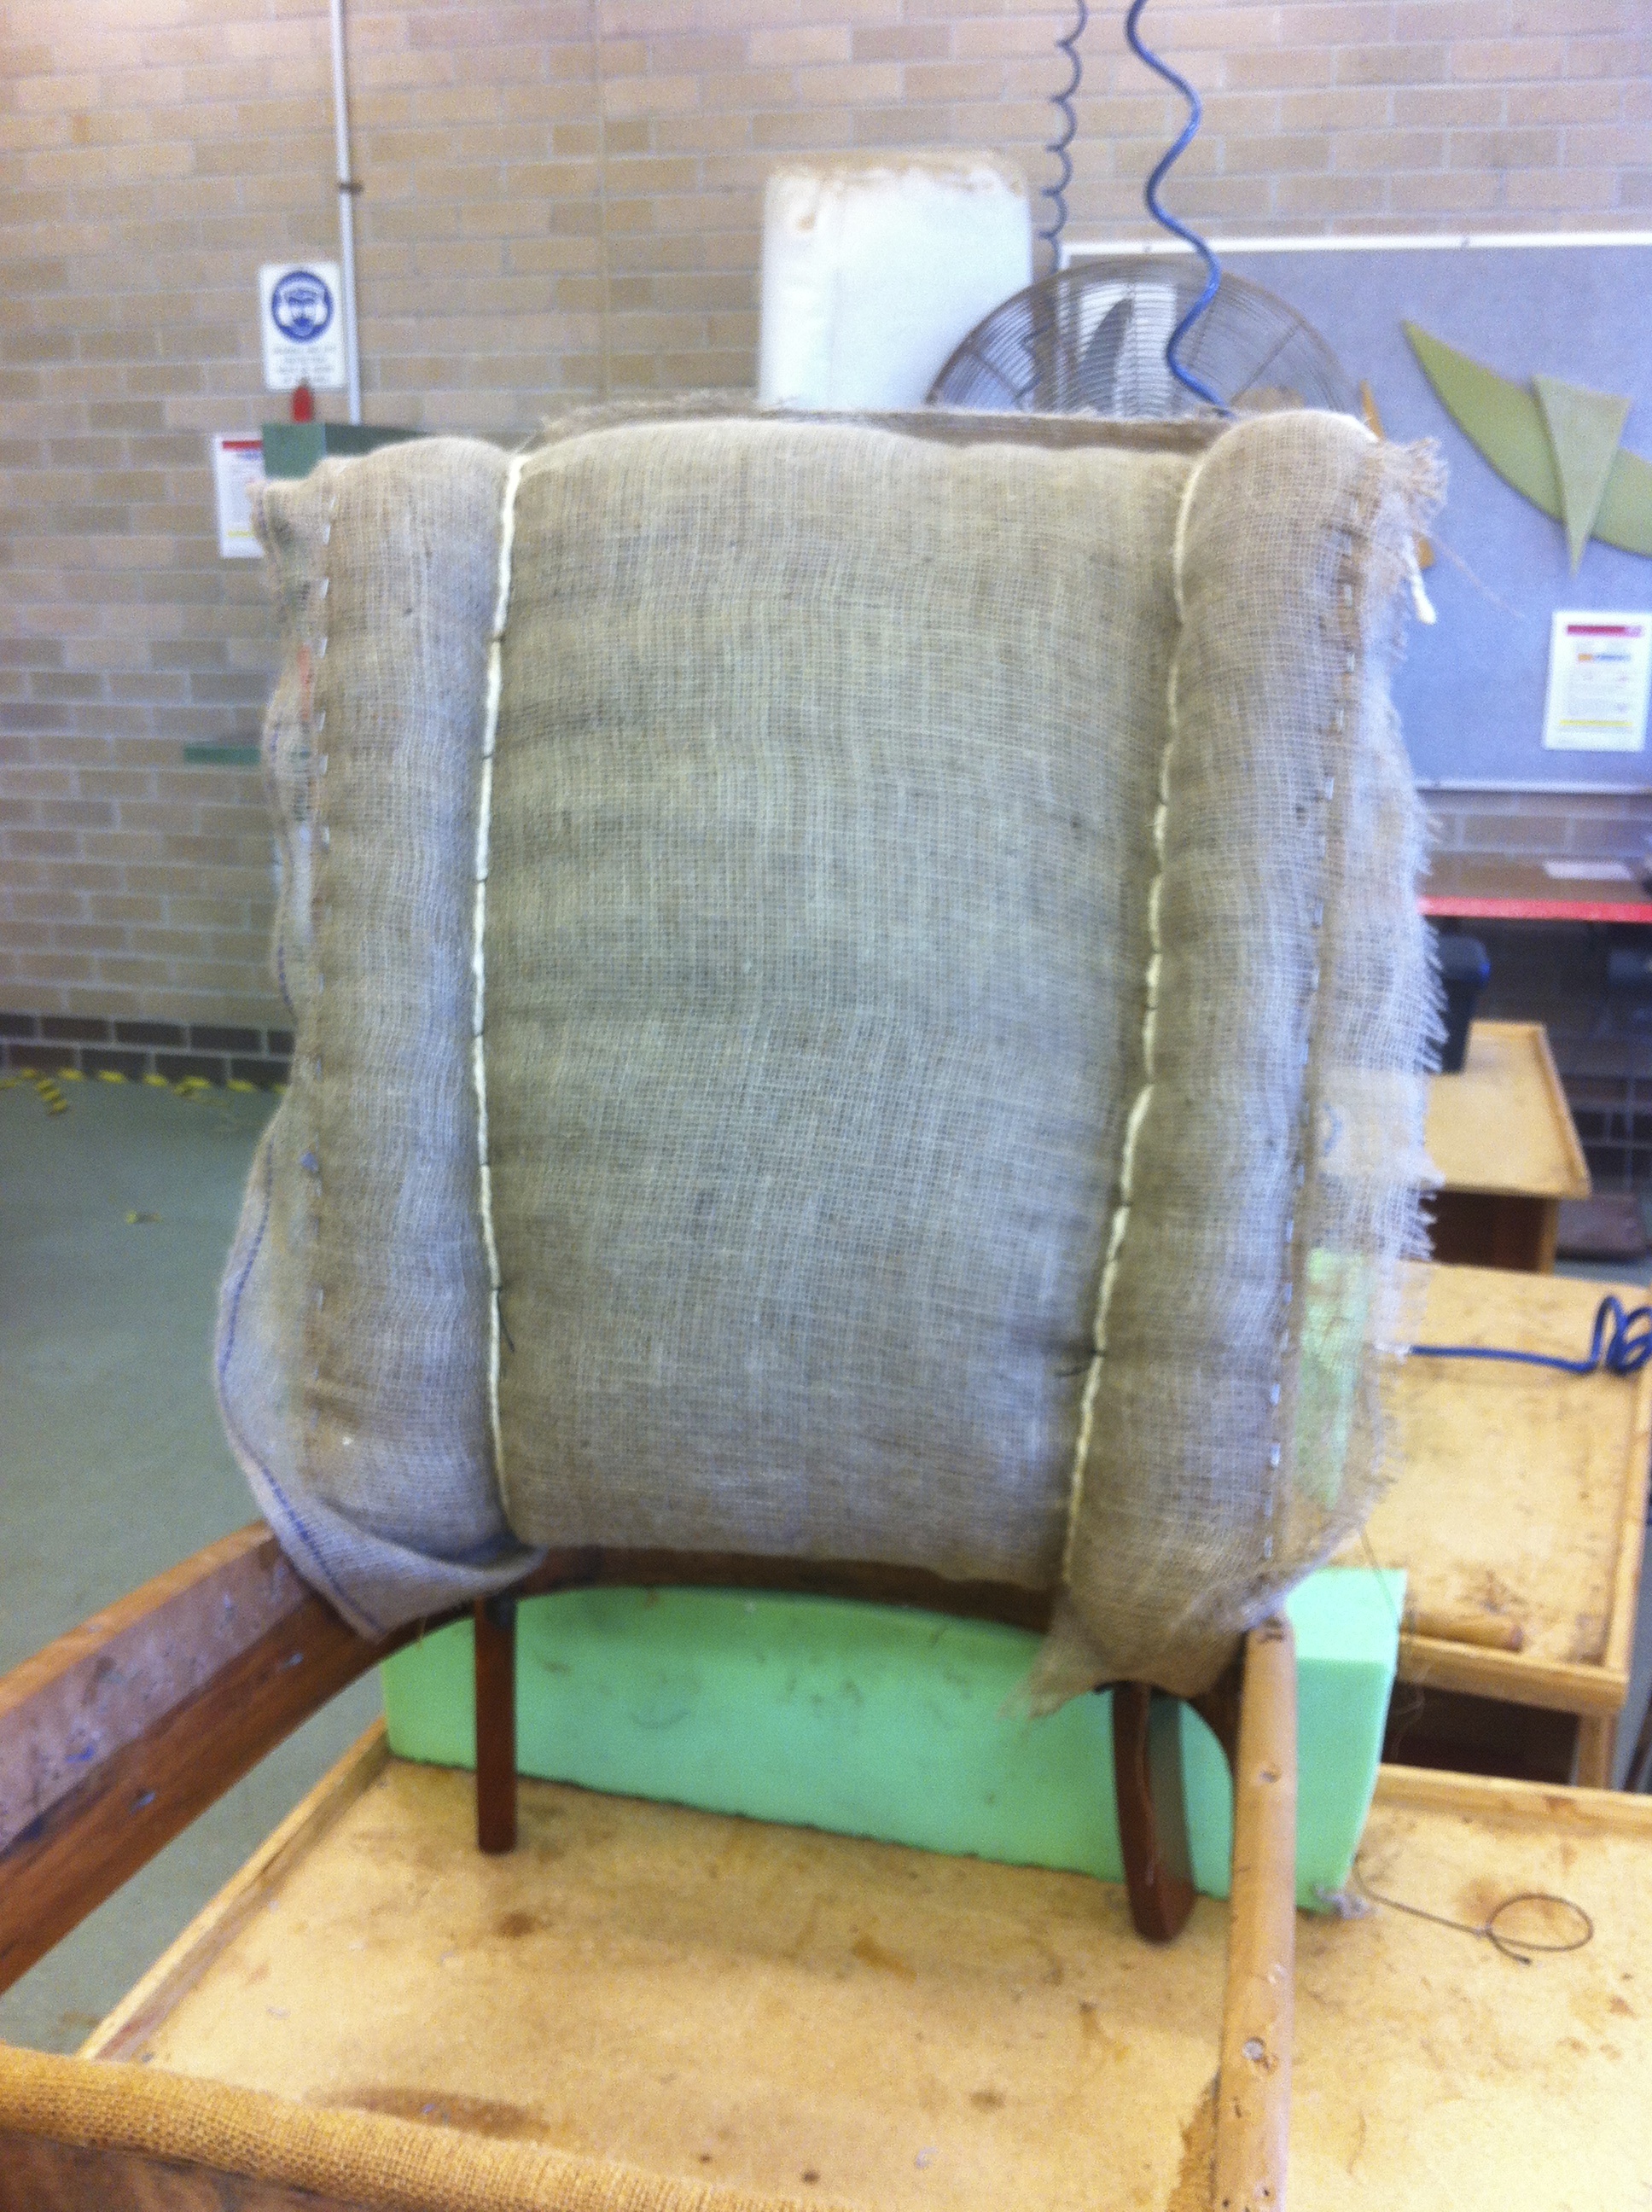
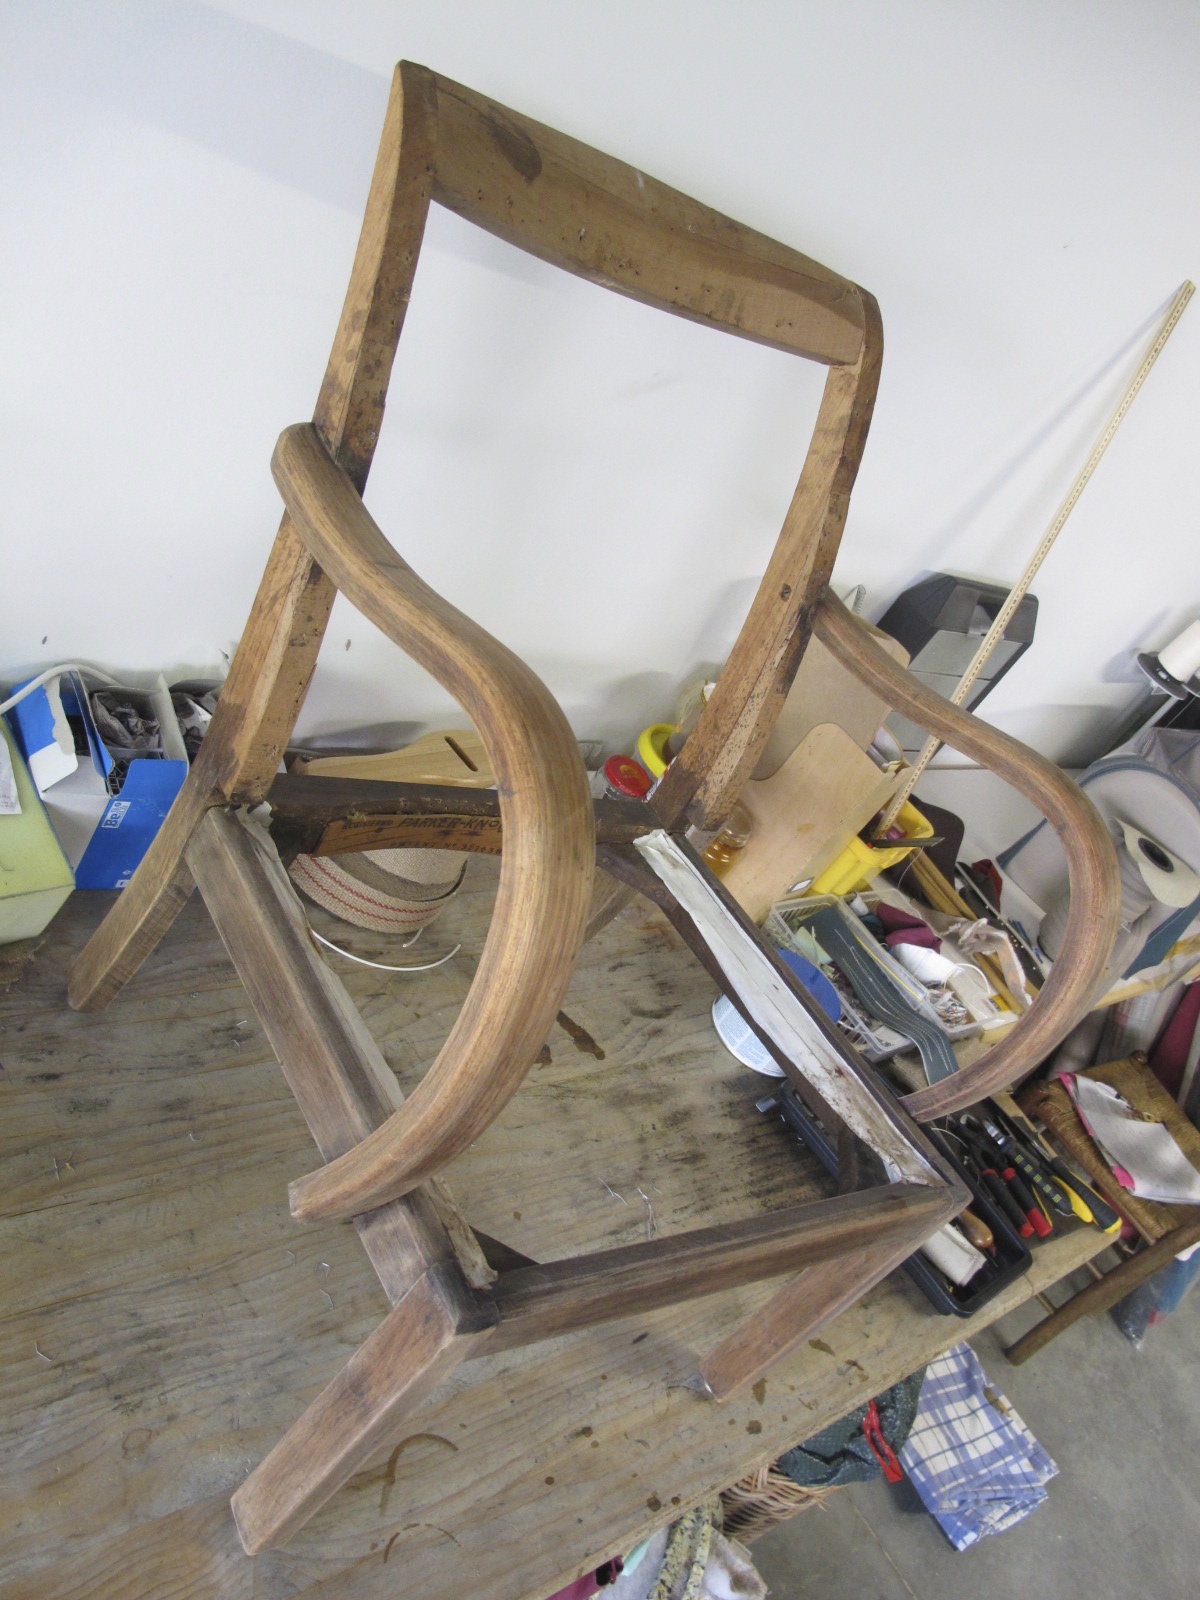
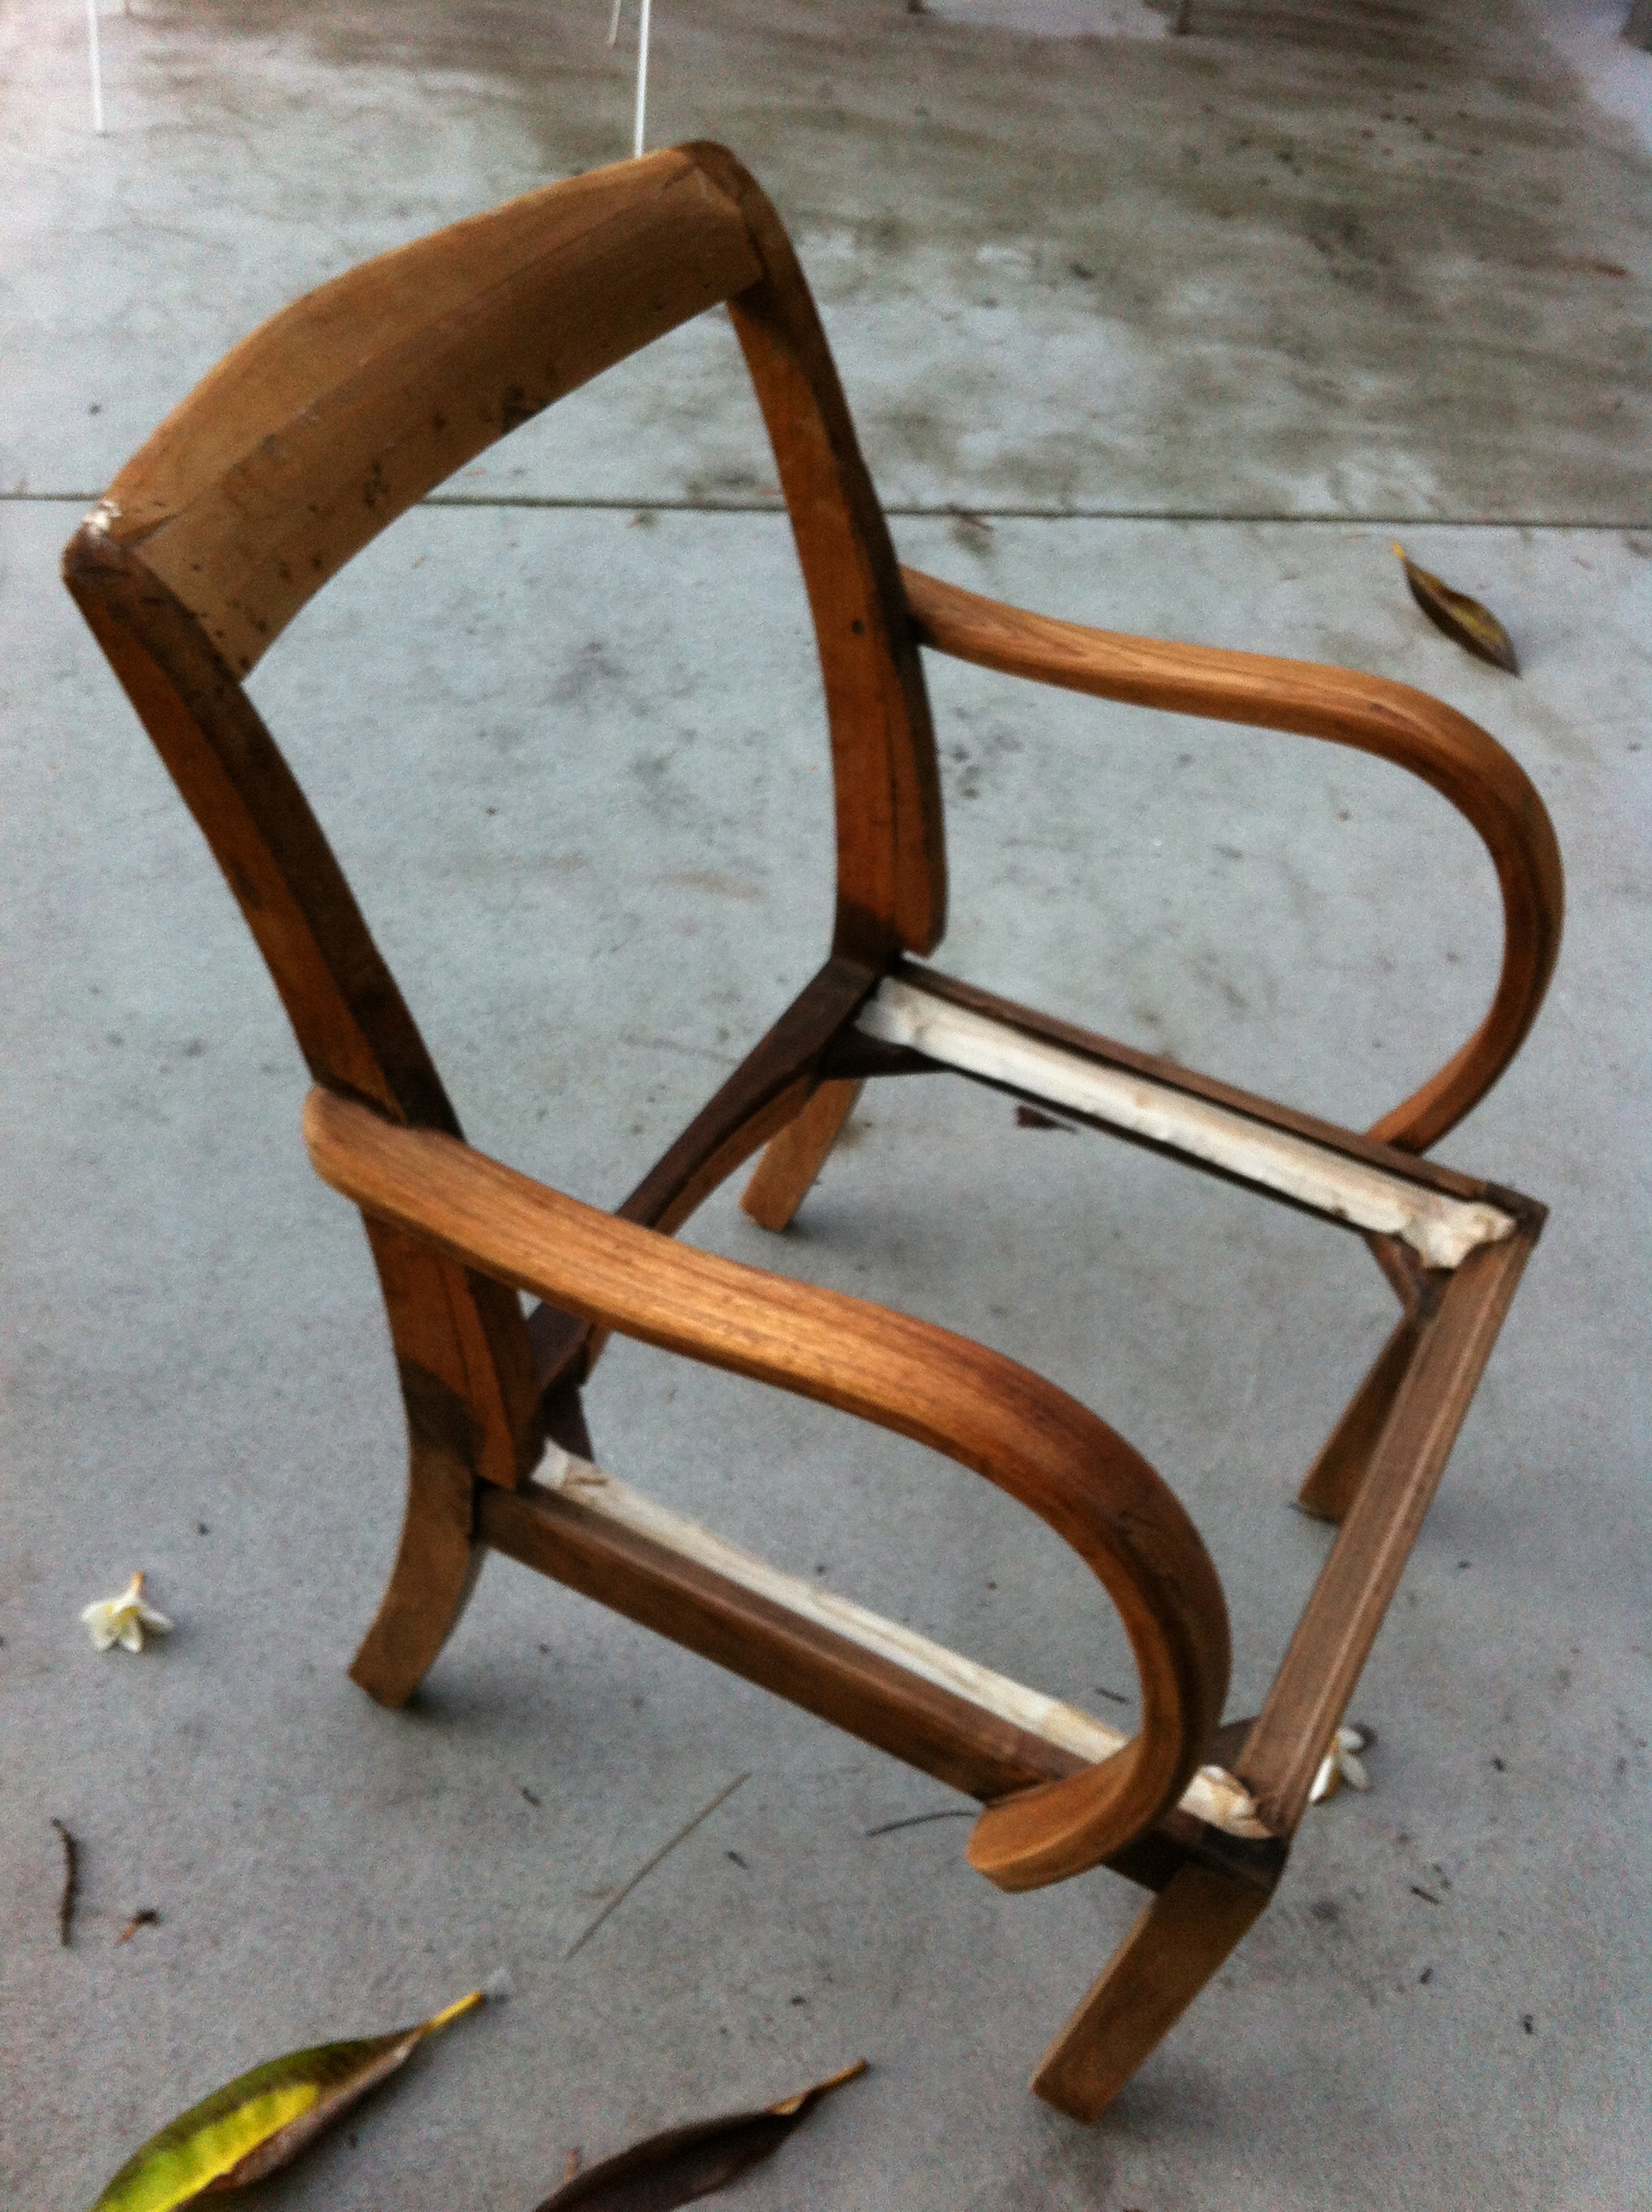
Theshape was fabulousand after taking off all the old fabric, wadding, hessian, springs etc I new that I had to restore it with integrity, but with a modern twist.
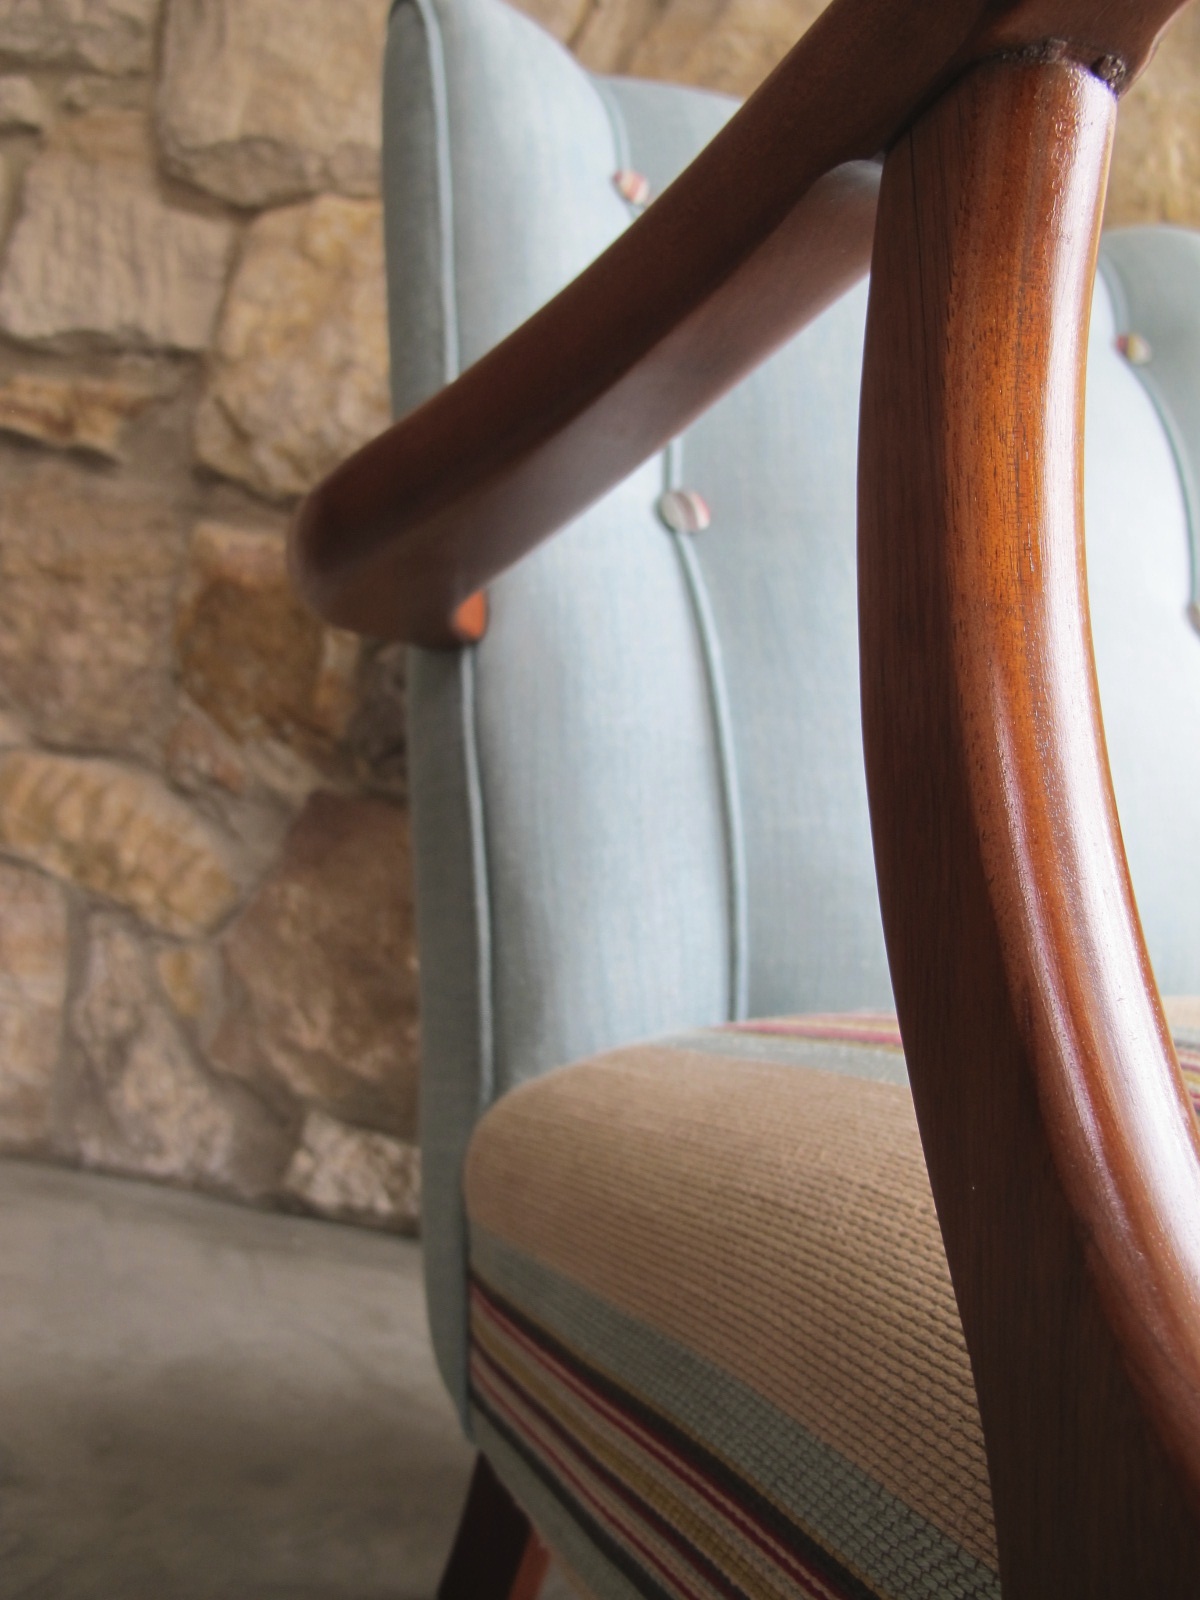
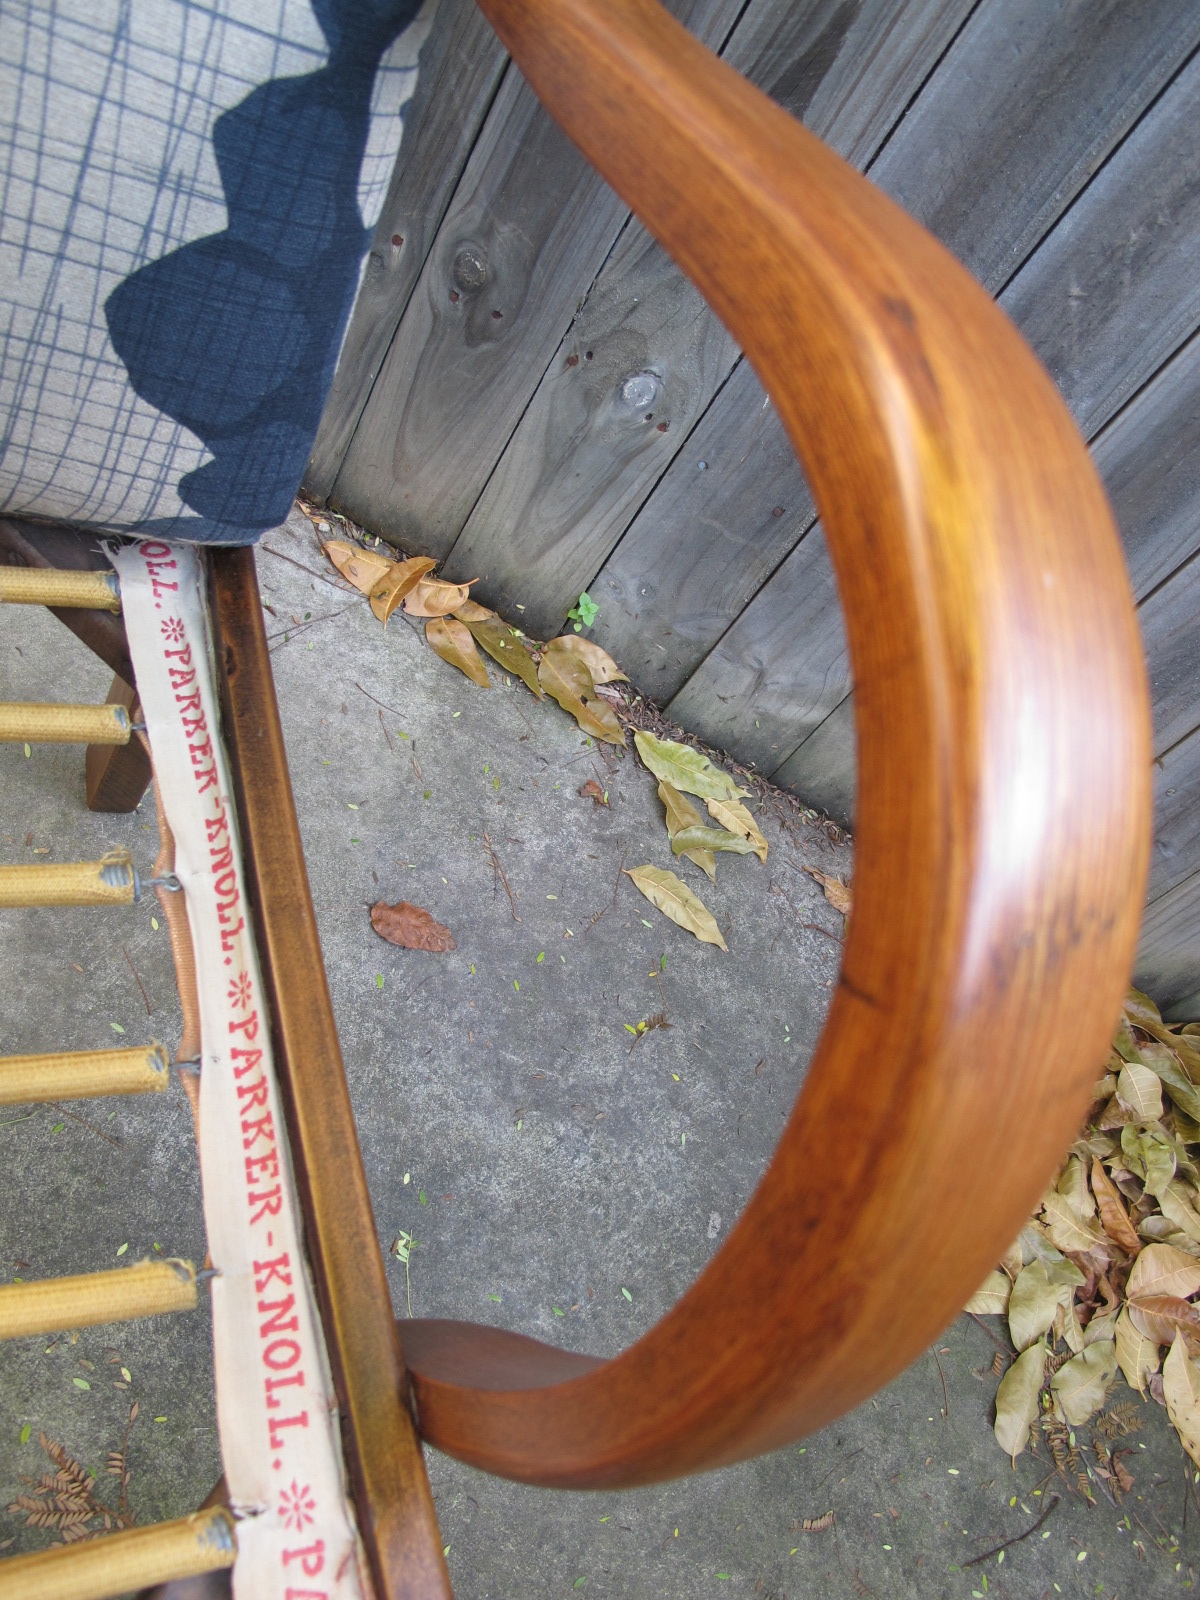
First was getting the wood back to a warm polished look.
The rest of the chair was another matter.
The only part of the initial inners of the chair, that I managed to keep, was the front roll – who doesn’t like a challenge.
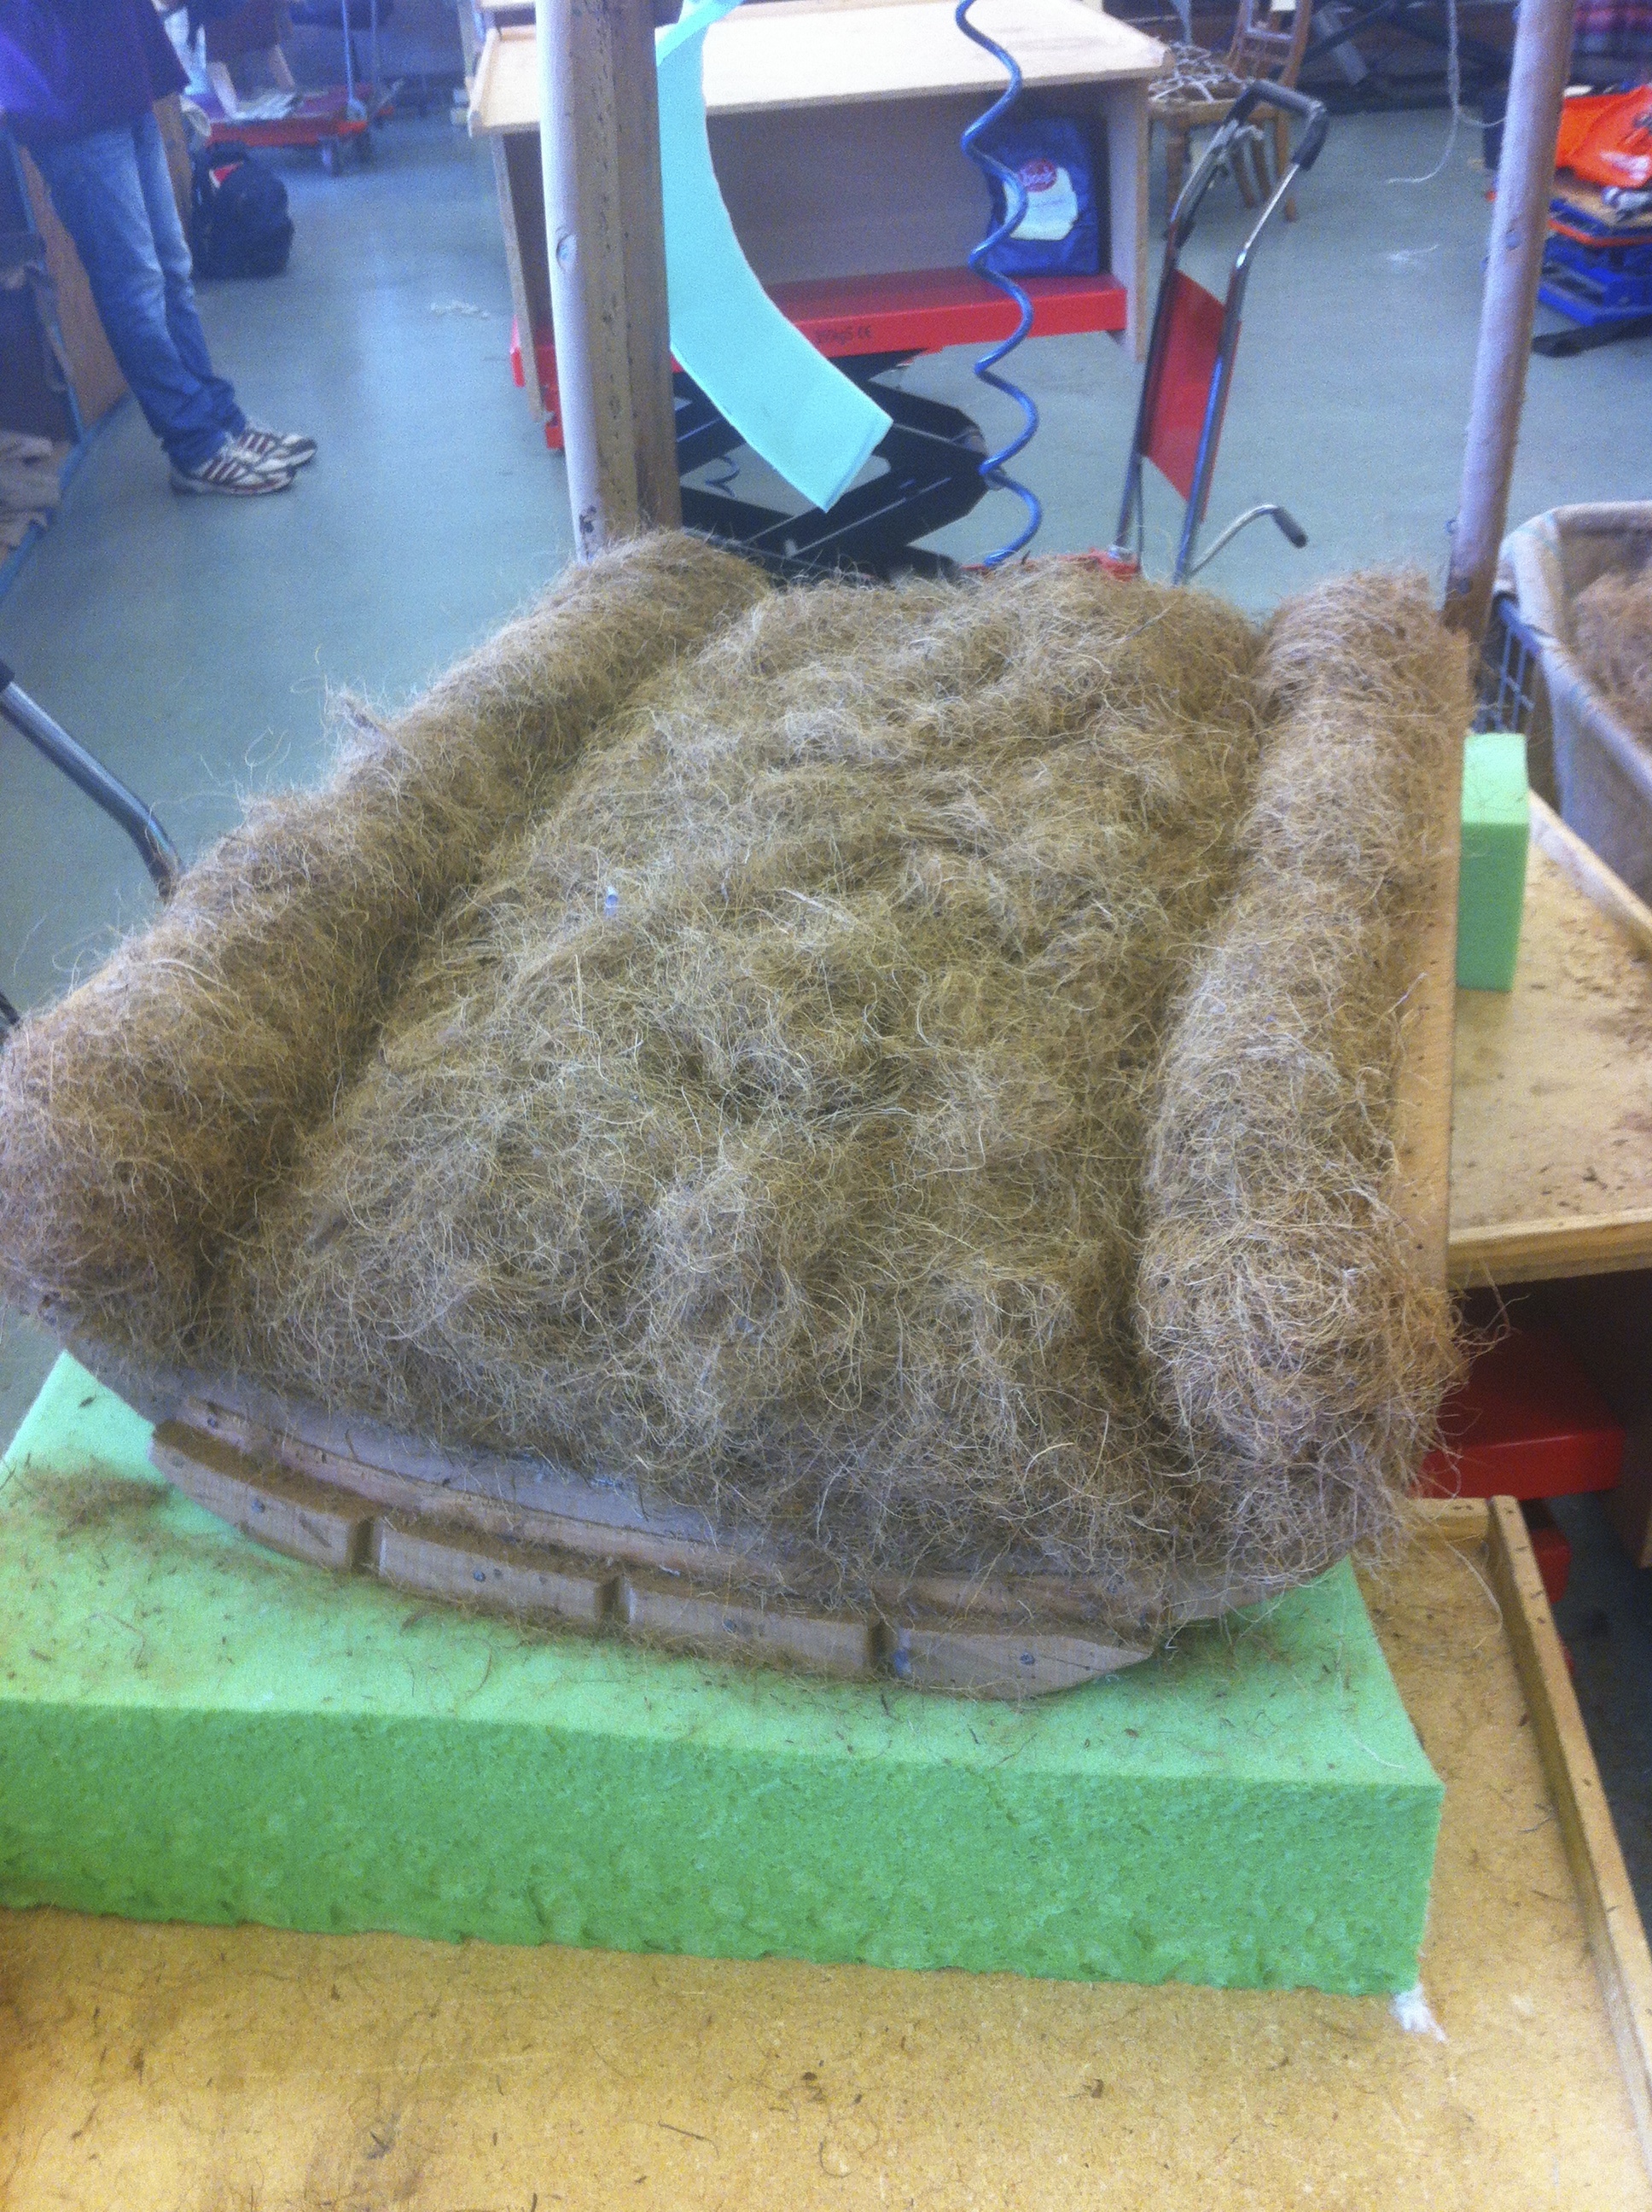
Once the springs were in and laced it was time for the coconut fibre.
The padding and calico was next and it all started to come together.
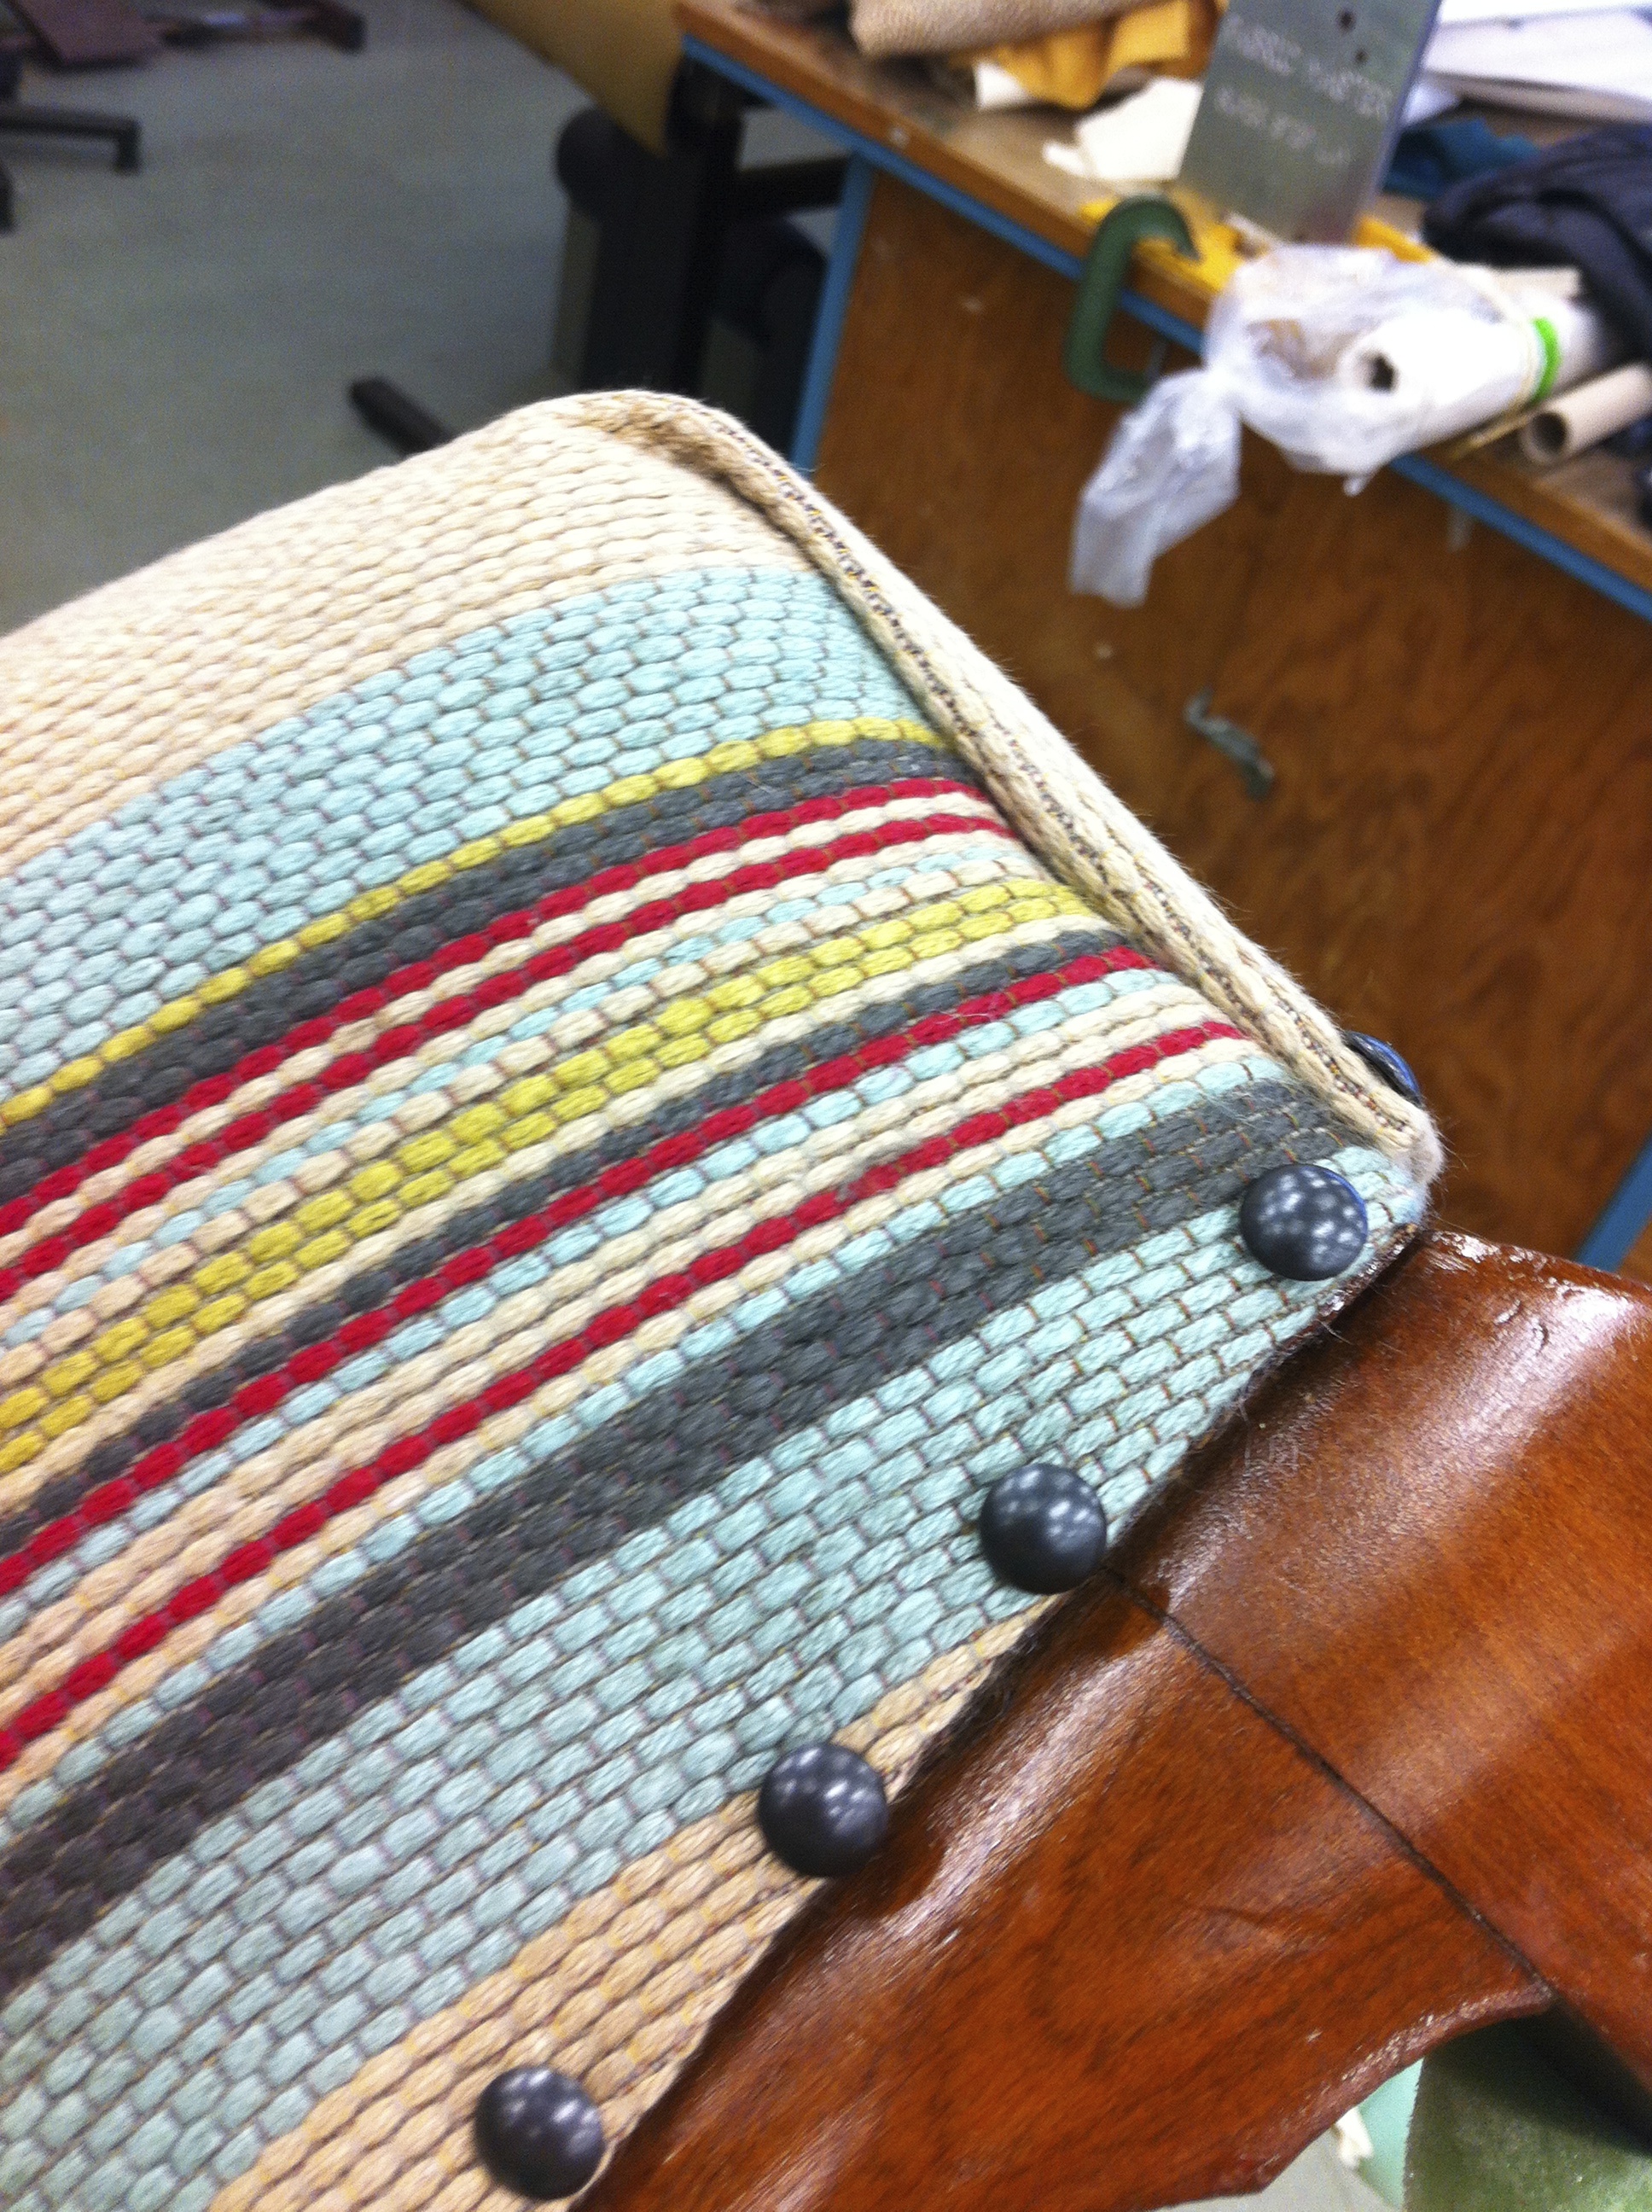
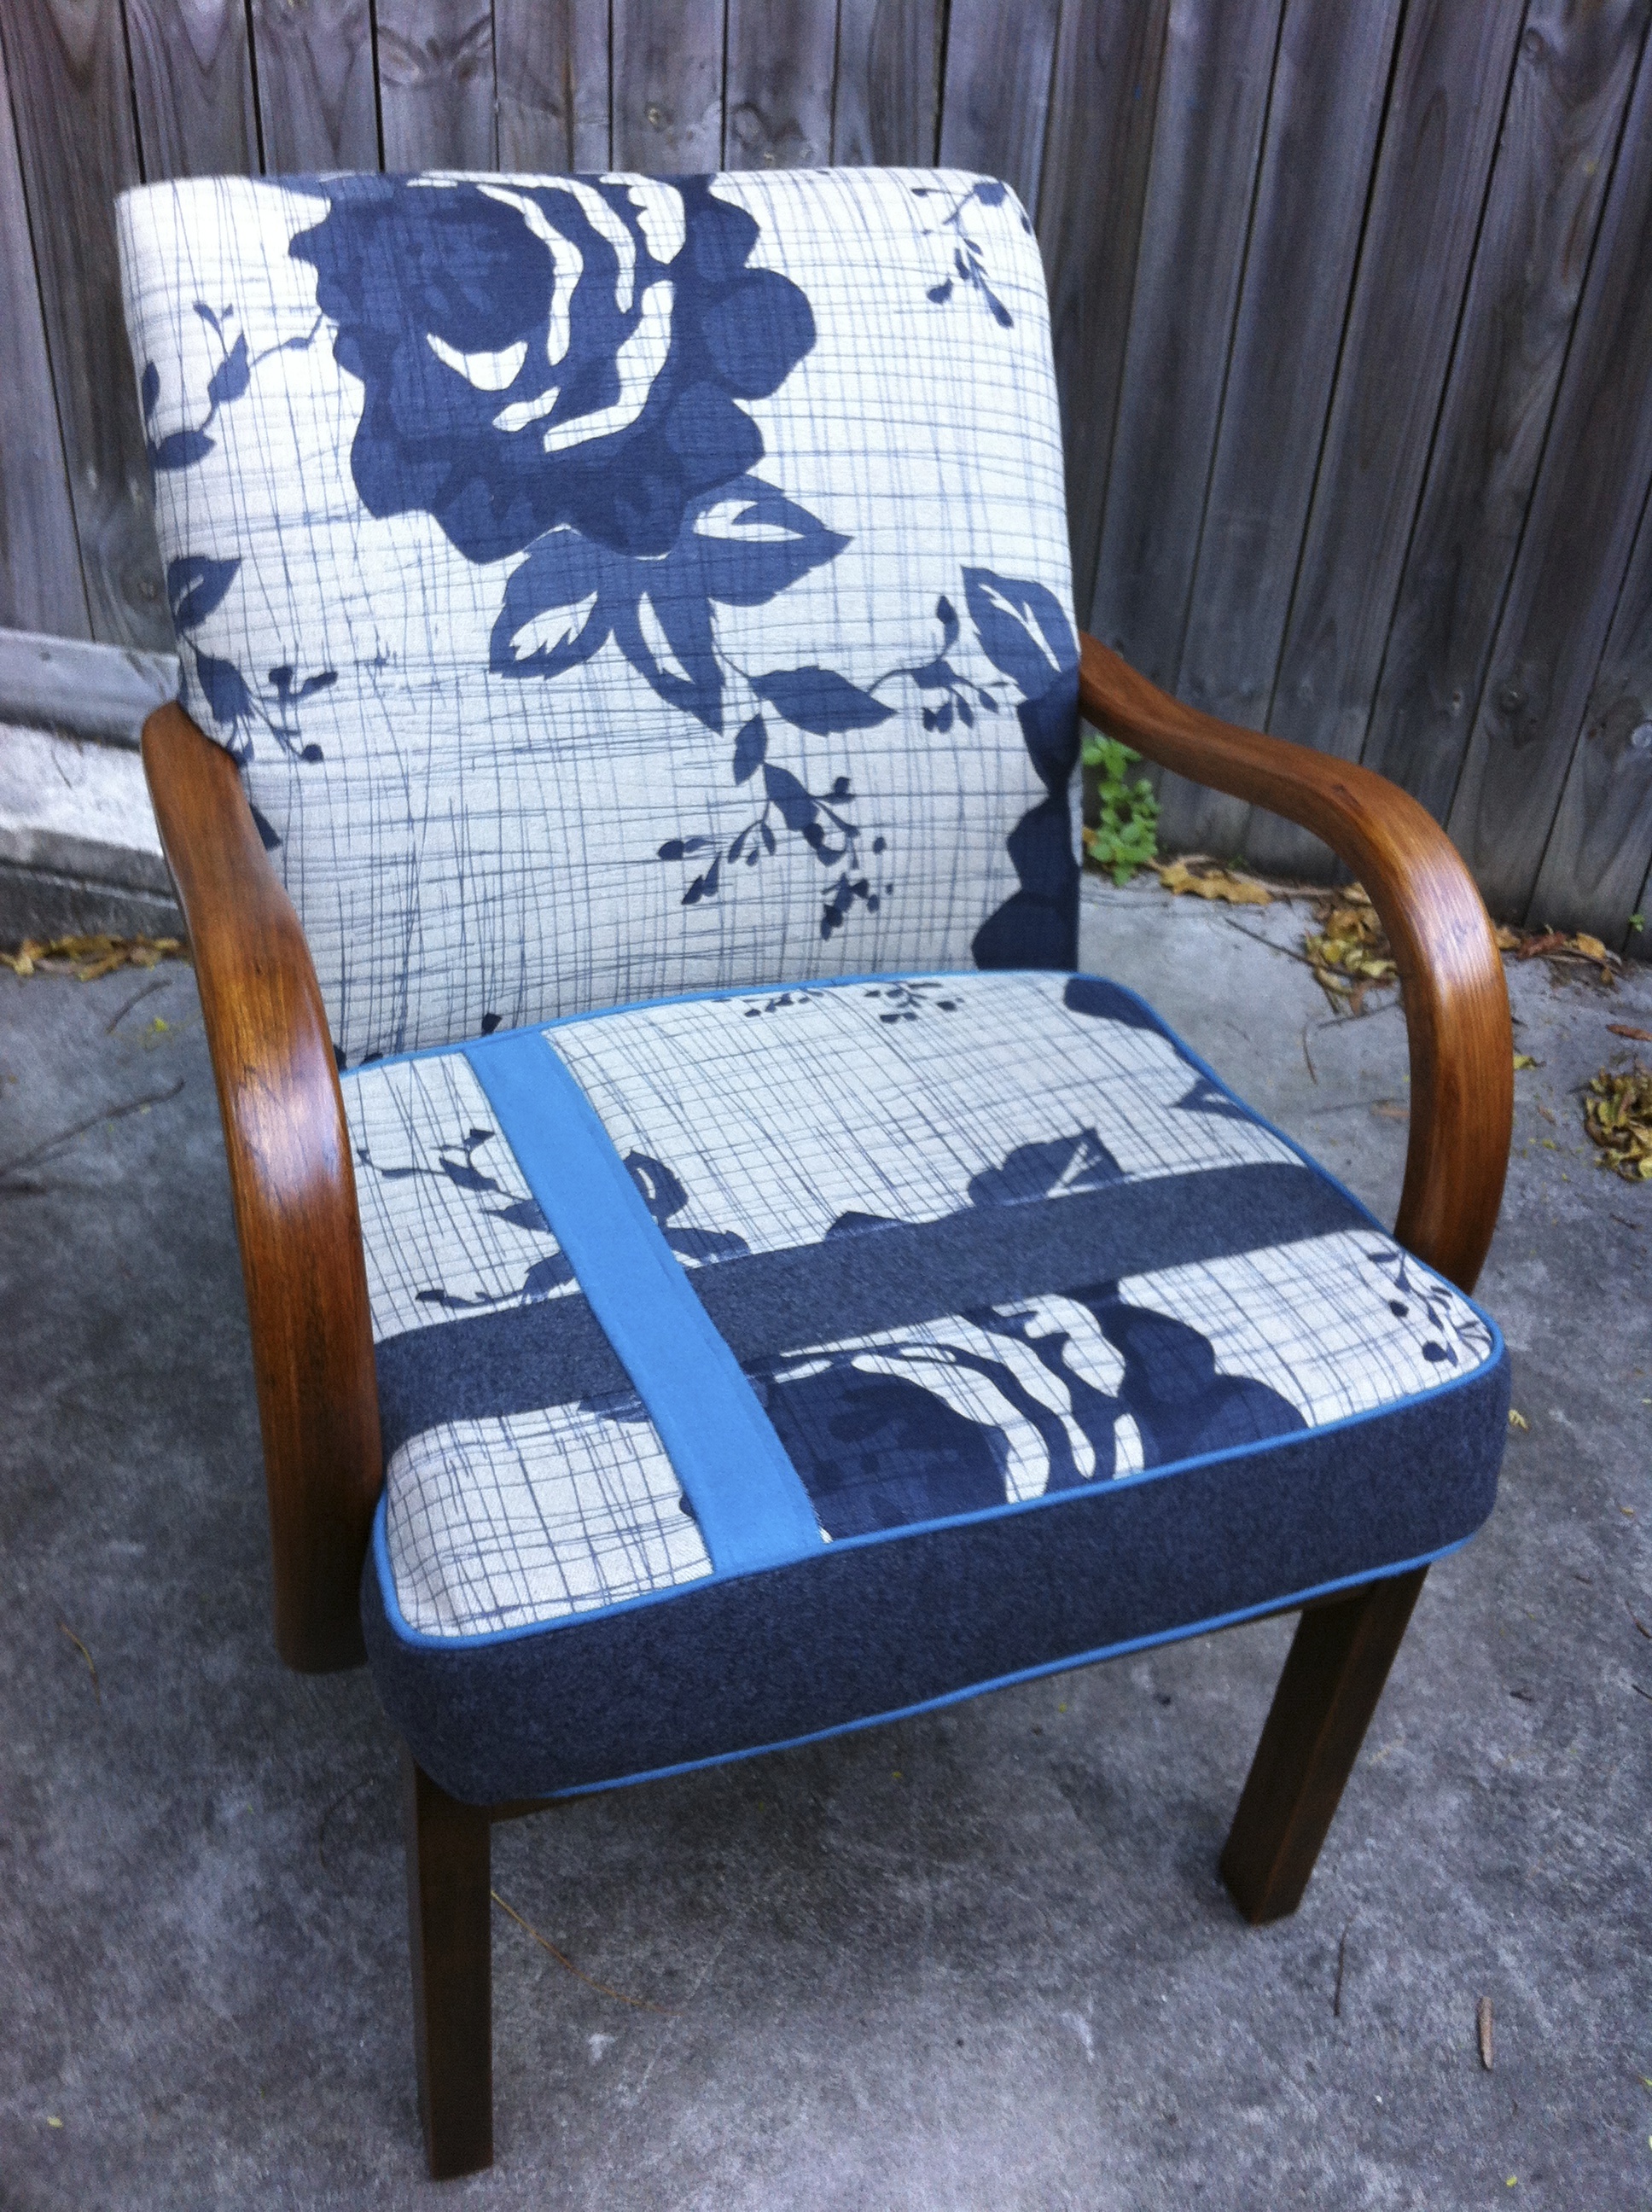
I decided to use beautiful cotton mix fabrics from warwick fabric from their collection ‘anthropology’.
After a few doubts about where to put the striped and plain fabric I finally found the right combination and love the new look of the chair.
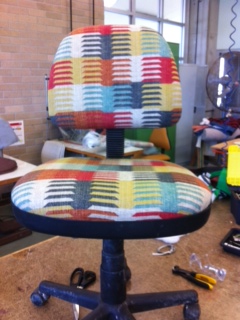
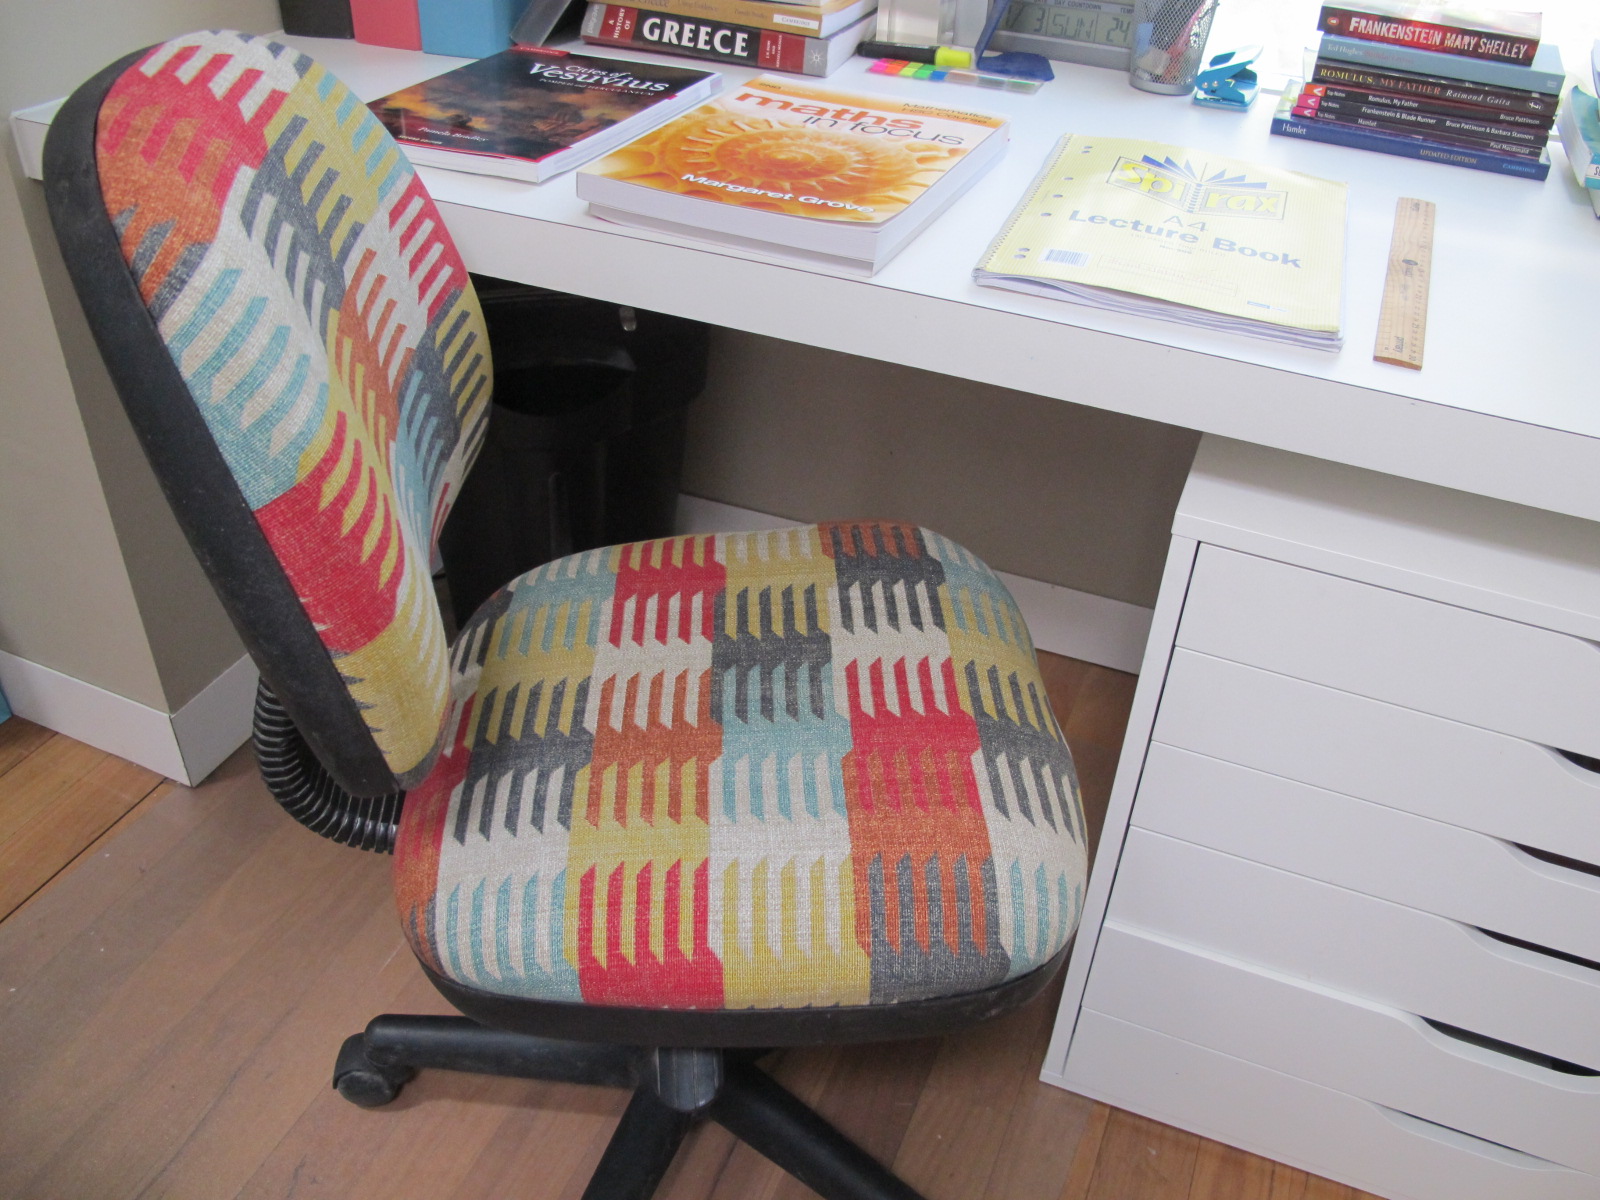
I think everyone has an old ugly office chair lurking somewhere – this one was found in the depths of the garage. So what to do chuck it out or give it a new lease of life. It still worked fine and all the mechanisms worked, so out with that ugly grey material.
Finished….now to study!!!!!
Added some new foam to give it a bit more cushioning and some new fabric – this design was from warwick fabrics in the “Anthropology” range.
After my son saw it he decided it would be perfect for his study area – anything to keep them motivated to study must be a win.


Recent Comments